Welcome back, tomodachi. I'm writing this to Eddie Izzard's wonderful Live at the Ambassadors, while eating coffee and walnut cake. It's heaven. What a great way to begin Part 18 of Apoqliphoth's walkthrough to Final Fantasy X.
Calm Lands[]
Get me off this bird!
Player, after that bloody chocobo training.
Item Checklist[]
| Item | Amount |
|---|---|
| Gil | 10000 |
| Gil | 5000 |
| Al Bhed Primer Vol. XXIII | 1 |
| Lv. 2 Key Sphere | 1 |
Enemies[]
| Name | HP (Overkill) | AP (Overkill) | Gil |
|---|---|---|---|
| Nebiros | 700 (1050) | 480 (960) | 320 |
| Skoll | 1000 (1500) | 480 (960) | 420 |
| Flame Flan | 1500 (2250) | 480 (960) | 448 |
| Shred | 1950 (2925) | 480 (960) | 368 |
| Mech Scouter (Normal) | 2750 (4125) | 480 (720) | 284 |
| Mech Scouter (On fire) | 2750 (4125) | 530 (795) | 215 |
| Anacondaur | 5800 (4060) | 1380 (2070) | 750 |
| Coeurl | 6000 (4060) | 1300 (1950) | 1100 |
| Ogre | 9400 (4060) | 1080 (1620) | 980 |
| Chimera Brain | 9800 (4060) | 1200 (1800) | 1000 |
| Malboro | 27000 (4060) | 2200 (3300) | 1500 |
Yuna flops down onto the ground. Tidus won't let her die, but he will let her up. (Good link, eh?)
The beginning of your nightmares.
Maechen's here to tell you all about the place. This is where summoners fight Sin to the death using the Final Summoning, bringing the Calm -- hence the name.
Heads up: this place is massive. You'll fight a lot of random encounters here, so it's a great levelling spot.
Yuna's got some throwing arm.
When you reach the bottom of the slope, Rin shows up on his hovercraft to sell you stuff. He doesn't reappear, by the way -- buy from him now or forever hold your peace.
We're going to do an anti-clockwise lap of the Calm Lands' perimeter. There are a few treasures dotted around the edges, so let's nab them. In the south-east corner, there are two chests containing 5000 and 10000 Gil. Just southwest of the north-west corner is the Al Bhed Primer XXIII. Talk to the nearby chocobo (well, the guy sitting on one) to start Chocobo training. Peep here for the details. You'll want the rewards if you plan to get a head-start on the ultimate weapons sidequest.
Head south to the Travel Agency. Someone called Father Zuke approaches us, apparently interested in seeing who 'the traitor' Yuna actually is. Lulu seems to know him from somewhere...
While you're here, purchase 99 Holy Water. You'll be needing a lot of them in the not-too-distant future. Behind the agency is a Lv. 2 Key Sphere.
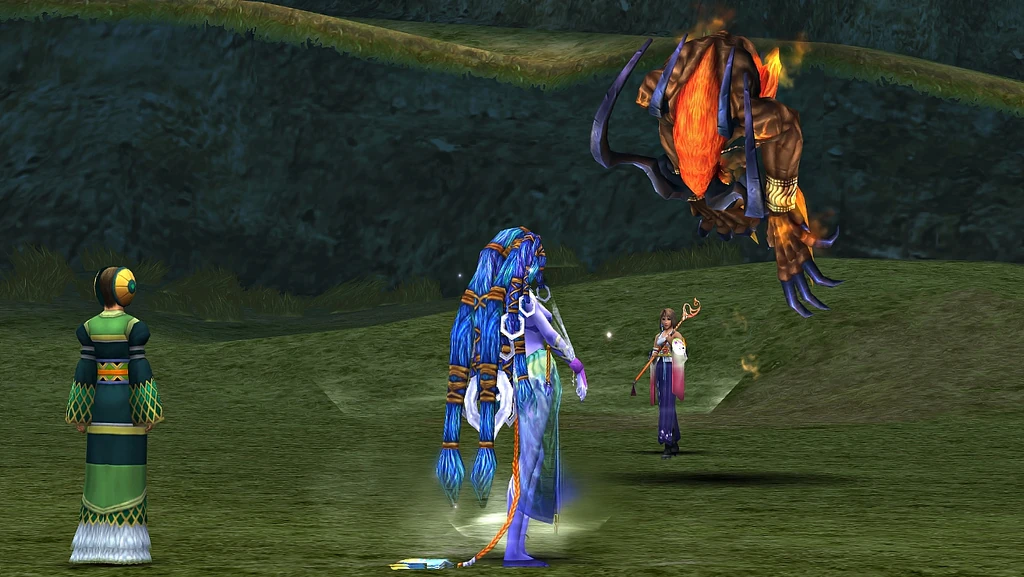
In the crater to the south, you'll find our old mate Belgemine. Accept her challenge.
| Boss Battle: Shiva |
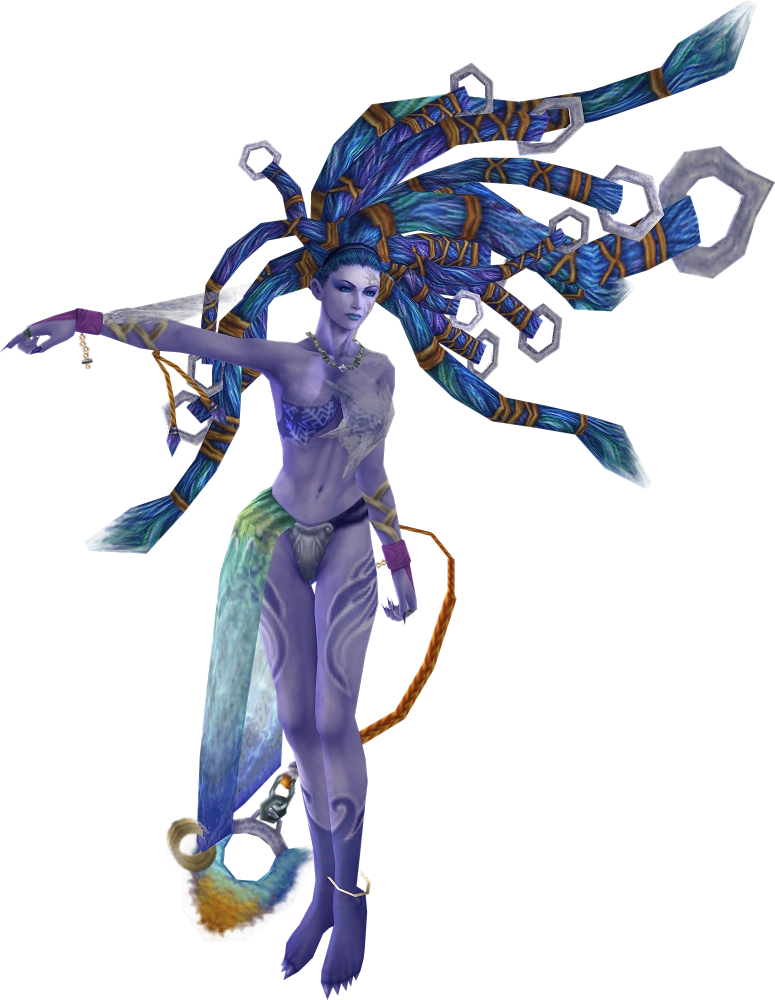 HP: 15000 (1432) Okay, so her defences are astoundingly high. If you try to take her on with any Aeon other than Bahamut, you'll be there until Christmas. With Bahamut, hit her with Firaga or Impulse until you're about to die, then Mega Flare her in the face for (hopefuly) GG. |
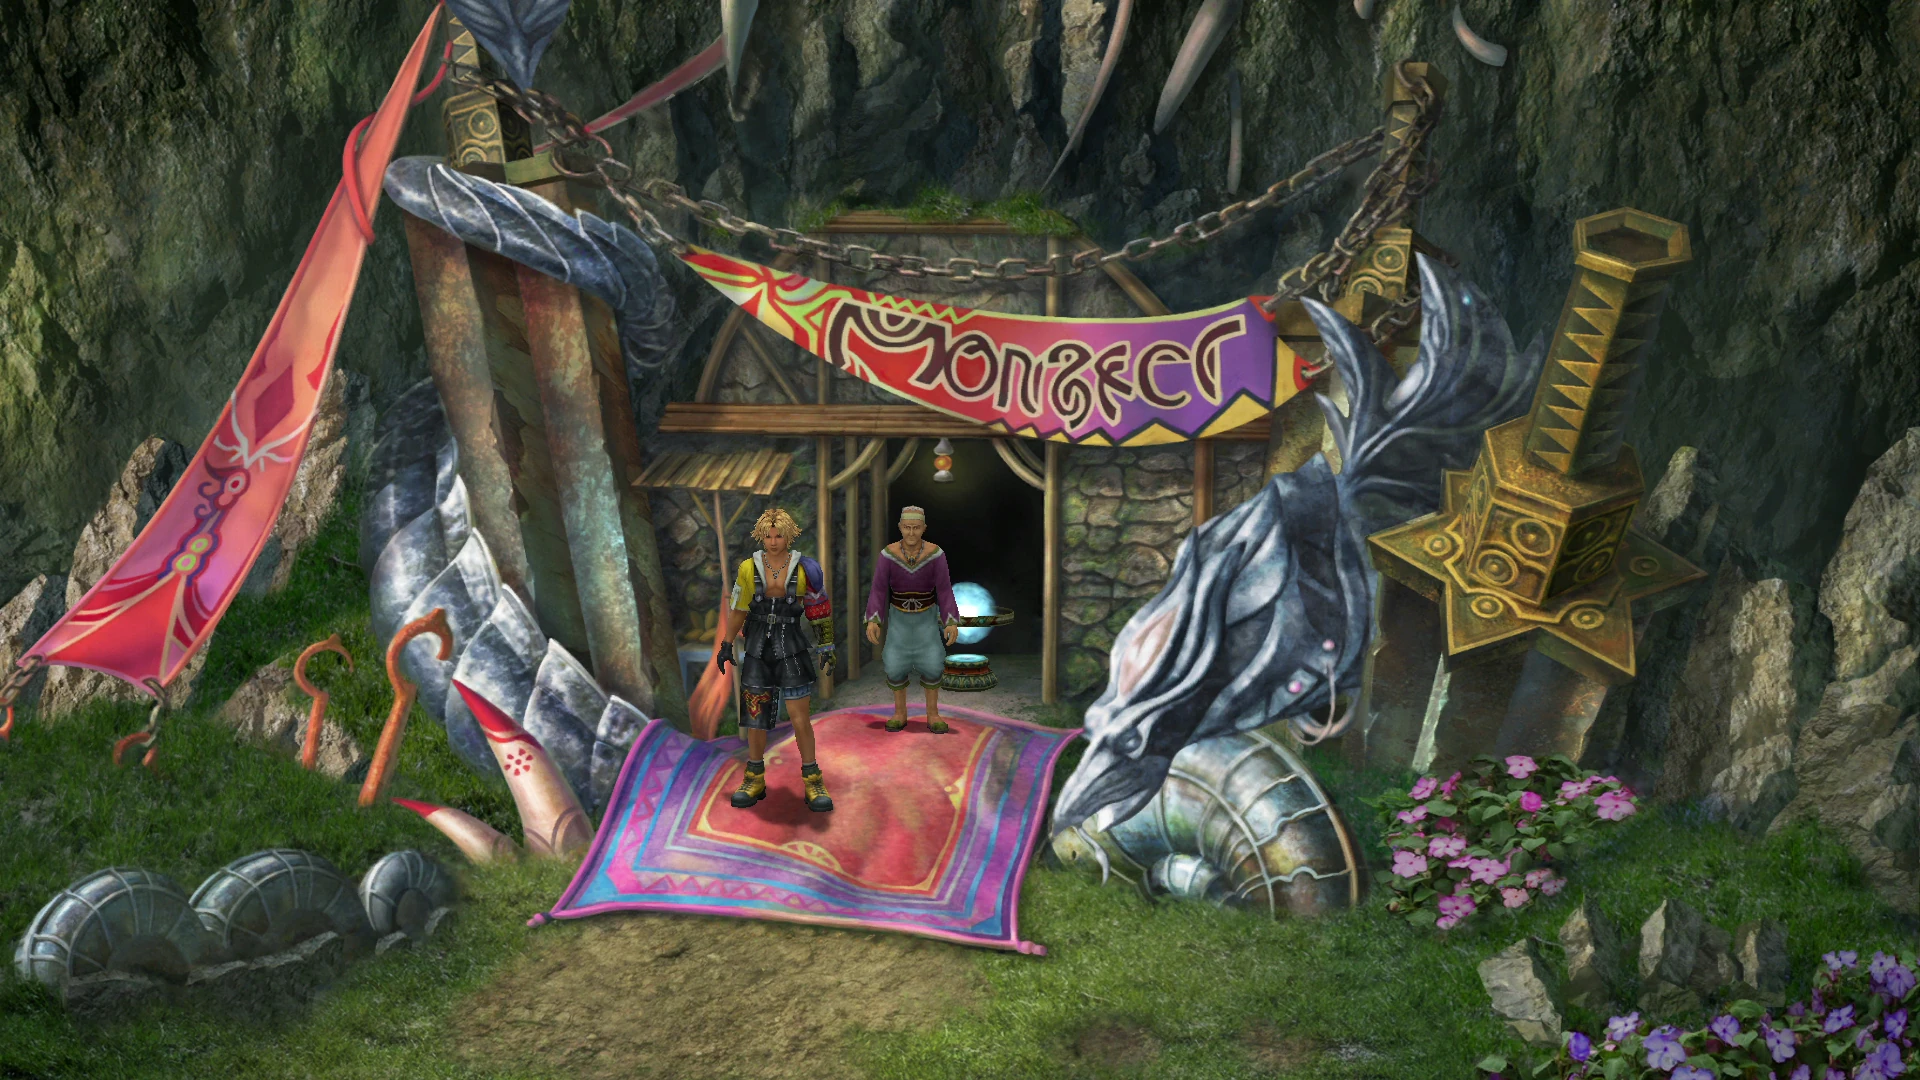
In the east of the area, you find the Monster Arena. This is where the longest sidequest in the entire game begins. It's excellent fun though, and you can gain some brilliant stuff should you choose to pursue it. If you wish to do so, check here for a comprehensive guide.
| Side Questers' Note: If you wish to get Yuna's ultimate weapon (and one of the secret Aeons), you need to agree to help the guy in the Monster Arena, then Capture at least one of every fiend in the Calm Lands and Mt. Gagazet. You'll receive the Blossom Crown as a reward, which is one of the items required for this sidequest. |
For now, leave the Calm Lands to the north-east. Use the Save Sphere and cross the bridge.
The Seymour Brigade shows up and 'summons' us to their necrotic lord and master. We're not Aeons, dude. They sic a giant rock thing on us. Sigh. Can you not think of anything a bit more subtle than a giant rock monster?
Seriously, they have no sense of imagination.
| Boss Battle: Defender X |
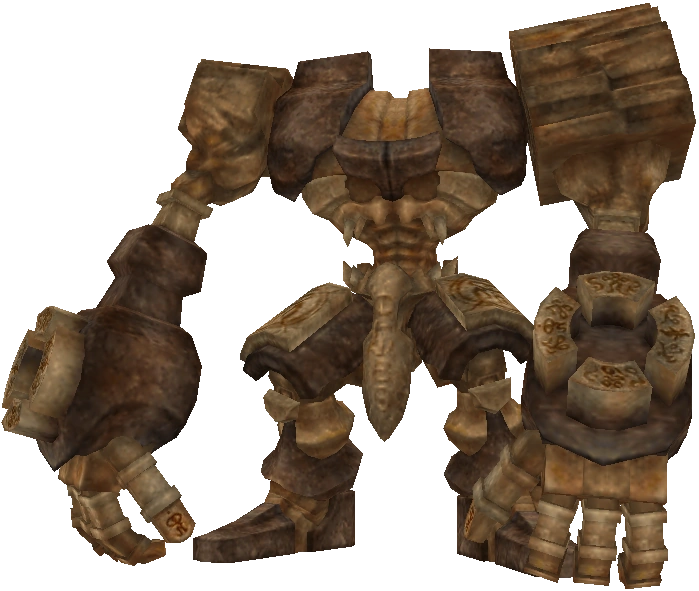 HP: 64000 (4060) This thing is a powerhouse. Blast Punch halves one character's HP and is used as a counterattack. Haymaker will probably KO any single party member without Protect, and some even with Protect. Start with Armour Break, then Dark Attack. From there, switch into any melee fight you like, Yuna and Lulu. When it uses Mighty Guard, have Yuna Dispel it and keep up your offensive. You'll probably die a few times in the process but that's why Yuna's here. Summon an Aeon if you're having trouble; Bahamut's good for the late fight here. |
The Guado are such irrelevant villains that there's not even an after-battle cutscene. Ah well, moving on. If you take the path into the gorge, there's an optional dungeon where you can gain a new Aeon and some nice treasure. However, the enemies are on point and you need 250,000 Gil to get the Aeon so I'll put it in the optional section. Right here, in fact.
Head north and watch the scene -- Tidus' observation is pretty poignant. We end up at Mt. Gagazet, our next location. And it's huge, so I'll leave this section here and see you for the upcoming marathon.
← Home
← Part 17: Unholy Matrimony.
→ Part 19: Ronso Problems.