Introduction[]
Hello and welcome to Part 18 of MystRay's Final Fantasy XII Walkthrough! This is the exciting conclusion to a very short chapter. Especially compared to the first one. In this part, we get a blue Esper, we finally kill a human, and we might hunt some more...all this and more on Part 18!
A Ring in the Rain[]
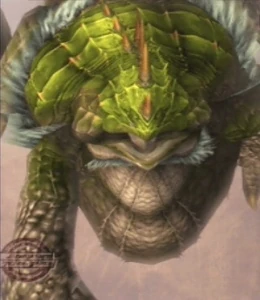
Let's start this up with a hunt! First, teleport to Rabanastre, then, go out into the Giza Plains. It needs to be during the Rains. If it isn't, just skip this part for now and come back to it later. If it is the Rains, go to the Nomad Village. When you get there, there's only one person in the whole village. Talk to him, and accept the hunt for the Croakadile. The way he says, "the precious ring", reminds me of Gollum from The Lord of the Rings. Sadeen is Final Fantasy's version of Smeagol! Yay! Anyway, the only clue he gives us is that it's near a bridge. Actually, since there are only three bridges in Giza, it's not that hard. Just go over a little southeast of the bridge in Starfall Field, and it wll pop out...
| Mark Battle: Croakadile/Mark 8 | |||
 |
Level: 24 | ||
| HP: 19449 | |||
| MP: 780 | |||
| Steal: Horn, Pointed Horn, Aries Gem | |||
| Diffuculty: Easy | |||
|
This battle is atrociously easy. At the beginning, he'll use Angelsong, which gives him Regen. After this he'll just use attacks. After he only has around 25% of his HP left, he'll use Growing Threat, which doubles his level. In later fights, this will be a real pain, but in this fight, you barely notice it. Just massacre him. After you kill him, he'll drop the Ring of the Toad. | |||
Go back to the village, and talk to Gollum Sadeen. You'll show him the ring and he'll give him your reward. 1200 Gil, a Serpent Rod, and a Teleprt Stone. After that, he'll basically seem to die, and he tells us to give the ring to his beloved, which we can't do until the Dries. Anyway, it's time for more Licenses!
Licenses - After Croakadile
Vaan:
- Light Armor 12 - Tile to the right of Heavy Armor 8
- Genji Armor - Tile to the right of Light Armor 12
- Pyroclasm - Tile to the right of Genji Armor
- Ether Lore 2 - Tile above +150 HP
Balthier:
- Swiftness - Tile to the left of +500 HP
- Brawler - Tile to the left of Remedy Lore 3
- Martyr - Tile to the left of Adrenaline
- Ether Lore 2 - Tile above +150 HP
- White Magick 2 - Tile above +50 HP
Fran:
- Battle Lore - Tile to the left of Remedy Lore 2
- Phoenix Lore - Tile above-left of Remedy Lore 2
- Potion Lore 3 - Tile below +150 HP
- Gambit Slot - Tile to the right of Headsman
- Potion Lore 1 - Tile to the left of First Aid
Basch:
- Spellbreaker - Tile below Ether Lore 1
- Shield Block - Tile above Remedy Lore 2
- Spellbound - Tile to the left of Potion Lore 2
- Swiftness - Tile to the left of Headsman
- Gambit Slot - Tile to the left of Spellbreaker
- Channeling - Tile two to the left of Ether Lore 1
Ashe:
- Gambit Slot - Tile to the left of Martyr
- Magick Lore - Tile to the left of Ether Lore 1
- Shield Block - Tile to the right of Remedy Lore 1
- Gambit Slot - Tile below Potion Lore 1
- Channeling - Tile two to the left of Ether Lore 1
- Ether Lore 2 - Tile below Channeling
- +150 HP - Tile below Ether Lore 2
Penelo:
- Shield Block - Tile to the right of Remedy Lore 1
- Battle Lore - Tile below-right of Remedy Lore 1
- +100 HP - Tile below Battle Lore
- Adrenaline - Tile below Remedy Lore 1
- Last Stand - Tile below Adrenaline
We now finally have all of the Quickenings! Yay! Now go back to Rabanastre, and talk to Montblanc. He'll give us 3 Hi-Potions and 2 Teleport Stones for achieving the rank of Vanguard. He will also give us 800 Gil for defeating the Elder Wyrm, and 900 Gil for defeating Tiamat. While you're here, accept the hunt for the Gil Snapper. After you accept the hunt, Bansat will say that he is also after the Gil Snapper. Now go back to Southgate and teleport to Jahara. Before doing this though, go to the Sandsea and accept all the new hunts (1 hunt). Then, go to Jahara.
The Dead Ought Sleep Forever[]
I lied, we're going to do two hunts on this page. When you get to Jahara, go to the Elderknoll. Here, go into the room with the bonfire and talk to High-chief Zayalu. Accept the hunt for Ixtab, and walk/ride a chocobo to the Henne Mines. Once in the mines, go to the corner where you got the map. When you approach the corner, you will meet...
| Mark Battle: Ixtab/Mark 9 | |||
 |
Level: 24 | ||
| HP: 22562 | |||
| MP: 999 | |||
| Steal: Dark Crystal, Book of Orgain-Mille, Flame Shield | |||
| Diffuculty: Easy | |||
|
This is another absurdly easy fight. If you have Balthier in your party, make sure he doesn't have the Ashura equipped. If he has to be bare-fisted, that's fine. Ixtab has two attacks that are not fun. First, he has Doom. You've seen this before. He also has Annul, probably the worst move in the entire game besides Fearga which we'll see later. What Annul does, is it completely drains a player's MP! If he uses it on all three characters, you'll have to resort to items if you somehow get low on HP. Other than this, your Doomed characters probably won't even die before the battle's over. | |||
After killing him, return to Jahara. Talk to the High-chief and he'll give us our reward. 1300 Gil, 1 Ether, and 1 Soul Powder. The Soul Powder is another one of those do not sell until told to items. So put it at the top of your inventory like usual. Now, it's time to get on with the story. Teleport to Mt. Bur-Omisace.
A Little Journey[]
When you get to the Sand-strewn Pass, go and sell all of your loot that I'm allowing you to sell. At the Seeq merchant, buy these spells; Haste, Decoy, and Stop. Now we are ready to go to the Stilshrine of Miriam! Exit Mt. Bur-Omisace.
In the Frozen Gorge, take the southern exit.
In the Frozen Brook, take the southwestern exit.
In the Path of the Firstfall, save, and continue on.
In the Spine of the Icewyrm, you're going to meet an old enemy, and a new enemy. The new enemy is the Twintania. These guys are pretty powerful so watch out. The old enemy is our old friend, the Garuda from Raithwall's Tomb. Just have Ashe kill them wih her mighty bow! Take the linear path to the next area.
This is Silverflow's End. It's the last area before the Stilshrine. Just head south, and eventually you'll come to it. You'll also meet a new enemy here. the Yeti. These guys are also really easy.
Nightmares Do Exist[]

Me Stone Guardian. Me Kill You.
Welcome to your doom. This is one of my least favorite areas in entire game. It expects you to solve a really annoying puzzle that would take forever without a guide. Luckily, that's why I'm here! This first area is only for looks. This is the Walk of Sky. Just walk forward, and into the next area
The next area is the Walk of Mind. Save, then enter the shrine.
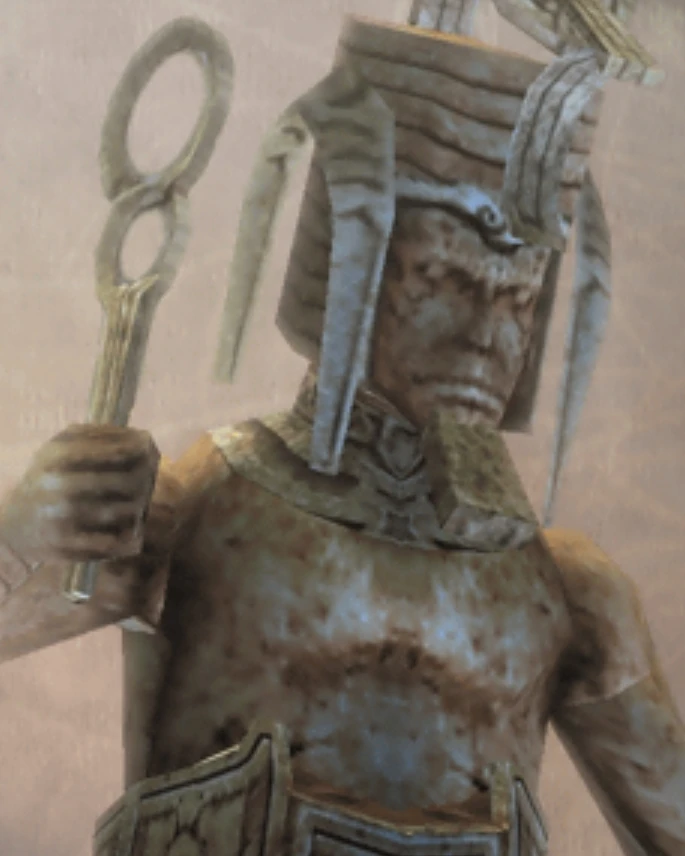
This is the Ward of Measure. The first thing you'll notice is the giant statue in the middle of the room. This is key to getting through this area. Make sure that your party leader has the Dawn Shard equipped, and touch the Pedestal of the Dawn. You'll see the eyes of the statue start to glow. If you didn't have the Dawn Shard equipped, you would have a horde of zombies pop up behind you. After this, you're teleported to a new area.
In the Ward of Velitation. You'll automatically be thrusted into a battle with a Miriam Guardian. These guys are pretty easy, just hack away. Now, the trap in the corner is a fake. It is actually a Rejuvenation trap. It'll give you almost full health, and the chest on the trap contains an Elixir. Walk through the hallway and into the big area. You'll meet three new enemies. These are Dragon Aevis'. These guys are hard. Just skip them. Run into the next area. two Miriam Facers will try to block your path, but just keep running.
The next area, Walk of Torn Illusion, is just another area. go up the stairs and around with the Dawn Shard equipped and touch the pedestal. Along the way, there will be Miriam Guardians and Facers. Back in the Ward of Velitation, go down either of the new paths. They both lead the same way.
In the Walk of Revelation, go forward to the Life...Crystal...? What! Actually it's a trap! This is a new type of enemy called a Crystalbug. You have to defeat them in order to use them as Save/Gate Crystals. Its pretty easy. After defeating it, save and go through the central passage and into the next area.
In the Ward of the Sword King, kill some new enemies! We have the Blood Gigas' that are relatively easy. The other new enemy is the Darkmare. These guys are hard, but not unmanagable. What you need to do here, is go as far south as possible, and examine the giant sword. This will open the door at the other end. Go there and touch the Waystone.
The Waystone takes us to the back of the Ward of Measure. Go back out and save. We are officially halfway through this dungeon. Go back in and go down the set of stairs to your right and into a new area.
This is Cold Distance. This isone of the new central hubs. Go into the only available exit.
Welcome to Walk of Prescience. You will meet another new enemy here. The Balloon. They're basically a beefed up Bomb. What you need to do is take the upper path and follow it as it loops around. In a bigger square area, there will be a statue in the middle. Kill all of the enemies here, and then examine the statue. What you need to do, is rotate the statue until it is facing the bigger statue in the main area. You can check if they're facing the right way by using the Select map. Turn this one counter-clockwise once. After that, go into the next area.
This is the Walk of Reason. This is the needed maze area of the dungeon. Just go up, then down into the crossroads and up then down and down, until you get to another statue. Turn this statue counter-clockwise once. Take the right path and then up until you get to the next area.
You are now in the other part of Cold Distance. You may want to go and save before we go into the other room. When you're ready, go into the next new area.
In this area, the Ward of Steel, we have our third boss for this page...
| Boss: Vinuskar | |||
 |
Level: 27 | ||
| HP: 15138 | |||
| MP: 999 | |||
| Steal: Knot of Rust, Thief's Cuffs, Damascus Steel | |||
| Diffuculty: Too Easy | |||
|
This is such a joke. He has the magnet effect like the Dark Elf in FFIV, but it doesn't really effect you. He also has less HP than some of the random enemies! He can cast Slow and he has two attacks that might cause a little bit of pain. Crown hits one person, and Sword Dance hits your whole party. If you die here, you are unworthy of this game. | |||
After the battle, continue on through this area, and behind the door is the last statue. This one you can go either way twice. Once you're back in the main area, the giant statue will lift up her sword. Go back out and save. Now. You will need this. When you're ready, go and touch the Waystone in the back of the main area. Now go into the area past the sword that you couldn't get into before. Now we have the fourth boss on this page...
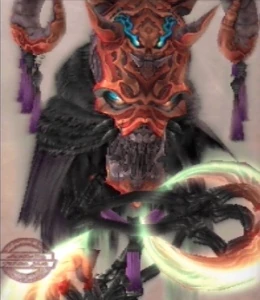
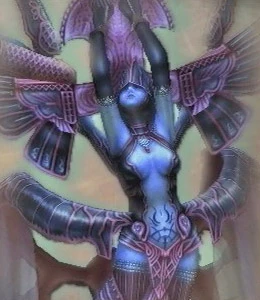
| Esper: Mateus | |||
 |
Level: 30 | ||
| HP: 34259 | |||
| MP: 999 | |||
| Steal: Pisces Gem, Elixir, High Arcana | |||
| Diffuculty: Hard | |||
|
This fight is one of the big reasons why I hate this place. Be prepared for the longest fight yet. He starts the battle with 6 Ice Azers, which are basically an easier version of the Ice Elementals. They will take a while to bring down though. Make sure that Balthier is once again bare-fisted since Mateus is immune to Darkness. TheIce Azers are only capable of casting Blizzard. Mateus on the other hand has quite a few attacks. He can cast Slow and Sleep on your party members and he has an attack called Flash-freeze, which is basically a beefed up version of Blizzard. His ultimate attack is Blizzaja which deals massive ice damage and can inflict Sap. He can also periodically cast Reflect on himself. About 2/3 of the way into the fight, he'll cast Chain Magick on himself which will reduce his spell charge time to 0. Just keep hacking and curing, and eventually he'll fall. | |||
After the fight, you will gain Mateus, the Corrupt as your second Esper. When you gain control again, give Mateus to Balthier. Now, go through the other door and let's claim our prize! Walk forward in the next area and we'll be thrust into a cutscene. Ashe brings out the Dawn Shard, and all the gears stop moving and the lights dim. We are now granted a cool loking but completely worthless sword. Ashe gets the sword, and Vaan tells her that she should test it out on the Dawn Shard. Ashe is somewhat surprised that Vaan would say something like that, and she's right, it's the only thing that she holds that actually gives her power., and...wait..Balthier!?! Don't take Vaan's side! How could you betray the world like that! He says that the Dawn Shard is useless to them. He's not entirely wrong, but...still! It's Vaan! Anyway, Ashe starts to foolishly take their advice, but the stone is aroused...wait...I didn't stones could be...aroused. Man, you learn something new everyday! The stone spews Mist and the phantom, Rasler pops up. He shakes his head no, and everybody else thinks that Ashe is having another of her crazy spells. Except for Vaan. Still, Ashe raises her sword, and cuts the thing in two. Rasler nods and fades away. Fran states the obvious and they start to walk away. Ashe asks Vaan if he saw Rasler again, and of course he...didn't? What!?! Vaan didn't see anything. This is supposed to be a sad and dramatic moment, but I can't help laughing when Vaan says this. The really bad thing is...and I'm sorry to admit it...but...he looks awesome in Dissidia 012! Why! Oh well Yuna looks way better. Anyway, the scene fades, and we gain control again. Now, the Sword of Kings is equippable, but it's useless to equip it. Especially at this point in the game. Now, they make us walk all the way out. So do that, and when you exit...
Another Finale[]
The Empire is attacking Mt. Bur-Omisace! NOOOOOOOOOOOOOOOOOO! Well obviously we know what to do. Go to the mountain! (hint, hint: teleport)
When you get to the mountain, sell all of your loot. Then buy an Iron Pole for Vaan, and a Loxley Bow for Ashe. After this, head up to the temple, and head into the Great Hall.
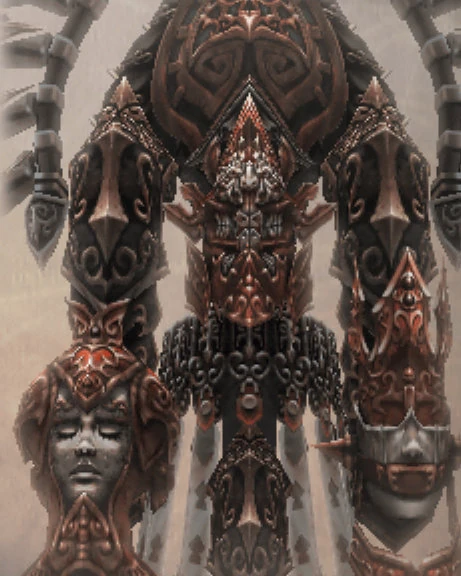
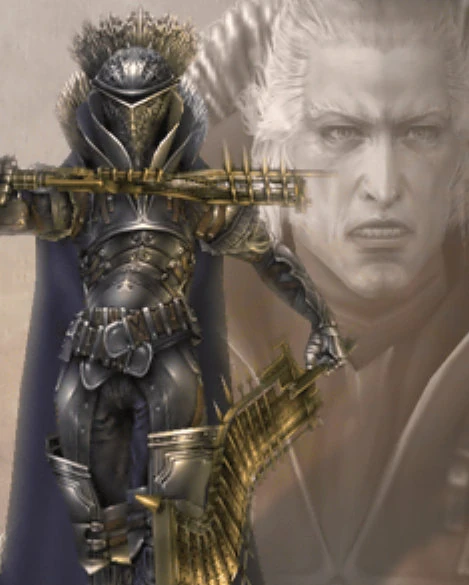
Here's where the real final boss of this chapter is. Everybody's dead. Even the Gran Kiltias! And his killer? Why he's none other than...Judge Began! The ugliest thing to ever exist in a video game. He says some mumbo-jumbo including the best line in the game, and we see that he is also infected with the Mist like Mjrn was. He goes on a tirade about Vayne, and then we fight...
| Boss: Judge Bergan | |||
 |
Level: 30 | ||
| HP: 17200 | |||
| MP: 999 | |||
| Steal: Hi-Potion, Ruby Ring, Ether | |||
| Diffuculty: Medium | |||
|
This guy can be a pain. He starts off with 3 Judges behind him, so focus on them at the beginning. After he's at about 75% HP, he'll use Battle Cry, which bumps up his Attack and Defense drastically. He'll start hitting at around 600 a hit. He also is very good at blocking and evading. His attacks can also inflict Blind which can really hurt you. Just keep pounding away, and eventually he'll fall. | |||
After the battle, he'll go ballistic and explode. We sit there mourning over the dead. Penelo brings up Larsa, and we all suddenly remember about our Impeial buddy. Luckily, Al Cid pops up and tells us that Judge Gabranth has taken him back to Archades. They talk for a while, and we have our next plan. We are going to Archades! And what a journey that will be. Before you leave the Temple Grounds talk to the Nu Mou by the base of the steps. He'll say something about acquiring greater power, and he'll give us the Stone of the Condemner. This is needed for an optional Esper later in the game. Go to the Sand-strewn Pass and save. Next time, we start the 3rd chapter of the game. We will start making our way to Archades! Adios!