It's good to be back. I took time off from writing this to teach, and now the summer holidays are here I'm free to write as much as I please. Welcome back to all of us, I suppose!
Back to Rabanastre! There's one last hunt to accept, and Montblanc's got the goods. Accept the final hunt, Farewell to a Legend. But before you can take on the ultimate mark, you have to prove your worth...by defeating the penultimate mark. It's an uphill struggle, isn't it? Anyway, after accepting the hunt warp to the Sochen Cave Palace.
Sochen Cave Palace[]
Head south through the cave to Destiny's March. Remember the Ascetic's Door we opened earlier? Use the Ascetic's Key you got from the Vyraal hunt to open it. Oh look, a big dragon. Here we go!
| Boss Battle: Hell Wyrm | |||||||||||||||||||||||
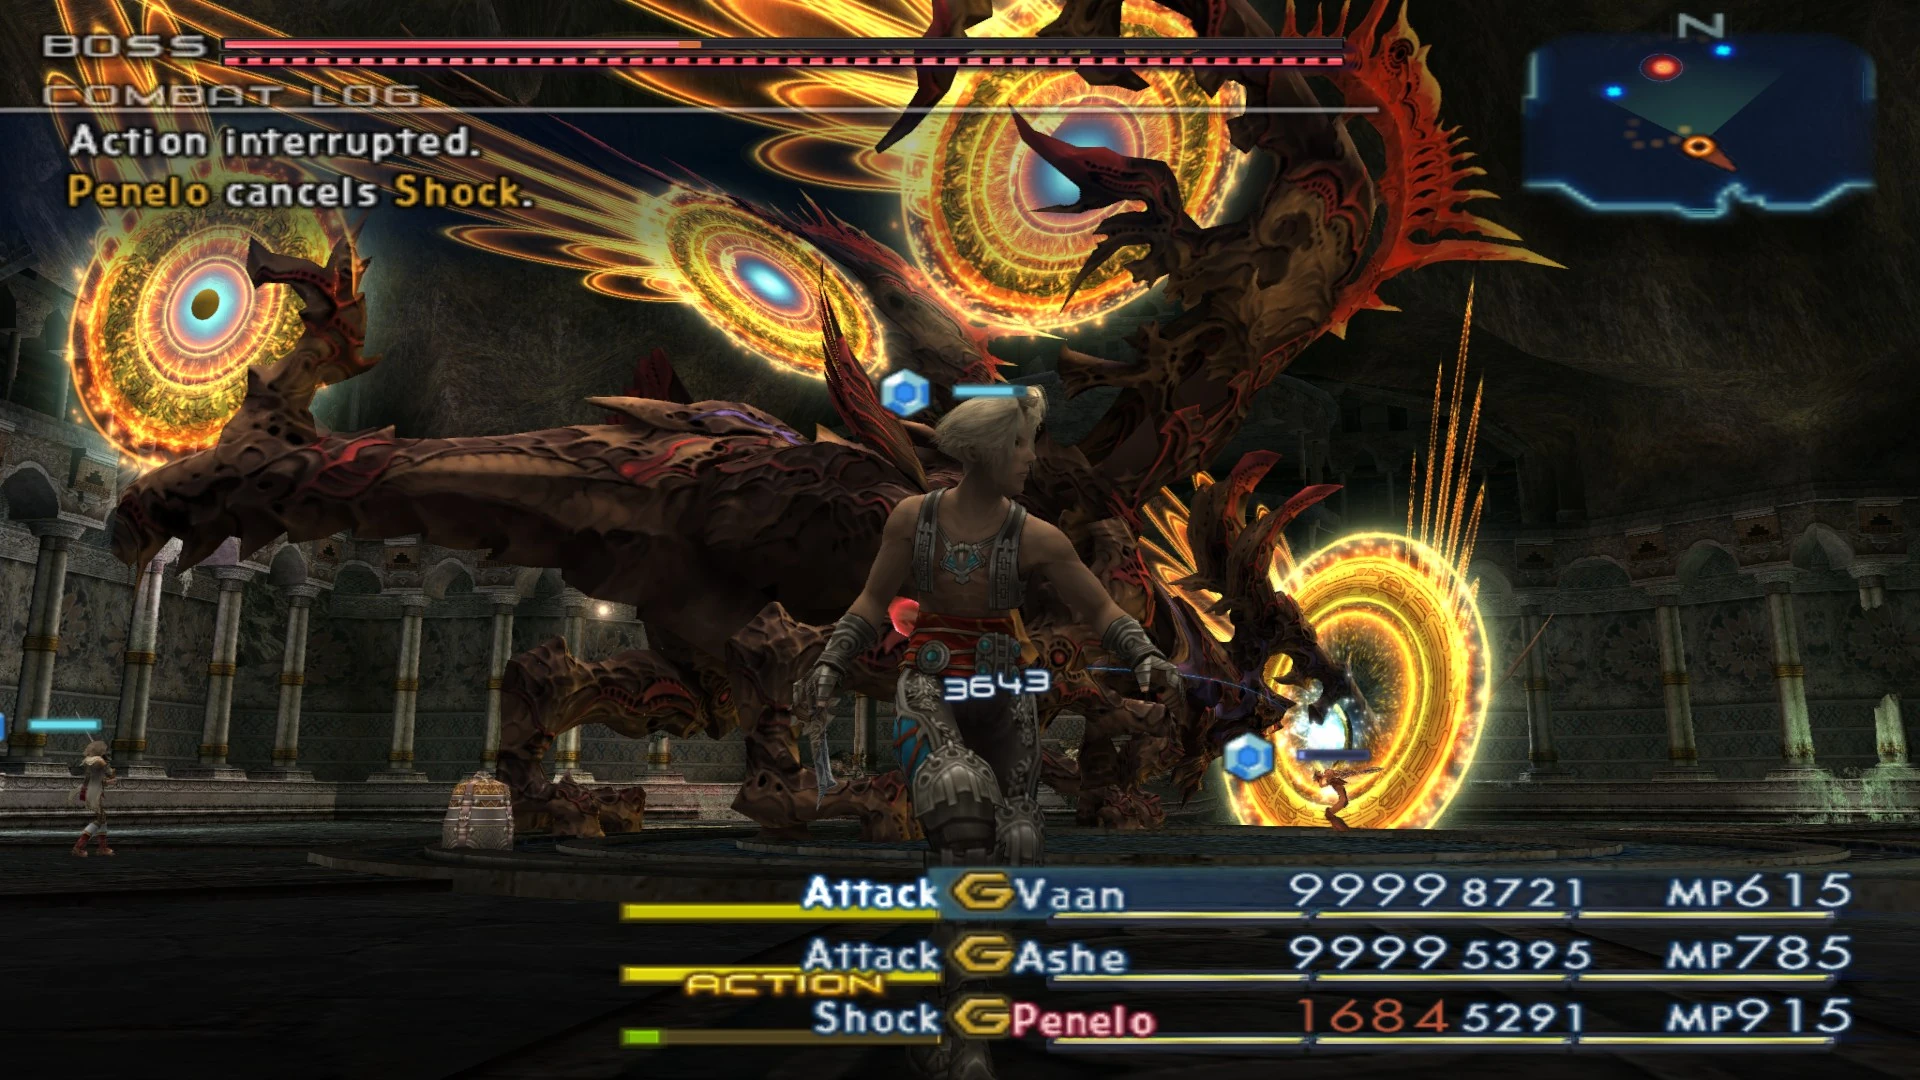 |
Level: 60 Elemental Affinity:
| ||||||||||||||||||||||
|
| |||||||||||||||||||||||
| Strategy: Christ on a crosstrainer, that HP value. It's not quite Nemesis, but bear in mind you don't have Break Damage Limit like Final Fantasy X, so you'll have to hit it almost ten times as much to bring it down. And you can't even summon a string of Aeons to chump block on his turn...how different Final Fantasy XII is to its predecessor. Those red dots equate to one whole health bar, and there are 50 of them alongside the initial health bar. Thus, each bar represents 1/51th of Hell Wyrm's total health, which is roughly 175,112 HP. Anyway, to battle. You need to be immune to Petrify and Stop to avoid spending time curing what ails you. Ribbons, Power Belts and the like are your best options here. Stop is caused by Judgement, which Hell Wyrm uses after losing every 5 HP bars. It's weak against Holy, so the Excalibur and Holy Lance are both useful here. Note that its attack pattern changes depending on its remaining HP: 30-20% HP: Only uses Rake At HP less than 50%, your maximum damage becomes 6,999. You can also use Expose to reduce his Defence, which will help expedite the killing process. Beware that his physical attack has a 1/20 chance of inflicting Instant Death, which let's face it is a cheap trick to annoy the unlucky. So I'll wish you good luck to help push the odds into your favour ;) If things get too hairy (scaly?) you can leave the arena and return later - like Deathgaze and Ultima Weapon before it, Hell Wyrm's HP will remain as it was when you left it. | |||||||||||||||||||||||
And Hell Wyrm falls, giving us...nothing in particular to show for it. Salt. You can pop off back to Rabanastre to claim 50,000 Gil from Monty for the kill. Now that we've proved ourselves, it's time to go searching for the strongest enemy in the entire game...
...or it would be, if there wasn't a slightly less powerful superboss to deal with first. The strongest has to come last, or the dramatic buildup doesn't work properly. And I guess you need as much practice as possible. Let's go with that. Save your game and warp to Giruvegan.
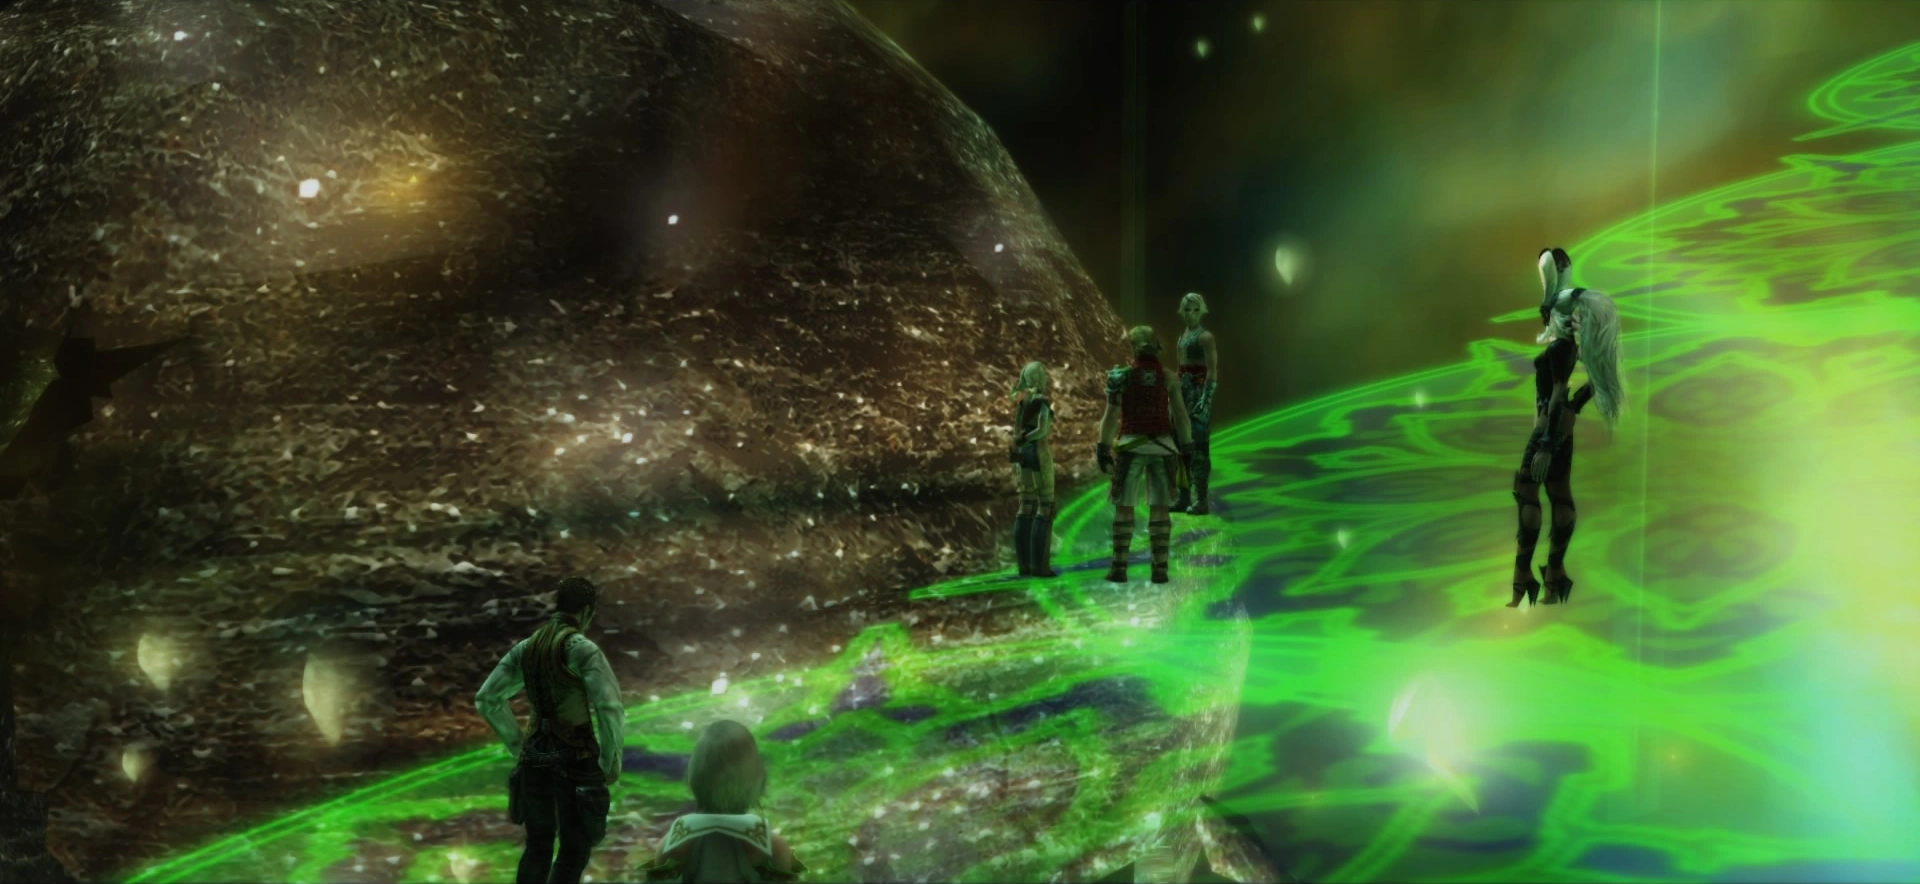
I'm sorry, I'm so sorry; but you've got to leg it all the way back to the Great Crystal. But assuming you're done with monster farming and treasure hunting, this is the last time you'll have to come here, I promise.
Great Crystal[]
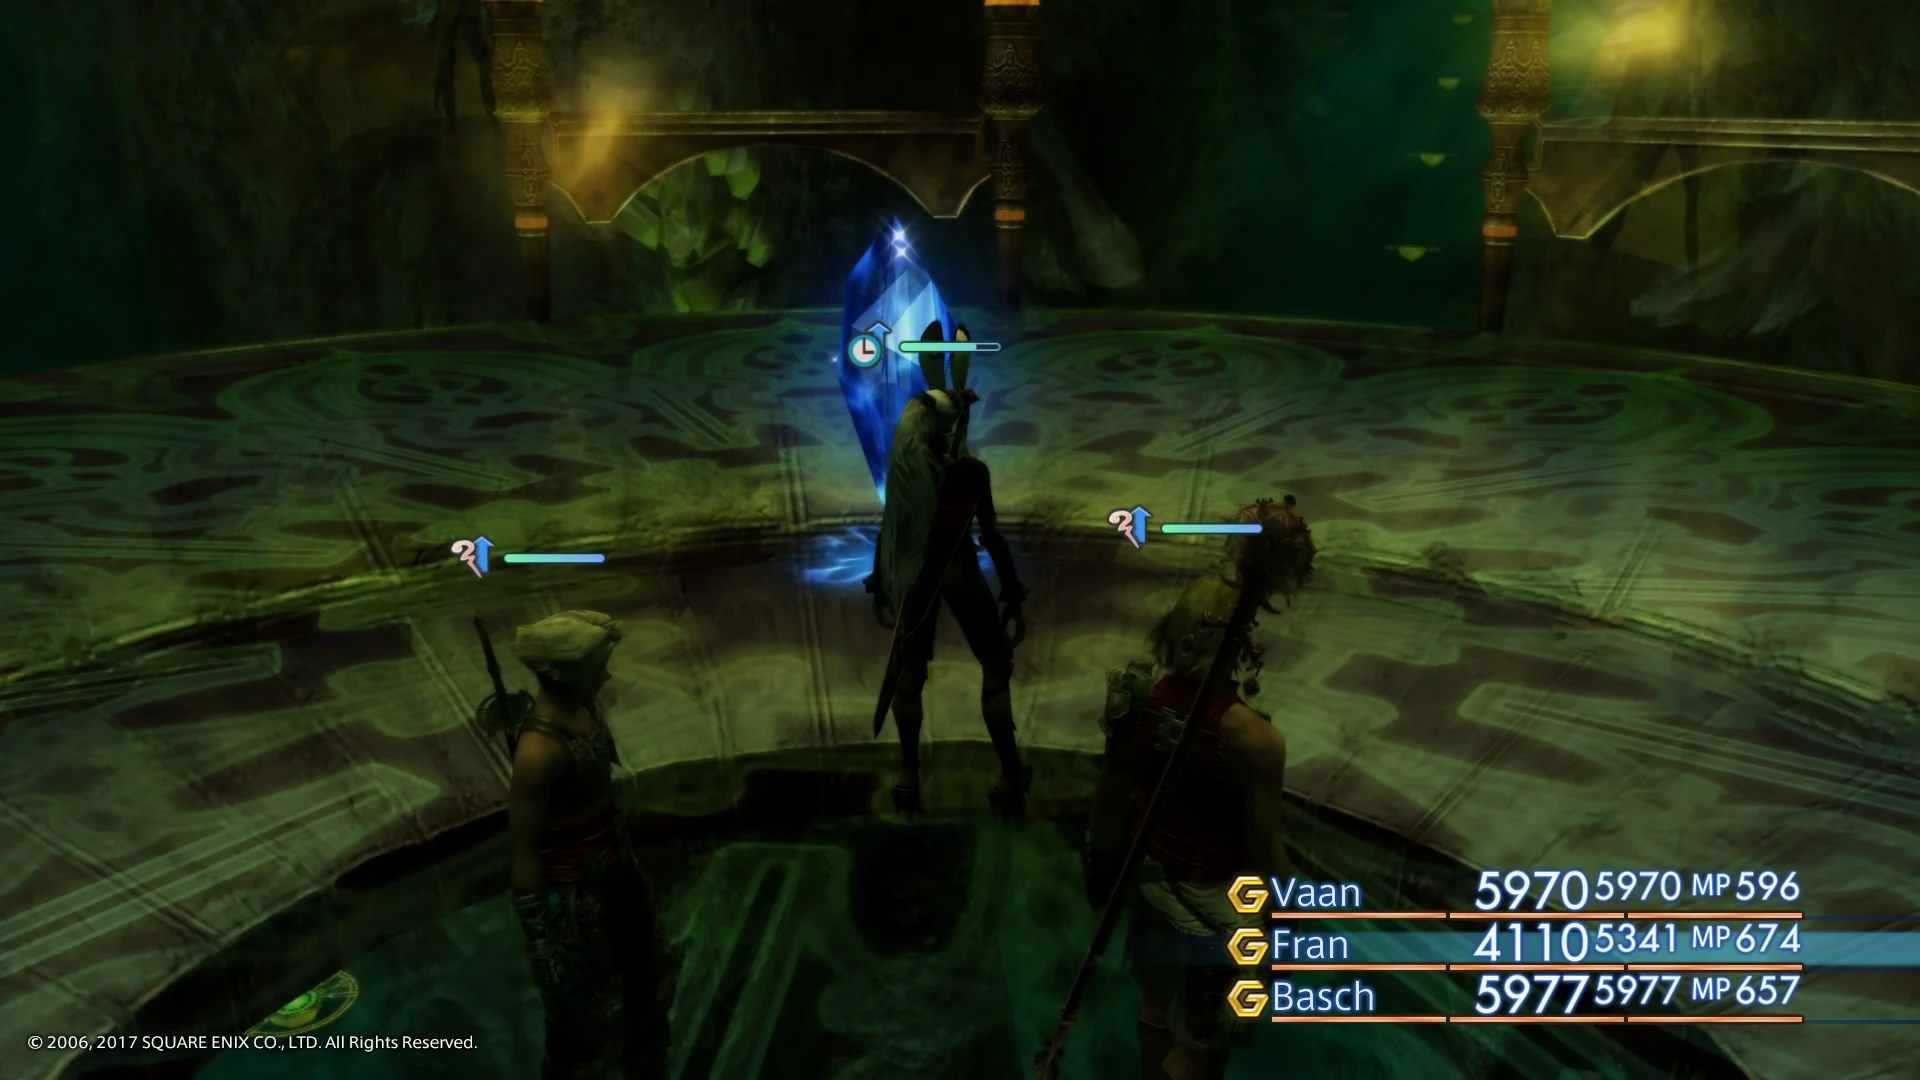
I hate to be the one to tell you this, but you've still got a way to go. I suggest using Parts 40 and Part 41 of this walkthrough for guidance. You need to return to the Save Point just before Ultima. Once you're there, follow these directions:
To Omega Mark XII[]

Welcome back to hell.

You start here.
- Northwest
- Activate Aquarius Gate Stone (288 seconds), return
- Northeast
- Use Way Stone XVIII
- North
- Northeast
- North
- Northeast
- Disable Gate Aquarius I
- Northwest
- Activate Taurus Gate Stone (252 seconds), return
- Northeast
- Northwest
- Northeast (past Libra Gate Stone)
- Northwest
- Northeast
- North
- Deactivate Gate Taurus I
- East
- Use Way Stone XXI
Now continue north, using each Way Stone as you go. You'll see a giant Mimic thing at the end.
| Boss Battle: Omega Mark XII | |||||||||||||||||||||||
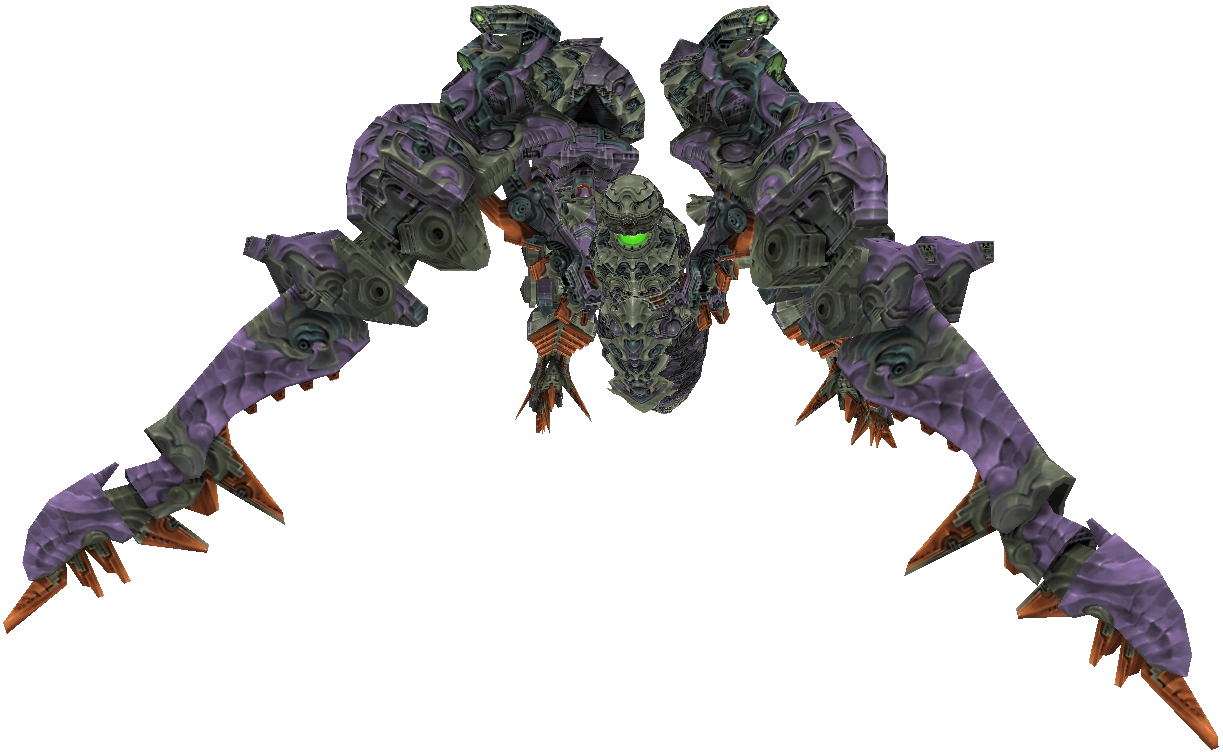 |
Level: 99 Elemental Affinity: | ||||||||||||||||||||||
|
| |||||||||||||||||||||||
| Strategy: What, no HP blobs? Only 1 million HP? Pfft. And it can only attack one character at a time. The snag is, that attack is a laser that will kill you in two hits, so you have to be on top of healing, big time. Put up Bubble and have a HP over 8000 and you might survive two lasers. Might. The best tactic seems to be a tanking strategy that sets up your beefiest character with Reverse and Decoy, making Omega heal you constantly while you (slowly) chop it into mimicky pieces of scrap metal. There are two "buggeration factors" here, as my driving instructor used to say. One is that Decoy is treated as a negative status condition and can fail to stick; kind of like Berserk. Similar deal with Reverse, so have both other members on status duty as well as healing. Because of Omega 12's changing elemental affinity, this is a strictly non-elemental weapons battle. Zodiac Spear, Tournesol; your highest-power weapon that won't heal the thing accidentally is fine. Once you've got your setup in place, you can pretty much leave it (providing you keep an eye on the carnage) and wait for the Gambits to do the rest. | |||||||||||||||||||||||
Make sure you pick up the Omega Badge, which can be Bazaar'd into one of the game's strongest weapons. Although by this point you should have already kitted out your party in their finest raiments. Though I would recommend obtaining at least one Yagyu Darkblade, which can be obtained by chaining Bombshells in Lhusu Mines. Cheeck Part 40 for further details.
When you're ready, warp to the Ridorana Cataract.
Ridorana Cataract[]
Save up and make your way to the Colosseum. Good lord, look at the size of that thing. It's go time, huskies!
Hunt 45: Farewell to a Legend[]
| Mark: Yiazmat | |||||||||||||||||||||||
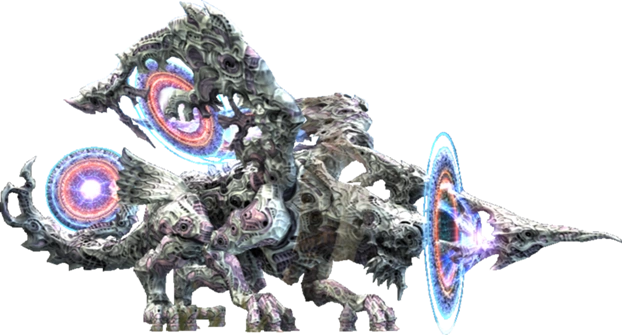 |
Level: 73 Elemental Affinity:
Recommended Level: 85 | ||||||||||||||||||||||
|
| |||||||||||||||||||||||
| Strategy: Fifty million HP. That's the highest HP in Final Fantasy history, other than some tryhard superboss from Lightning Returns. Because you can only deal 9,999 damage per hit (reduced to 6,999 when Yaz falls under 50% HP), you have to hit him at least six thousand and eighty six times. That is an unreasonable number of times. Prepare to be here for a good few hours. You know, giving a boss an absurdly high HP count for the sake of time consumption is not a good strategy. Paper Mario: The Thousand Year Door's superboss had only 33% more HP than the final boss and was difficult because of the strategy required to fight it, rather than it being a lengthy grind fest/battle of attrition. Anyway, enough whining; here's your battle plan. Do the exact same thing you've been doing for hunts this entire time. Set up your Gambits to replace buffs, attack whenever possible and account for every situation. You need to resist (if not outright block) Petrify, Stop and Sap, as well as keeping Shell Up to have a 50% shot of blocking Death Strike. He'll also use Rake, which again has a 5% chance of inflicting Instant Death. His combo potential is indirectly proportional to his remaining HP; at lower health he'll combo up to 12 times, which carries up to a 46% chance that the targeted character will die instantly during the onslaught, and a 99.99999% chance that they'll die from the damage. Etiher way, it's Death o'clock. Oh, and set your Battle Speed to the highest value if it's not maxed out already. Shinryu here has no charge time for his attacks, so low battle speed only slows you down. Every 40th move Yiazmat uses is Cyclone, a Wind-based, party wide attack that deals huge damage but due to its scarcity shouldn't cause a total wipeout, but will mandate rapid healing. The damage can be reduced with Wind-resistant equipment if you find yourself struggling to deal with it. Shields are pointless here, which is fine because your weapons will probably be powerful, two-handed affairs like the Tournesol, Zodiac Spear and Yagyu Darkblade. Because of the damage cap during the second half of the fight, you want to switch to fast, high-combo weapons as the battle drags on. If you're not hitting for maximum damage, you can use Expose to reduce his Defence. A superboss with two vulnerabilities; how about that. About the arena: There are traps all over the place, so it might be an idea to do a brief lap of the Colosseum, triggering and then recovering from said traps before you accidentally spring one at a critical moment. The salt would be too real. You can physically run away from Yiazmat and put yourself at a distance out of range of his attacks, but he will buff himself including Regen, so hardcast Dispel. Like with Hell Wyrm, if you leave the arena he'll retain his HP value, but if you leave while he's under Regen, you might find yourrself return to a fully-healed and very angry superboss. During his last 10 bars of health, he'll use Growing Threat to become Level 140 (chet), making him even more powerful. Remember when Behemoth King did that and started to wreck you in the face? Well, that. In the last 5 bars he'll use Reflectga on you. Even if it means resetting your buffs, Dispel your party immediately. There is a chance he'll cast Renew on you, which will bounce back and heal Yiazmat back to full HP. All 50,112,254 HP. I can't imagine the frustration that would cause. It's one of the main reasons why you can't just set up your battle plan and then sit back and keep the occasional eye on things. So not only do you have to sit through this slugfest, you have to actually pay attention during the final leg of the fight. It's a massive ballache, but stay vigilant and you will eventually bring this thing down. | |||||||||||||||||||||||

Yeah I'm having trouble believing it myself.
Congratulations! You've just taken down the bulkiest enemy in the entire series. Now save your game and report back to Montblanc to watch his Moogly jaw drop. Oh, and to pick up the sweet, sweet rewards. Although the Godslayer's Badge only does anything if you Bazaar it alongside the Omega Badge and Lu Sheng's Badge, which can only be obtained by completing this ridiculous sidequest.
Basically, selling all three badges to the Bazaar unlocks the Wyrmhero Blade, an affectionate nod to Final Fantasy's rival RPG series, Dragon Quest. While powerful, it has a miserably slow charge time and is vastly outclassed by the Zodiac Spear and Tournesol. Completionists might get off on it, but you're now so powerful that the final battles are as nothing compared to what you've just been through.
Take a breather; you've earned it. Next time: the final showdown! It's been a long time coming. See you there.
← Home
← Part 48: "Going Down".
→ Part 50: "The Battle for Freedom".