Oh god, this bit. It's not the part I'm dreading most (and returns to Final Fantasy XII will know exactly what I'm referring to) but this part of the game kinda sucks. It's long, and aesthetically unappealing. Great for grinding, though. Every cloud and all that, I suppose.
It also won't surprise long-time readers of my walkthroughs that I'm hungry. The fun I'll have writing this.
From the Western Divide area of the Westersand, head west. Lots of 'west'.
Ogir-Yensa Sandsea[]
Enemies[]
- Alraune
- Urutan-Yensa
- Speartongue
- Salamand Entite
- Pineapple (Rare Game)1
- Urutan Exile (Rare Game)2
1 20% spawn in Platform 1 - Refinery
2 20% spawn in Platform 2 - Refinery after killing 100 Urutan-Yensa
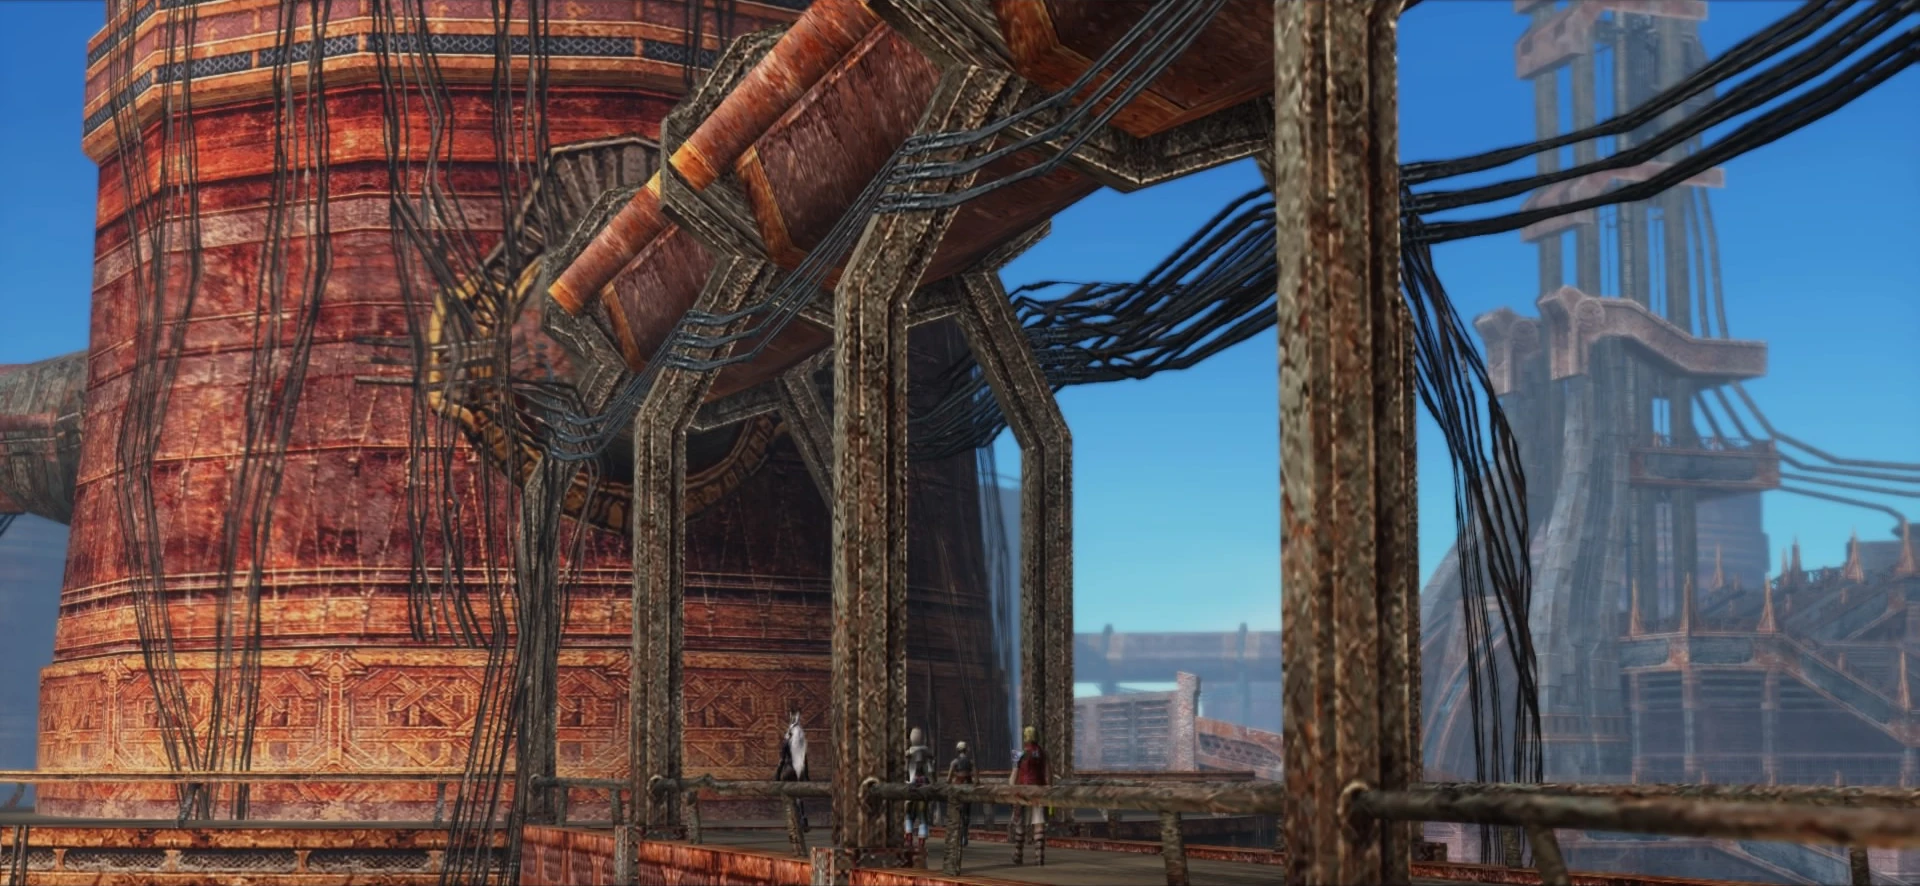
You start on Platform 1 - East Tanks. It's long, full of traps (equip a Bangle or keep yourself in Libra to avoid being blown out) and is home to the Salamand Entite, an angry ball of fiery rage that will obliterate you with Firaga if you so much as cast a spell in its presence. R2 is your ally here, huskies.
Head forwards for a cool FMV -- what is this place made of, Squand? Head up the ramp onto the platform, then go southwest. On the next platform, west is the way you want to go. Basch explains what this huge rig is for -- the Rozarrians built it to make use of all the oil that apparently exists.
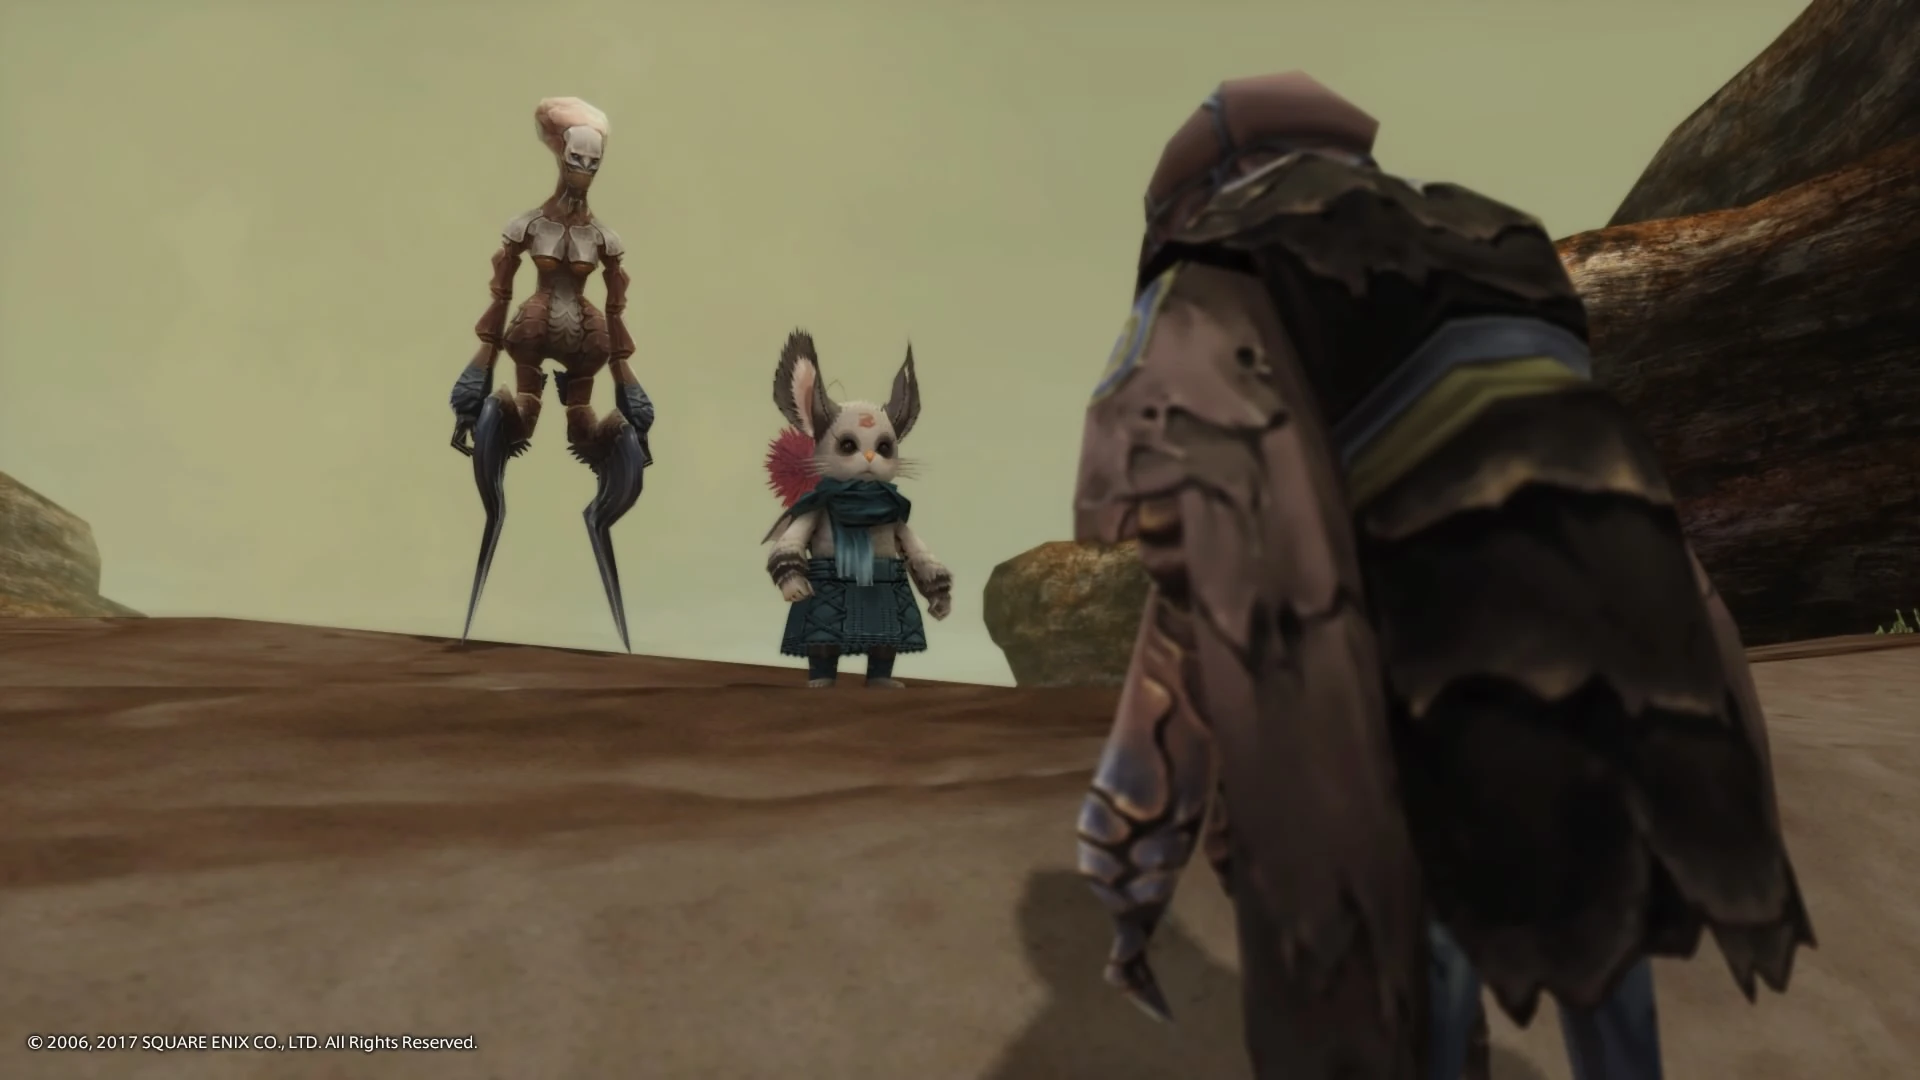
Also, Vossler? Whatcha doin' here? Oh, to find out why Basch is abetting Sky Pirates. Fran suggests you get the hell out -- this is Urutan-Yensa territory, and they don't like visitors. What are the Urutan-Yensa? And you didn't check the link I posted just for you? Basically, skeleton bandits. Or Final Fantasy XII's version of the Al Bhed, only slightly more killy. 'k then. Also, Vossler joins you as a guest (again).
This place is waaay too big.
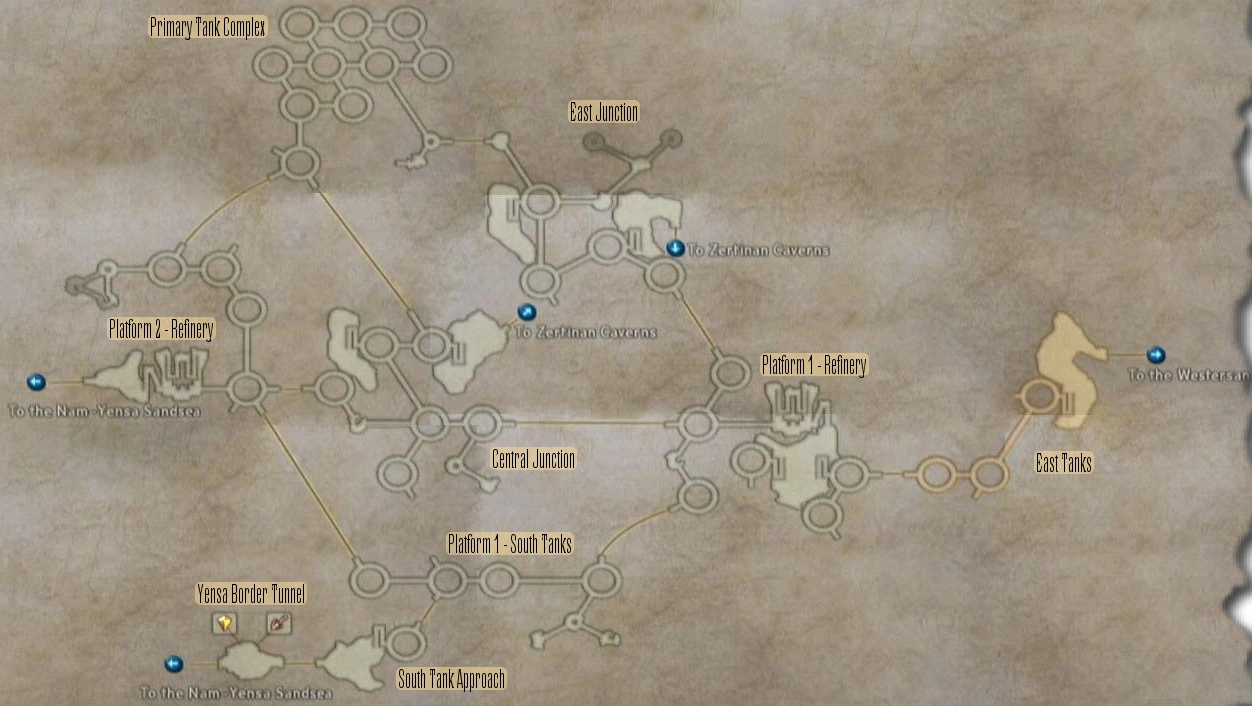
You're on Platform 1 - Refinery. The southwestern path leads nowhere, so go west down the stairs to ground (well, sand) level. You'll start fighting Urutan-Yensa enemies here, which can cast Dark. Anyway, the western platform contains the area map of the Sandsea, and it's massive. Seriously, look at how much you have to cover.
The two eastern exits, accessible from the Central Junction and East Junction lead to Zertinan Caverns, an area you're probably not ready for level-wise and for now, mostly blocked off by sandfalls. So return to the sandy ground floor and proceed up the northeastern ramp to the higher level. The quickest path forward is west -- cross the platform you're currently on, then the bridge to the next circular platform, then take the second exit (it's like driving around a roundabout :P) to the Central Junction.
Again, west is your friend. You'll cross two circular platforms -- on the second one, take the second exit west to a storage platform that leads northwest to another circular platform, this one with only one exit, which leads west to Platform 2 - Refinery. Here, exit the circular platform due west and cross the symmetrical, non-circular platform down to the sand below. Exit west!
Nam-Yensa Sandsea[]
Enemies[]
1 Appears in Demesne of the Sandqueen after chaining 21 enemies
Mate, you can have them.
Another sandsea?! Save up and talk to the Moogle -- you'll notice an Urutan-Yensa run off. Talk to the Moogle regarding helping the Yensa, and you'll end up accepting a pseudo-hunt. Head west to the Urutan-Yensa Sea, then follow south across the plank bridge to Withering Shores.
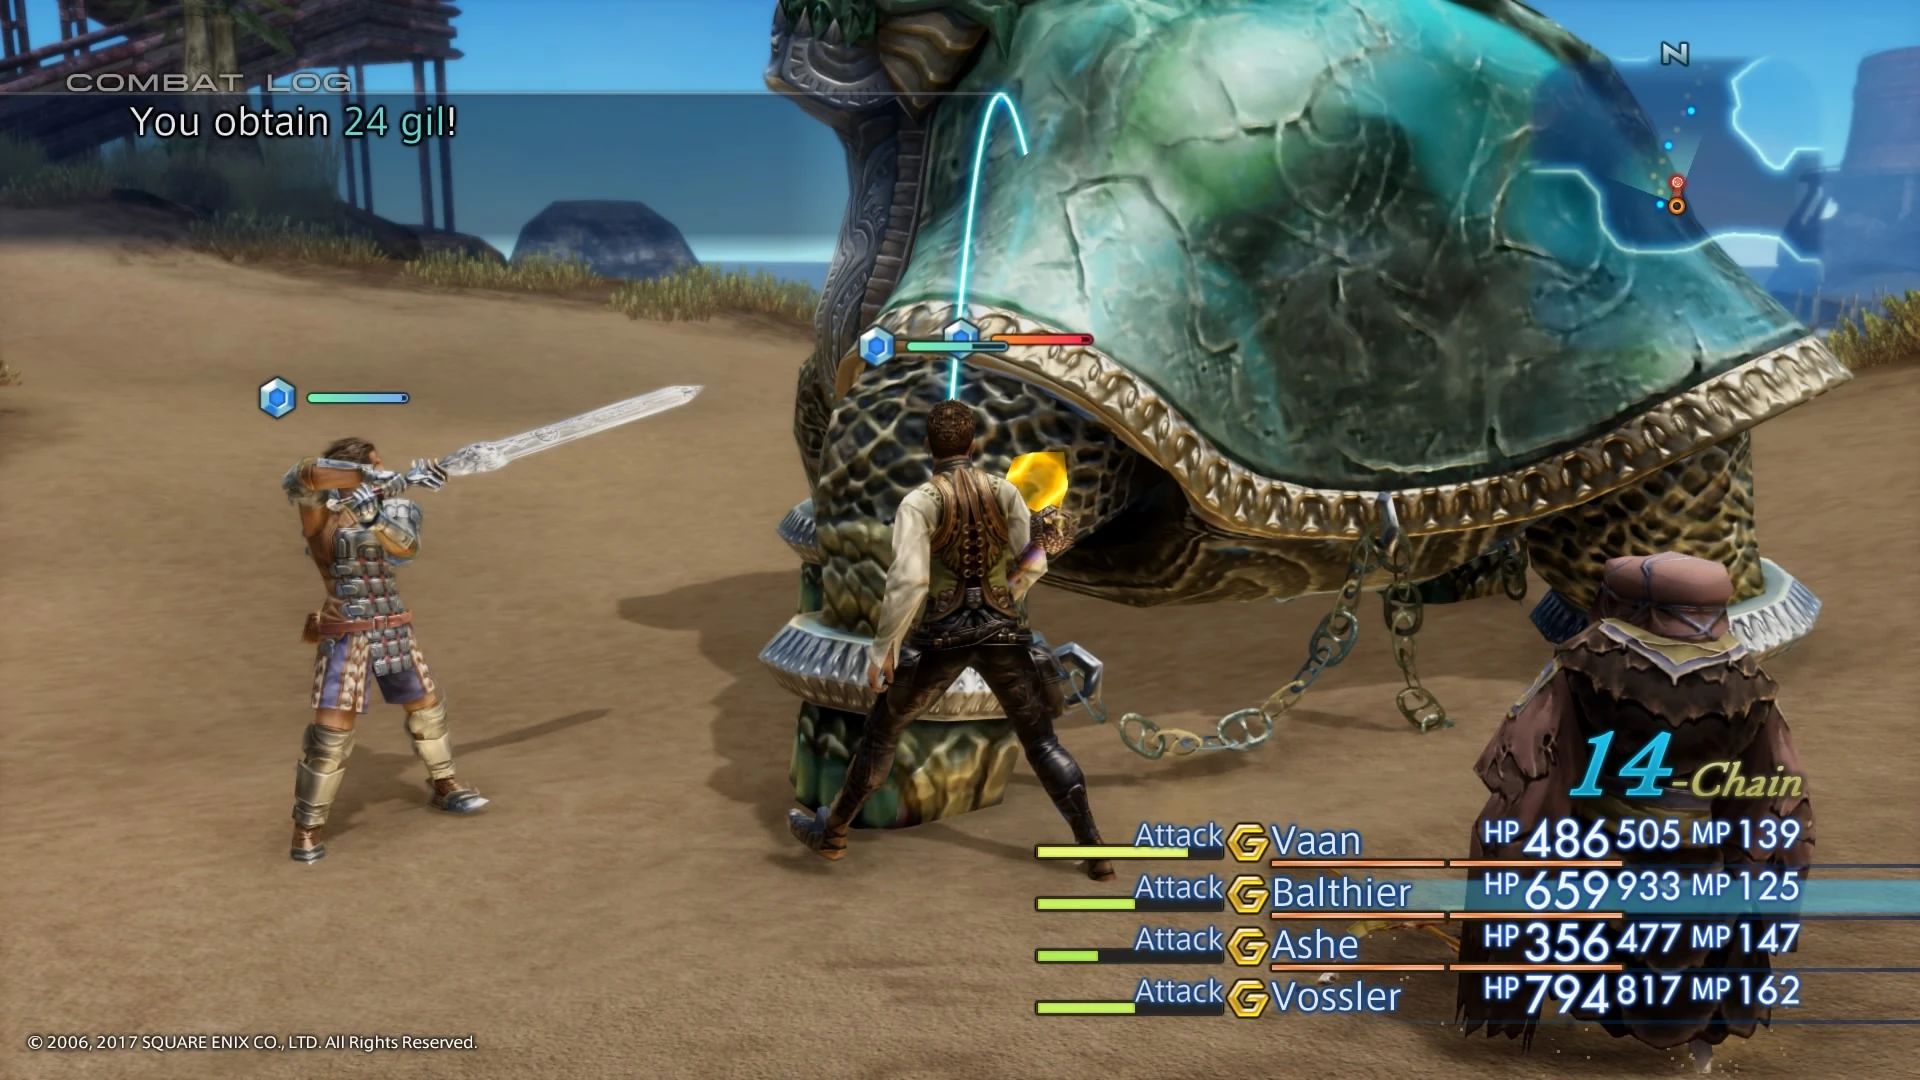
You'll see a bunch of the sand-blasted skull monkeys charge in and attack a large tortoise enemy -- the "hunt" we're looking for. You can either let the Urutan-Yensa wear it down and step in to finish the job, or ramp up your EXP/LP/challenge and kill them off first. I obviously chose the more enjoyable option, but you might have a functioning conscience. I'm not judging, mind you.
Exit east to Augur Hill. Cross the small bridge nearby to find a map of the Nam-Yensa. How big is this bloody place. Now return to the Sandsea Moogle however you choose -- you have to backtrack through either west through the Nam-Yensa or east through the Ogir-Yensa, but it doesn't matter which way you go about it. I recommend the latter option, as you'll come to Yensa Border Tunnel, which has both a Gate Crystal and an item vendor.
Now, head east to South Tank Approach where you should ascend the platform and exit northeast to Platform 1 - South Tanks. Go west across between the two circular platforms, then exit northwest back to Platform 2 - Refinery. You'll be about 45 degrees southwest (or 315 degrees if we're doing bearings) of the path from which you entered this area the first time.

I bet this'll end well.
Back at The Sandscale Bluffs, talk to the Moogle, who indicates that the rogue Urutan headed back to the Ogir-Yensa. Why? Who knows. Return east to Platform 2 - Refinery and ascend the ramp. There'll be a scene, so headd back west to where the Save Crystal is to watch a fairly harsh scene. Freaks. Afterwards, talk to the Moogle and examine the blue flower to find Eskir Berries.
Save and head west to the main part of the Nam-Yensa. Return to Withering Shores and this time, go west up a platform and cross into Demesne of the Sandqueen. Proceed to the lower level -- if you've chained 21 Urutan-Yensa (not a difficult task consider they're bloody everywhere) you should find the rare enemy Megabomb to the east. Your exit is to the west, so proceed to the pleasant-sounding Trail of Fading-Warmth.
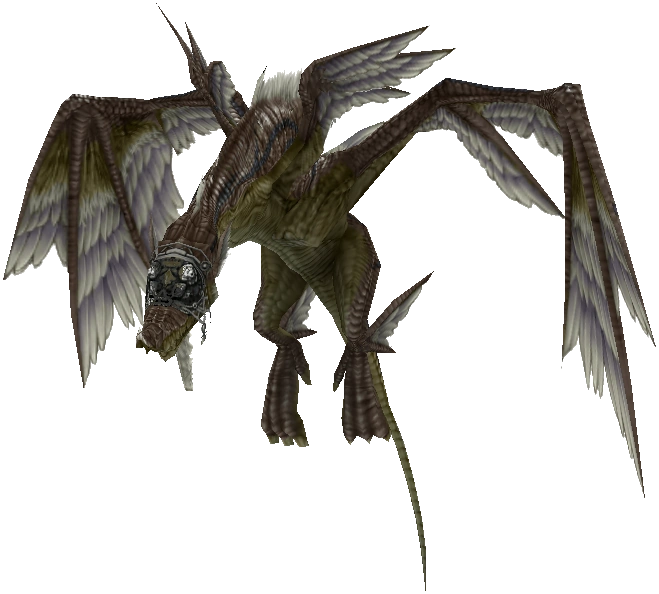
Ahead you'll find a rolling of Axebeaks (that's the collective noun), followed by more Urrutan-Yensa. At the northwest-northeast split, deviate northeast to Simoon Bluffs. Watch out, though. Right by the entrance is a smörgåsbord of traps, so try to go around them. In the north of this area, flapping around near by a bunch of Bagoly (the less-exciting collective noun), is the Wyvern Lord, our mark du jour.
Hunt 08: A Scream from the Sky[]
| Mark: Wyvern Lord | |||||||||||||||||||||||
 |
Level: 18 Elemental Affinity:
Recommended Level: 25 | ||||||||||||||||||||||
|
| |||||||||||||||||||||||
| Strategy: Vossler's Telekinesis makes this more manageable, because flying enemies are a bugger to hit. Either bring a character with a ranged weapon or set everyone's Gambits to use Magick. Also, Wyvern Lord can be put to sleep, and since Magick doesn't wake sleeping enemies you can pound away with spells until he wakes up. If you do go for the sleep option, KO Vossler so he doesn't immediately wake the beast up with a Telekinesis attack. Its Breath is nasty, but only used once so mop up the residuals and keep your MP topped up, and you should be alright. | |||||||||||||||||||||||
With that done, return to the Trail of Fading-Warmth and take the northwestern path. You'll come across the vendors again, who now sell Hi-Potions so hawk your loot and stock up. Exit the area west, and you'll be given the chance to save. I'm not sure why, but hey ha. There's an FMV showing you that you've arrived at King Raithwall's Tomb, and about time too. Head north through the courtyard and a scene will play. Bird!
| Boss Battle: Garuda | |||||||||||||||||||||||
 |
Level: 16 Elemental Affinity:
| ||||||||||||||||||||||
|
| |||||||||||||||||||||||
| Strategy: This is a piece of cake, assuming you got the Eskir Berries. Throw them at him to both weaken his physical attacks and get rid of Enrage. From there, spam it with Magicks and Telekinesis until it dies. It's vulnerable to Blind, Sleep and Bleed, so have fun finding original ways to be mean to a bird. With Hi-Potions as your new single-healing Gambit you'll be fine. | |||||||||||||||||||||||
Upon Garuda's defeat, an ancient device in front of the tomb activates, and Ashe gives us a history lesson vis-a-vis Dynast King Raithwall. Fascinating. Before entering the tomb, note that shops have just this minute updated their inventory. How efficient of them. Because of this economic upgrade, a fair number of new sidequests has opened up. And the thought of doing the Tomb of Raithwall section right now is making me want to run away and cry, so sidequests it is. It'll make your life much easier going forwards, too ^_^
← Home
← Part 13: "Hunters and Gatherers"
→ Part 15: "Big Game Hunting"