Kunjhani. Man, I'm tired. It's only 8pm. Part 22 of Paramina's Final Fantasy X International Walkthrough... hitting Gagazet...
Mount Gagazet[]

I adore being able to put in relevant artwork...
Mission: Climb Mount Gagazet to get to Zanarkand.
|
A quick little interruption to talk about the enemies here - like Macalania, the enemies of Gagazet come with a whole new difficulty spike. If you struggled capturing monsters in the Calm Lands, I suggest you head back there and grind a little. I only advise this because Gagazet has some tough enemy formations, and you know how we like to avoid that Game Over screen at all costs. I'd say the worst you're looking at is a 17,000 HP strong Bashura: remember it's weak to Fire and Threaten, and don't hesitate to shell out Protect and Haste, which shouldn't only be kept for Boss Battles. There are also Grenades on this path that come with the usual Self-Destruct issue - have Lulu blast Blizzaga or stick with physicals if you think you can do a accumulative 7,500 damage. Of course, the enemy difficulty actually makes this place a good area to try and get some extra Sphere Levels. This will definitely help you with two reasonably difficult bosses ahead. You'll also want to fight as much as possible in order to gain Overdrives for everyone, including Aeons, preferably. |
You've got a straight path to follow in the Gagazet: Mountain Gate until you're interrupted by a quick scene. I say quick, but I mean long and seemingly endless due to the glaring failure of the English language these creatures growl. After they sing to us - which, incidentally, is the only Song of Prayer that is not featured on the OST for some reason, because it's so so tuneful - we're free. Save Up at the Save Sphere (you don't want to die and have to sit through that scene again, do you?). before proceeding North, talk to the Ronso merchant on your right to stock up on Holy Waters if you've been really stupid and not listened to me when I yelled at you in the Calm Lands. Also try and stock up on Hi-Potions if you're running low.
Despite the genuine welcome from the Ronso we've just received, Kimahri's personal mobile bullying service are not entirely hospitable. In fact, they've upped their modus operandi from grammatically questionable taunting to "I'm going to kick the shit out of you now." Bullies. Strange folk.
| Boss Battle: Biran and Yenke |
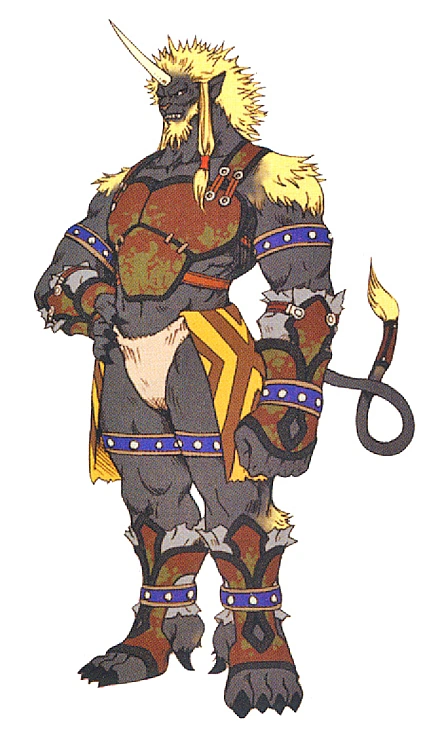  HP: Depends on Kimahri's I remember on my first playthrough when I realised I had to play this with solo Kimahri, I nearly had an embolism. But luckily, the programmers have thrown us a lifeline: Yenke and Biran's stats are entirely dependent and relative to Kimahri's. Therefore, Unused Kimahri = Bearable Fight. Your main objective of this battle is to get as many Ronso Rages as possible the easy way - using Lancet on these two instead of chasing monsters around Spira. I'd recommend getting Fire Breath, Aqua Breath, Thurst Kick, White Wind and Mighty Guard if you haven't already. When I say "I recommend", it's really a formality, depends whether you plan on using them or not, really. Any time you use Lancet and gain a new Rage, your Overdrive bar will fully recharge. Use this wisely - use any physical Rages (such as Thrust Kick) when the brothers are separated (they'll have used Bulldozer), and when they're together, use any Breath abilities. After killing one brother, the other will cast Berserk on itself and go nuts. At this point, use Mighty Guard, and then just pummel him. This fight is really quite easy given you're basically throwing their own attacks back in their faces. Keep an eye on HP with Potions or White Wind, if need be. Also, try and Steal those Key Spheres if Kimahri has the ability. |
And so Kimahri finally defeats his bullies and becomes the bigger blue guy. Well done. Proceed North to the Mountain Trail. Near the entrance is a small ramp to the right, follow this up to find 20,000 gil. Head back down to the main path and then follow it along. On your left is another Treasure Chest, this one has Mega-Potion x2 inside. Keep following the path around to pass a grave for the less fortunate Summoners who were presumably sucker punched by Bashuras and/or Yenke and Biran. But those Summoners didn't have Tidus with his mad quick sword skills or Auron with his crazy power and breaks, did they? And they didn't have... whoever else is in our party... um... the orange one?
Continue along the path and you'll eventually come across a small winding path around a rock to your right: follow this up to receive Braska's Sphere. This means we now have Auron's new Overdrive, Banishing Blade (which, if you don't spaz up the button input, causes the awesome Full Break), that we'll be using shortly. Head back onto the main path and keep following it until you reach a junction. Keep going straight ahead to find a Defending Bracer at a dead end, then return to the main path and head up the main exit bit. You'll bump into Wantz, O'aka's brother, who also happens to be a traveling merchant. Lucky. Note: This is your last chance to buy Holy Waters before it actually matters - I swear, if you haven't listened to me before, I'm not even going to be mad, just buy them now. You should also invest in a Blessed Ring for Yuna and a Blessed Bracer for Auron, which you should equip immediately. Do it now. Do not forget to do this. Now. If you can't afford it at this stage, don't worry, the next boss battle is still do-able, it was just easier with the Blessed equipment.
Continue South and you'll find a sort of loop on your mini-map. Follow that down to find an HP Sphere and a Level 4 Key Sphere. That's the last of the plunder in Gagazet, so just follow the basic path now until you reach a Save Sphere. Save Up. Important! It is imperative you save here because the next boss is the first we've come across that may actually cause you some trouble.
After saving, head to the next screen, where Tidus and Rikku suddenly remember they're two steps from Zanarkand and haven't bothered to think of a way to save Yuna yet. Smart kids. It doesn't look like they're going to think of a way any time soon, either - unfortunately their short attention spans are further distracted by Seymour walking on scene, again. Despite having gloated he has just slaughtered all the Ronso, Seymour is still the Edward Cullen to the other FF villains' Blade. It's like, everytime I see Seymour, I can't help think of this guy and everything's ruined.
| Boss Battle: Seymour Flux |
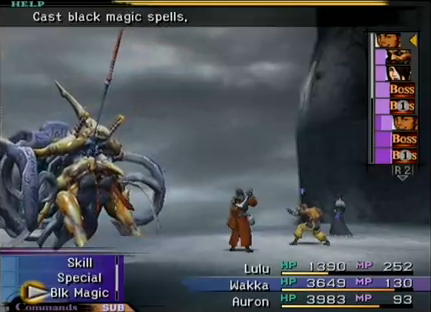 HP: 70,000 Seymour's has somehow manned up and become a lot tougher this time round than he was the last times we fought him. As per usual, Tidus and Yuna have Trigger Commands available against him, as does Kimahri (use if you wish, whatever). Have Tidus cast Hastega on his first turn before using the Trigger Command. Throw Lulu in briefly to hit Seymour with Bio, which will knock decent chunks of his HP off every turn. After she's served her use, bring Yuna back in to cast Cura and Dispel on Seymour when he throws up Protect and Reflect. Okay, so down to the actual battle: Seymour uses a move called Cross Cleave, which will do about 2000 damage. Have Yuna cast Protect around the party to half this damage. His other attack isn't so easy to handle: Lance of Atrophy will turn a character into a Zombie, this would be manageable if he didn't follow up with Full-Life and instant KO them. As soon as he uses Lance of Atrophy, have whoever's turn's next use a Holy Water to revert it, otherwise you'll descend into a mad, chaotic downward spiral of constantly reviving, dealing no damage and silently weeping. Beat him with your best attacks - Energy Rain and Banishing Blade as soon as they're charged - and don't forget to deal damage to the Morti...thing to syphon damage out of Seymour if you want to go down that route. When Seymour starts casting Flare, have Yuna throw out a round of Shells to take the edge off the damage. The worst of Seymour's attacks is Total Annihilation, and it pretty much does what it says on the tin. Morti...thing will start charging this up and it will use it in 2 or 3 turns. There are a few ways of dealing with this:
Do not hesitate to follow these moves up with Mega-Potions and the like you've been stocking up on the way: now's one of the best and only times in the game you really need them. |
And he's down, again - though judging by this guy's past record, let's not count him out of the game just yet. Tidus will tell everyone that Sin is Jecht, which goes down like you'd expect it to: awkwardly and strangely acted. Once we regain control, follow the path around. Just before the Save Sphere is a Treasure Chest with the Saturn Crest, which will come in handy later. Save Up and then exit the screen.
"Nothing happens unless first we dream."[]

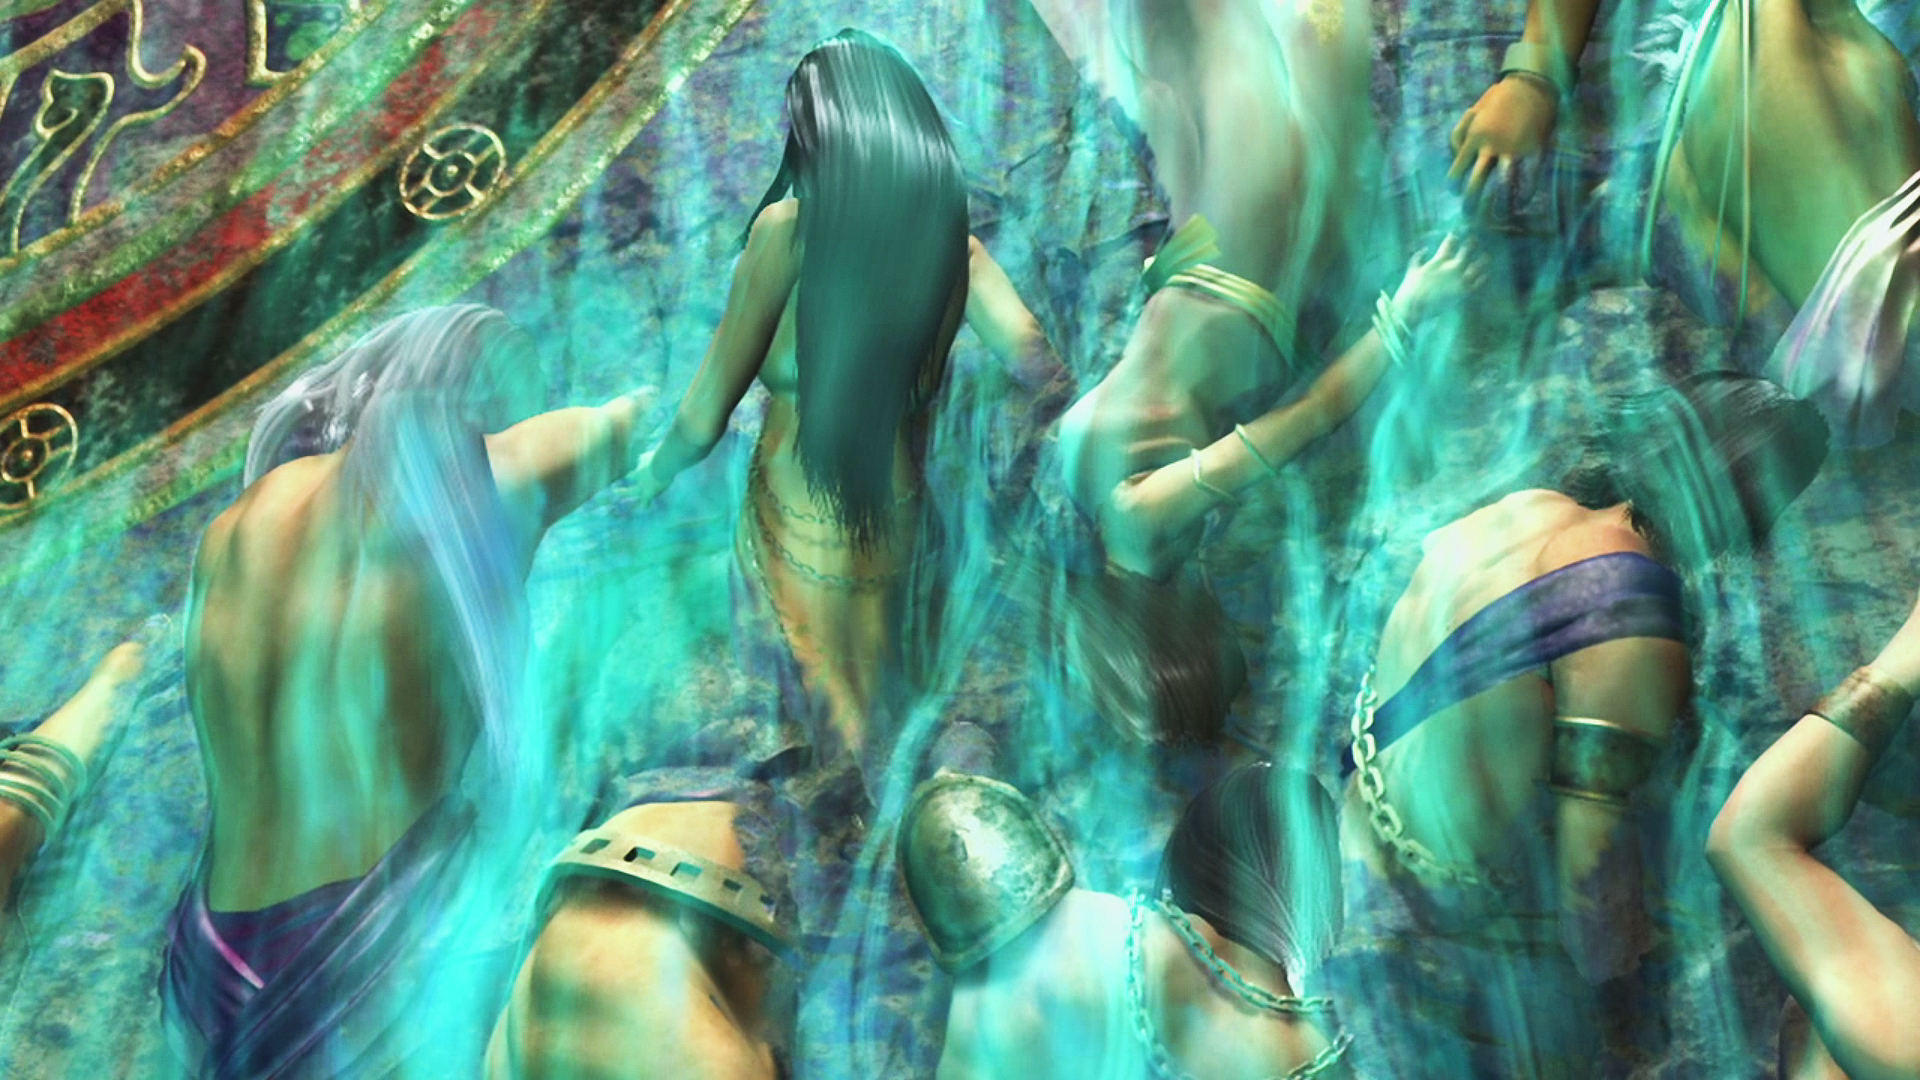
My picture-caption wit has totally run dry.
So we get our first glimpse of the mysterious Fayth, which looks like pretty shady business to our party. Tidus touches the wall and zones out, having another weird Zanarkand House Boat flashback. That Hooded Youth - who we discovered to be Bahamut, recall? - is back, which can't be good.
"Yes, you're a dream of the fayth. You, your father, your mother, everyone. All dreams. And if the fayth stop dreaming..."
Yeah... not good. So it's not so much as we have an "Is everything I know a lie?!" hero on our hands, but an "I'm a lie?!" hero. Huh. Interesting twist. Hooded Youth longs for Tidus to free the Fayth from their constant dreaming. They're getting tired of dreaming... even though they're sleeping, which is weird when you think about it... anyway, yes, but Hooded Youth, if Tidus frees the Fayth from dreaming, does that not mean Tidus - being a dream - will disappear too? Dilemma. Tidus regains consciousness to find the party huddled around him. He decides not to tell anyone his newly found knowledge (you know, him not being real and all) and pretends he was simply napping. Somehow, the party buy this and proceed onwards. I'll meet you in the caves.
"Just a little more, and maybe... Maybe you are the dream that will end our dreaming at last."
.