Namaste. I was just listening to the Black Mages version of the Skies Above - and I can't make my mind up about it. Is it good, or is it weird? Hmm. Part 17 of Paramina's Final Fantasy X International Walkthrough, ready.
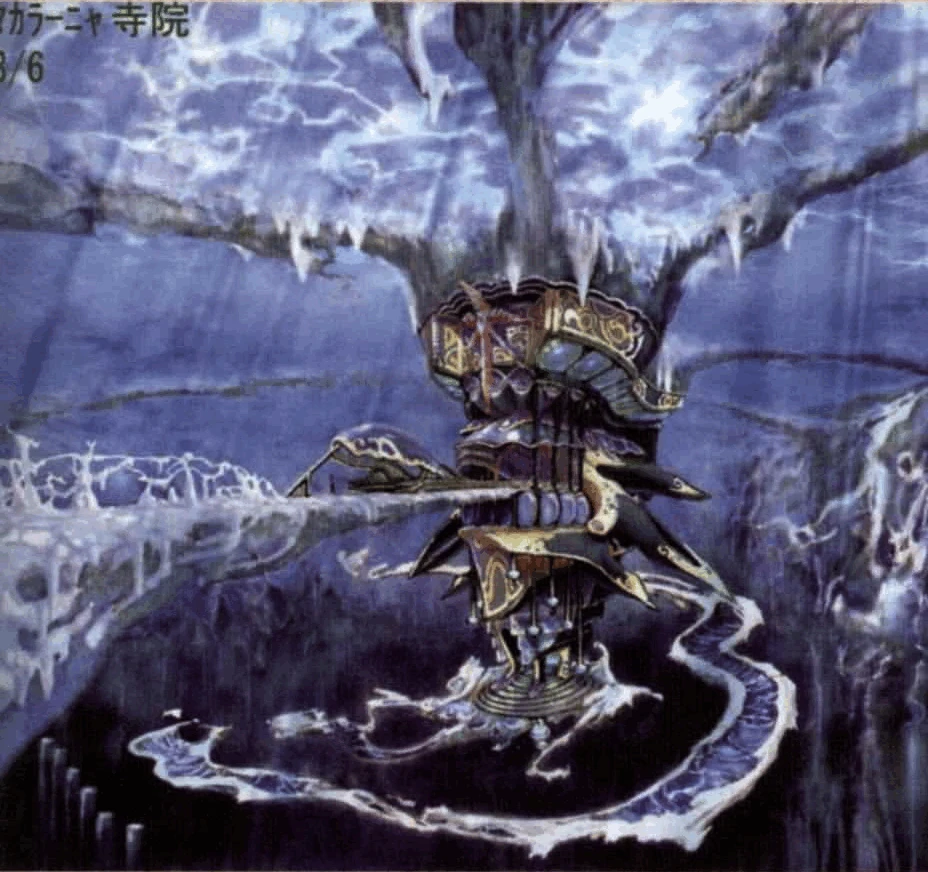
Macalania Temple[]
Mission: Find Seymour. Find Yuna. Try not to kill anyone.
After disembarking from the snow-mobile, you'll find yourself at a little clearing. There's a Treasure Chest with a Mega-Potion in plain sight, so pick that up, before proceeding ahead to the Temple Path.
Speak to the Al Bhed - he's "lost his gang", apparently - to get 400 gil for minimum effort. Follow the path around until you reach the Temple doors. You'll be permitted entrance after another Yevonite metaphorically slaps the face of the Al Bhed.
There's a Save Sphere to your left, so Save Up. You can't even take two steps forward without Shelinda appearing again, this time harping on and on about Yuna and Seymour's marriage like she's somehow involved in the slightest. She's like that tragic girl (or guy) at school everyone knows who was never part of the group, yet somehow knew every inside joke and turned up at every lunch time to sit and vacuum the chat - if you don't know that person, heads up: it's probably you. Ugh. Shelinda. You deserve Primark on a hot summer's day.
Once we're free, time for our usual Temple Plunder. Speak to Trommel to receive a Shell Targe. You'll notice there are little recesses all around the temple hall. In the middle recess on the left is a Treasure Chest with 5,000 gil, and the first recess on the right (closest to the door) has a Treasure Chest with X-Potion x2 inside.
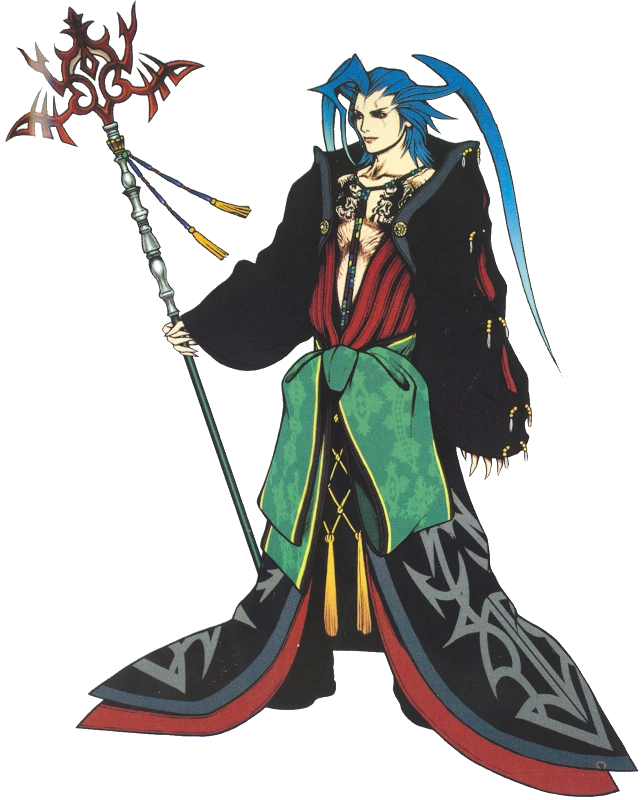
Head towards the small chamber to the right of the stairs for a woman to burst out in a fluster, wailing about a sphere with questionable content in Yuna's belongings. What was she doing rifling through Yuna's belongings in the first place? Yeah, you curl on the floor in shame, Acolyte. Head through to see what all the fuss is about: Lord Jyscal is 100% sure Seymour has killed him. *Jaw drop* Whaaaaaaat?! But his character theme is so darn friendly sounding! You're telling me molester-smirker-face isn't a good guy after all? No waayyyyyy.
There's a Treasure Chest at the back of this room with Remedy x2, and a random guy nearby will give you Hi-Potion x2. Before we charge in and save Yuna, head to the chamber to the left of the stairs to pick up Phoenix Down x3, then talk to the randoms inside to get an Ether and an Elixir. Important! Double back and Save Up, this is a slightly different Trial set up than we're used to. And by slightly different, I mean majorly different. Now you can go charge into the Trials, as we see Kimahri has already floored that racist Yevonite ("Which one?" you say) who gave us attitude at the front foor ("Oh, so not the Orange one.").
Proceed down the corridor and you'll bump into our enraged party. Seymour doesn't even bother denying topping his father, which would be so much more bad-ass if he, well, wasn't Seymour. Lucky for us, Yuna appears in the nick of time to reveal her insanely badly-conceived and overall crap plan to apprehend Seymour. She'll join our party again just as Seymour launches into one of his lone two bad-ass moments of the entire game (yeah, only two):
"Well, if you're offering your lives... I will have to take them."
| Boss Battle: Seymour Guado and Anima |
  HP: 6000 (Seymour) | 18,000 (Anima) | 2,000 (x2) (Guado Guards) Provided you are literate, this should be a cakewalk. Have your opening team with Rikku in it (!) and have her Steal from both Guado Guardians to prevent them from using Auto-Potion. Whilst you're waiting for Rikku's turns to do so, use the Trigger Commands with both Tidus and Yuna to increase their Strength and Magic, respectively. After Rikku's done, get her back on the Bench and bring Auron back in. Now, read this carefully: "Casts ice, lightning, water, and fire, in that order." Did you get that? So Yuna should take on the role of team defender: her turns should be monopolized by casting NulFrost, NulShock, NulTide and NulFire in that order. Seriously, do not spaz this up, just put the controller down and turn your console off if you do, because this is so, so easy. Auron and Tidus should be focusing on taking out the Guado Guards with the usual Attack. When the Guards are down, you'll finally be able to hit Seymour. As soon as you chip off about 3000 damage, the next stage of the battle will begin. I don't know if I was overlevelled or what, but I hit him with one around-4,000 damage hit with Tidus and he immediately summoned. With Anima in the game, this should be treated as a strictly Aeon vs. Aeon duel. Summon ????. Shiva (????, just can't be bothered repeatedly typing out question marks and being ambiguous about it) should get hit with Pain, which will charge her Overdrive like, a third of the way. When her HP gets a little low, cast Blizzara on her to fully heal. In no time, her Overdrive should be full. If you've been using Yuna like I've told you to, then Diamond Dust may just do a solid 9,999 damage right there. Rinse and repeat: Diamond Dust x 2 = Dead Anima. Now we're back with Seymour, who has now taken to using Level 3 Black Magicks against us. This bit is super easy actually - even is Shiva is dying from her bout with Anima, Seymour opens with Blizzaga, which fully heals. Thundaga hurts - follow this up with a Blizzara self-heal then you should be all go to use Diamond Dust one last time. Diamond Dust + Seymour = Overkill. Alternatively, if your Shiva accidentally dies because you're defunct in the listening department and haven't been using Yuna like I have repeatedly stressed you do, you can still win this: have Yuna return to her role as NulCaster to negate Seymour's spells and cast Slow on him, which he's susceptible too. Haste on Tidus and it's only a matter of minutes before you win. You can also have Yuna Summon whatever other Aeon you so fancy. There's really no way you should lose this. |
So we've kicked Seymour back into touch, but as per usual with Final Fantasy, our party is never allowed to flat-out kill a human NPC in battle. They always run off, kill themselves for us, or are taken care of by some random entity... WAIT! Hold the proverbial phone, did we... did we actually just kill the guy?! Shit. This never happens! Who is letting this happen?! We're done for.
Just as we're beginning to panic over this breach in FF tradition, Trommel and the rest of the Seymour Guado Fan Club traipse in at the least convenient moment. They cart Seymour's dead body (I still can't believe we killed him) off before Yuna can send him and we suddenly have to get out of here - ASAP. Name Shiva, Save Up, then head back out... after Tidus' cool little gymnastics display, we learn the Temple Trials are backwards in this place. WTF, what is going on? First we actually kill someone and now this? Twilight Zone?
| Cloister of Trials - #4 | Location: Macalania | Treasure: Luck Sphere |
- Head down the path and take the Glyph Sphere (1) from the central pillar. Put the Glyph Sphere (1) into the Pedestal.
- Push the Pedestal East for it to be blocked by the icicles. Push the Pedestal North for it to descend down a level. Follow it.
- Remove Glyph Sphere (1) from the Pedestal and insert it in the farthest-away recess on the left wall.
- Head back upstairs and remove Macalania Sphere (1) from the newly revealed wall. Head back down a level.
- Put Macalania Sphere (1) into the Pedestal. Push the Pedestal East so it falls under the right-most column.
- Head back upstairs and remove Macalania Sphere (2) from the recess on the East wall.
- Take Macalania Sphere (2) downstairs and place it in the left column. Head back upstairs.
- Remove Macalania Sphere (3) from the recess right next to the ramp leading downwards. Put this in the recess in the central column.
- Head back up the ramp to the new pathway, and step on the Glimmer on the ground. A Pedestal will appear.
- Remove Macalania Sphere (4) from the new Pedestal, then push the Pedestal down the ramp, revealing another Pedestal.
- Put Macalania Sphere (4) in the recess on the East wall, where you found Macalania Sphere (2) originally. This creates icicles.
- Remove Macalania Sphere (3) from the central column and put it back in the recess near the ramp.
- Step on the Glimmer on this level to bring the Pedestal down. Push the Pedestal East, then North. Follow it.
- Remove the Destruction Sphere and insert it into the first recess on the left. Ta-da! Luck Sphere.
- Head back up the ramp and remove Macalania Sphere (4) from the East wall. Take it downstairs and put it in the Pedestal.
- Push the Pedestal Eastwards to recreate the path. Head back upstairs.
- Remove Macalania Sphere (3) to destroy and ramp and return it to the central column.
- Head back to the bridge you are now free to cross - do not step on the Glimmer or you will have to start again!
I swear to God, do not step on that Glimmer again, I mean it, I found out that little warning the hard way. Head back out of the Trials and down the stairs to rejoin the party. Whilst we were gone, messing around with Spheres and Pedestals, our whole party was officially branded as traitors and heretics. Great. Looks like we're legging it out.
Mission: Get. Out.
We have a brief respite just outside the Temple doors - O'aka has followed us out and is willing to do some business. Save Up before embarking on the Temple Road. When you're ready, just run along it. Some Guado Guardians will chase after us. Like every FF game ever, the protagonist never quite gets the urgency of the situation and still runs like a geriatric in suspended motion. Underwater. Needless to say, the Guados will catch up with us, but that's nbd as their attacks are pretty pitiful. You'll need to keep Rikku around to Steal and negate Auto-Potion again.
Outside in the Crevasse, take the narrower path to the right - you'll eventually find a Treasure Chest with a Lvl 1 Key Sphere at the end of it. Cross the ice spine, Save Up at the Sphere, then exit South for the Guado to finally catch up and send this thing after us.
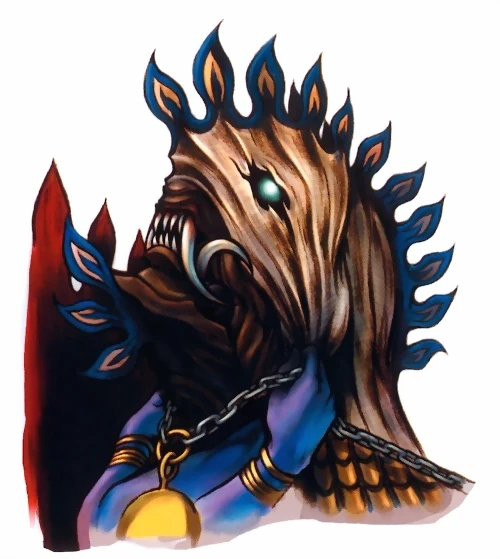
| Boss Battle: Wendigo |
 HP: 18,000 Another fight that should be difficult, but is barely challenging. As per usual, have Rikku Steal and then have Auron and Tidus take out your Guado Guardians. They'll cast Protect and Shell upon Wendigo before dying, which is inevitable, you can't stop that no matter how fast you thrash them - they'll also likely get in a Berserk, but you should be quick enough to avoid Haste. Regardless, first thing's first: kill the Guado. Now let's focus on the big guy. If they cast Berserk, your priority should be getting rid of it. You'd have to be ridiculously overlevelled at this point to have access to Dispel, so open with Esuna from Yuna to negate the Berserk status. We'll just have to deal with Protect and Shell, and if you were unlucky enough to have the Wendigo under Haste, you'll have to Haste your entire team to make things even again. I'd also advise you cast Protect on Yuna since she's weaker than Tidus and Auron, and have Auron use Power Break on his first turn. From here out, it's a case of you trading blows and Yuna healing up the damage - send out Protect if you've got extra turns on your hands - before Wendigo falls. Remember, you can Summon, but I'd recommend Ifrit since Wendigo's weak to Fire. |
Uh-oh. Dead Wendigo = A trip Southwards for us. The ice breaks and our team freefalls into the lake below. BariTidus chips in and lets us know everyone somehow managed to survive the fall. Thumbs up. With control regained, head around the area and talk to absolutely every one of your party. As much as I love FFX, I hate these bits, forcing me to talk to the likes of Lulu and Kimahri when I'd rather... I don't know... eat my foot. At least it's a good work out for my ![]() -spamming thumb. On the plus side, Wakka is having an intense identity and mental breakdown. His whole world is collapsing around him and I love watching it because I live to see him suffer.
-spamming thumb. On the plus side, Wakka is having an intense identity and mental breakdown. His whole world is collapsing around him and I love watching it because I live to see him suffer.
Talk to Yuna and eventually Auron will step in and keep things moving - we are now officially embracing our new roles as heretics and are just thinking "to hell with it, let's kill Yevon. Why not?" Though our team has reservations - Wakka - we eventually decide to head to Bevelle, regardless. You'll be returned to the Save Sphere - Save Up, then head to where Kimahri was earlier to get in at the Treasure Chest (a Lvl 2 Key Sphere, thank you). There's also a chest to the left of Auron containing an Avenger. Talk to everyone again (Square) and Auron will step in again. Just as we're wondering how to get out, Sin pops up again and decides to quash our transport troubles by ferrying us across the ocean on its back.
Sweet. See you at the duty free.