This is it, guys; the final dungeon! I'm already writing the final dungeon...that went quickly. But you know what they say; the end isn't really the end, is it? There's a load of optional fun stuff to do after this. But first, we have to go and find the Final Savepoint.
It's been our mission all this time.
Inside Sin[]
Don't you ever give up?
Tidus, hero.
Item Checklist[]
| Item | Amount |
|---|---|
| Phantom Ring | 1 |
| Special Sphere | 1 |
| Elixir | 1 |
| Wizard Lance | 1 |
| Lv. 3 Key Sphere | 1 |
| Lv. 4 Key Sphere | 1 |
| Defending Bracer | 1 |
| Gil | 20000 |
| HP Sphere | 1 |
| Defence Sphere | 1 |
| Megalixir | 1 |
Enemies[]
| Name | HP (Overkill) | AP (Overkill) | Gil |
|---|---|---|---|
| Exoray | 7,400 (11,100) | 2,400 (4,800) | 840 |
| Gemini | 36,000 (13,560) | 7,800 (11,700) | 1,111 |
| Adamantoise | 54,400 (11,036) | 12,500 (25,000) | 2,200 |
| Behemoth King | 67,500 (13,560) | 16,800 (25,200) | 1,850 |
| Wraith | 22,222 (13,560) | 3,100 (6,200) | 1,070 |
| Great Malboro | 64,000 (13,560) | 21,000 (31,500) | 1,900 |
| Barbatos | 95,000 (13,560) | 17,500 (35,000) | 1,550 |
| Demonolith | 45,000 (13,560) | 11,000 (16,500) | 1,470 |
| Varuna | 56,000 (11,036) | 19,500 (29,250) | 1,780 |
| Land Worm | 80,000 (13,560) | 22,000 (33,000) | 2,200 |
...was that Seymour? Anyway.
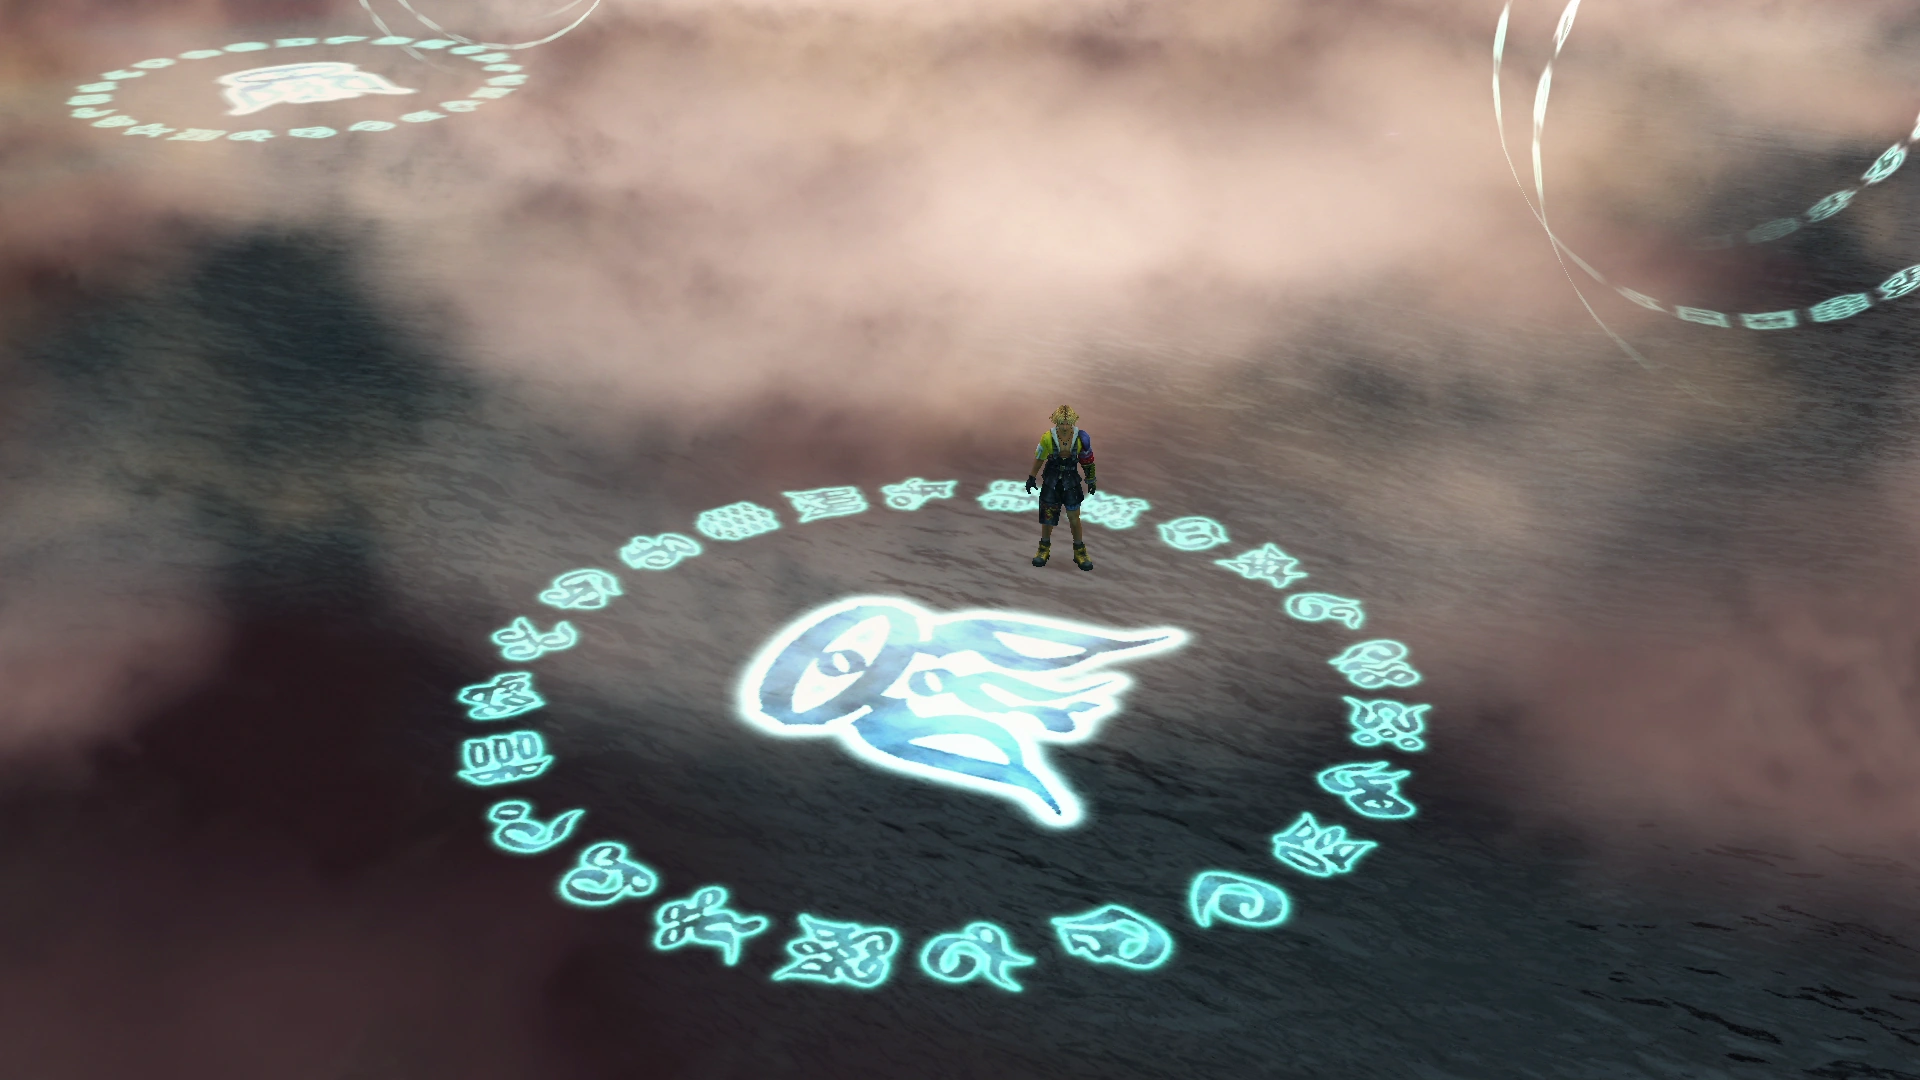
From the Save Sphere, head into the Sea of Sorrow. This spiky river needs to be mapped out yourself, because let's face it, who would have been able to make a map of the inside of an evil god.
From the start, head north. There's a two-way split. Head west to the waterfall, then turn north. Ignore the paths to the east and go west at the end. At the split, head south. You'll end up running up a sort of ramp. To the north-west is a chest containing a Phantom Ring. Now go south to the top of the waterfall and take the Special Sphere from the chest.
Head north as far as you can before you're forced to turn right. On the left is a small side area containing an Elixir. Now go east until you have to go south. Ignore the right turn for now and claim the Wizard Lance from the top of the waterfall. Go north, turn right and take a quick detour south for a Level 3 Key Sphere.
Now head all the way north and use the Save Sphere.
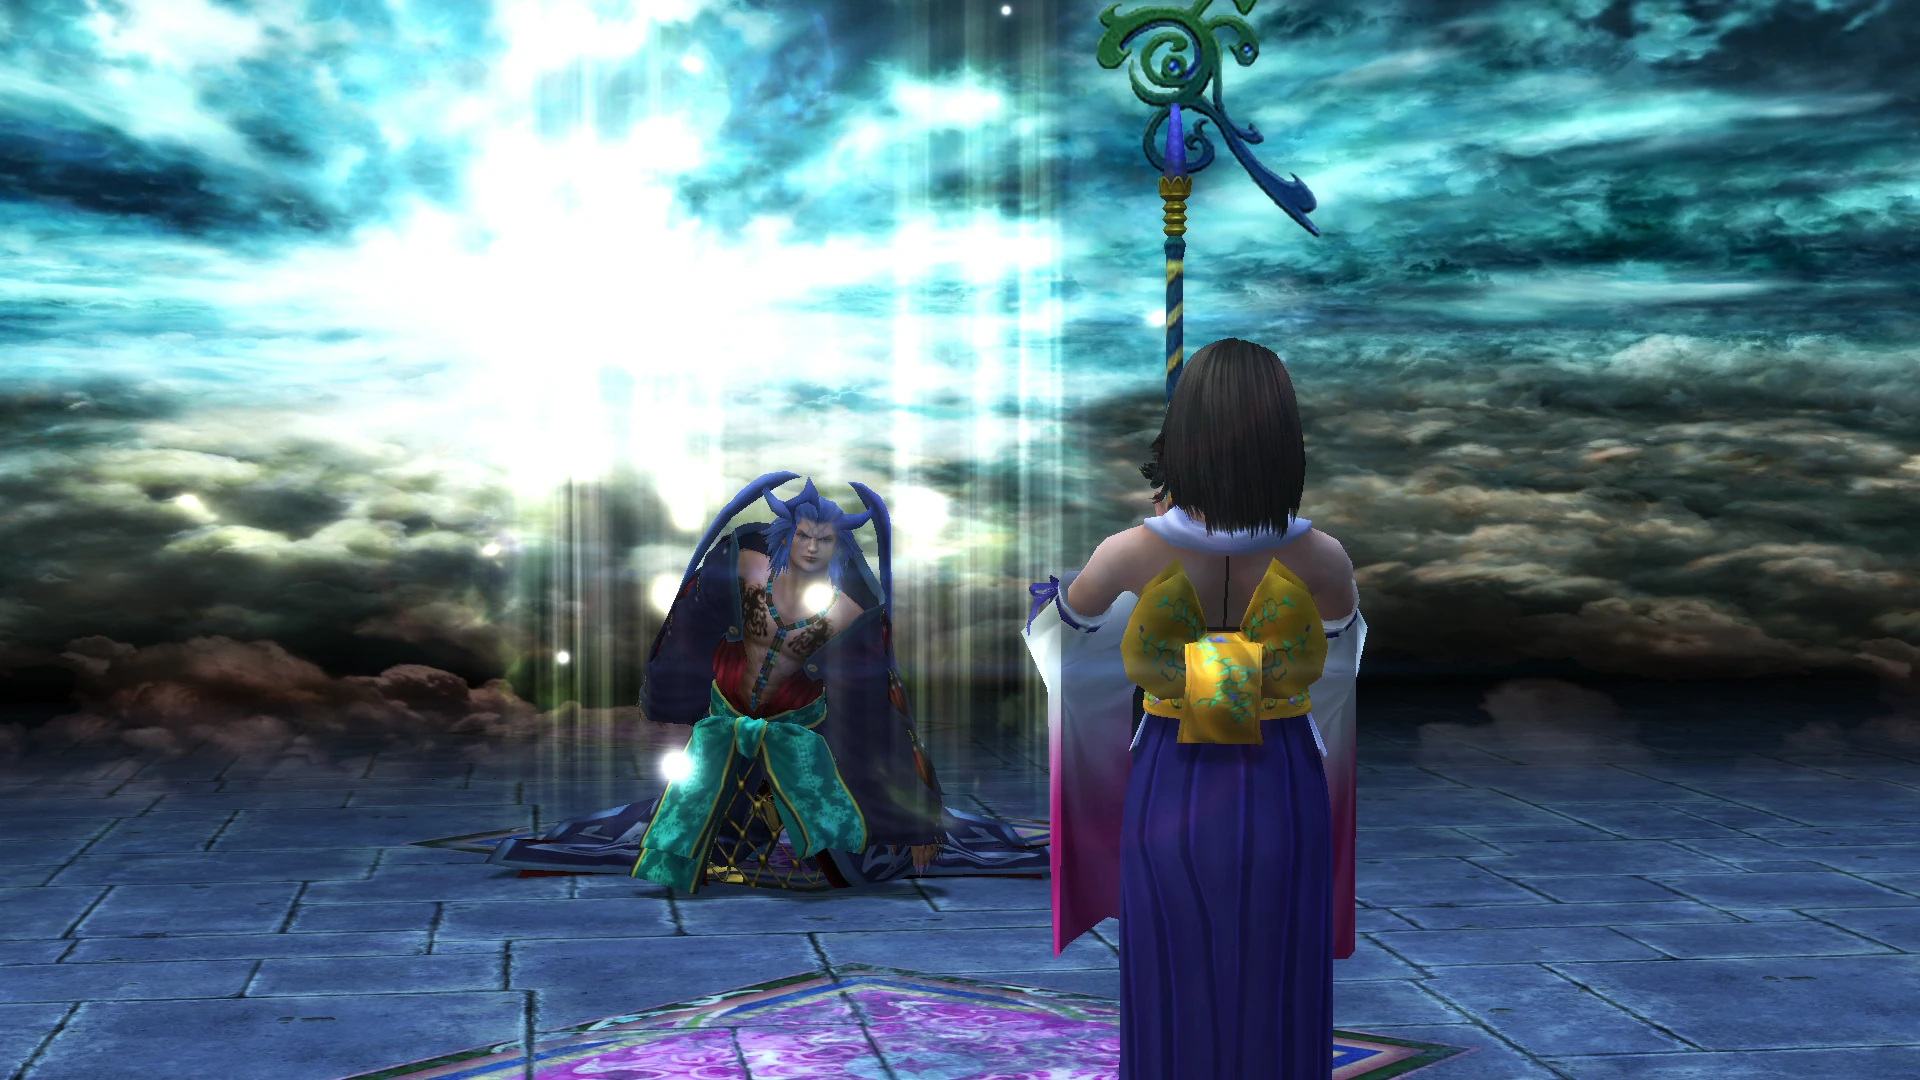
Oh for fuck's sake, not you again Seymour. Seriously, you're a joke now. Let's send this sad clown to the Shadow Realm Farplane.
| Boss Battle: Seymour Omnis |
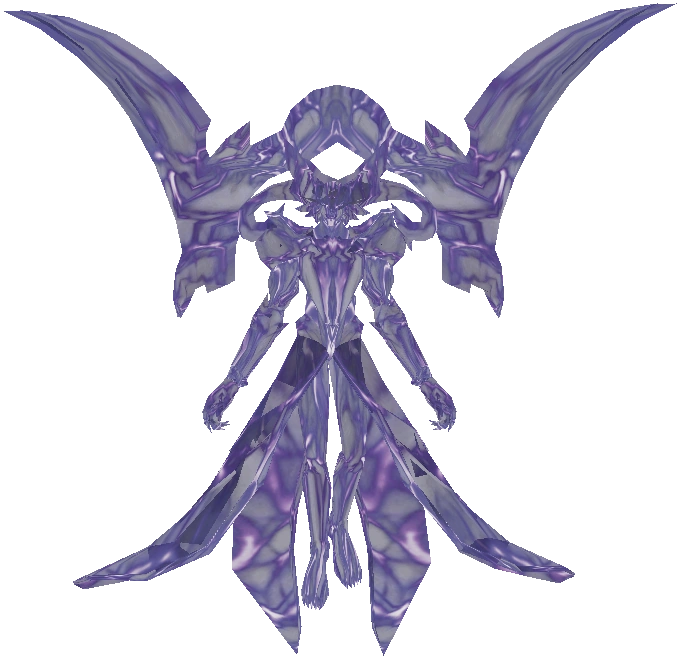 HP: 80,000 (15,000) This battle wants to be a puzzle battle so badly, but it's not. The discs behind him, the Mortiphasms, rotate when you hit them. Clockwise for Magic, anti-clockwise for physical blows. If he has four discs pointing the same element towards him, he'll use four Firaga attacks in a row, but be weak against Ice. Use this to your advantage by equipping Fire-resistant/proof/absorbing armour and leaving the discs well enough alone. Start with Armour Break and Mental Break, or just Banishing Blade. From there, whack him with whatever the hell you like. In fact, since he starts off by just spamming Firaga, a good plan is to summon Ifrit and maul him with physicals for a while. Or, if you powered up Lulu's Onion Knight with the Venus Crest, summon Shiva and unleash Diamond Dust. With the Crest used, Shiva gets to break the damage limit, and if Yuna's Magic is high enough, it may just OHKO him. He can't even use Banish anymore, which was the only thing stopping us from spamming Aeons against him previously. He can cast Ultima, but it's a poor man's Ultima and is less powerful than our version, though it can't be softened by Shell or Focus. His HP is high, but your damage output is easily high enough to render this battle, especially with elemental protection, rather easy. |
And about damn time too.
And Seymour is down, for realsies this time. Yuna finally sends the shifty bastard and we can move on to more important things.
He's such a forgettable character that the game erases this battle location after the fact, and you never pass through it again. Welp.
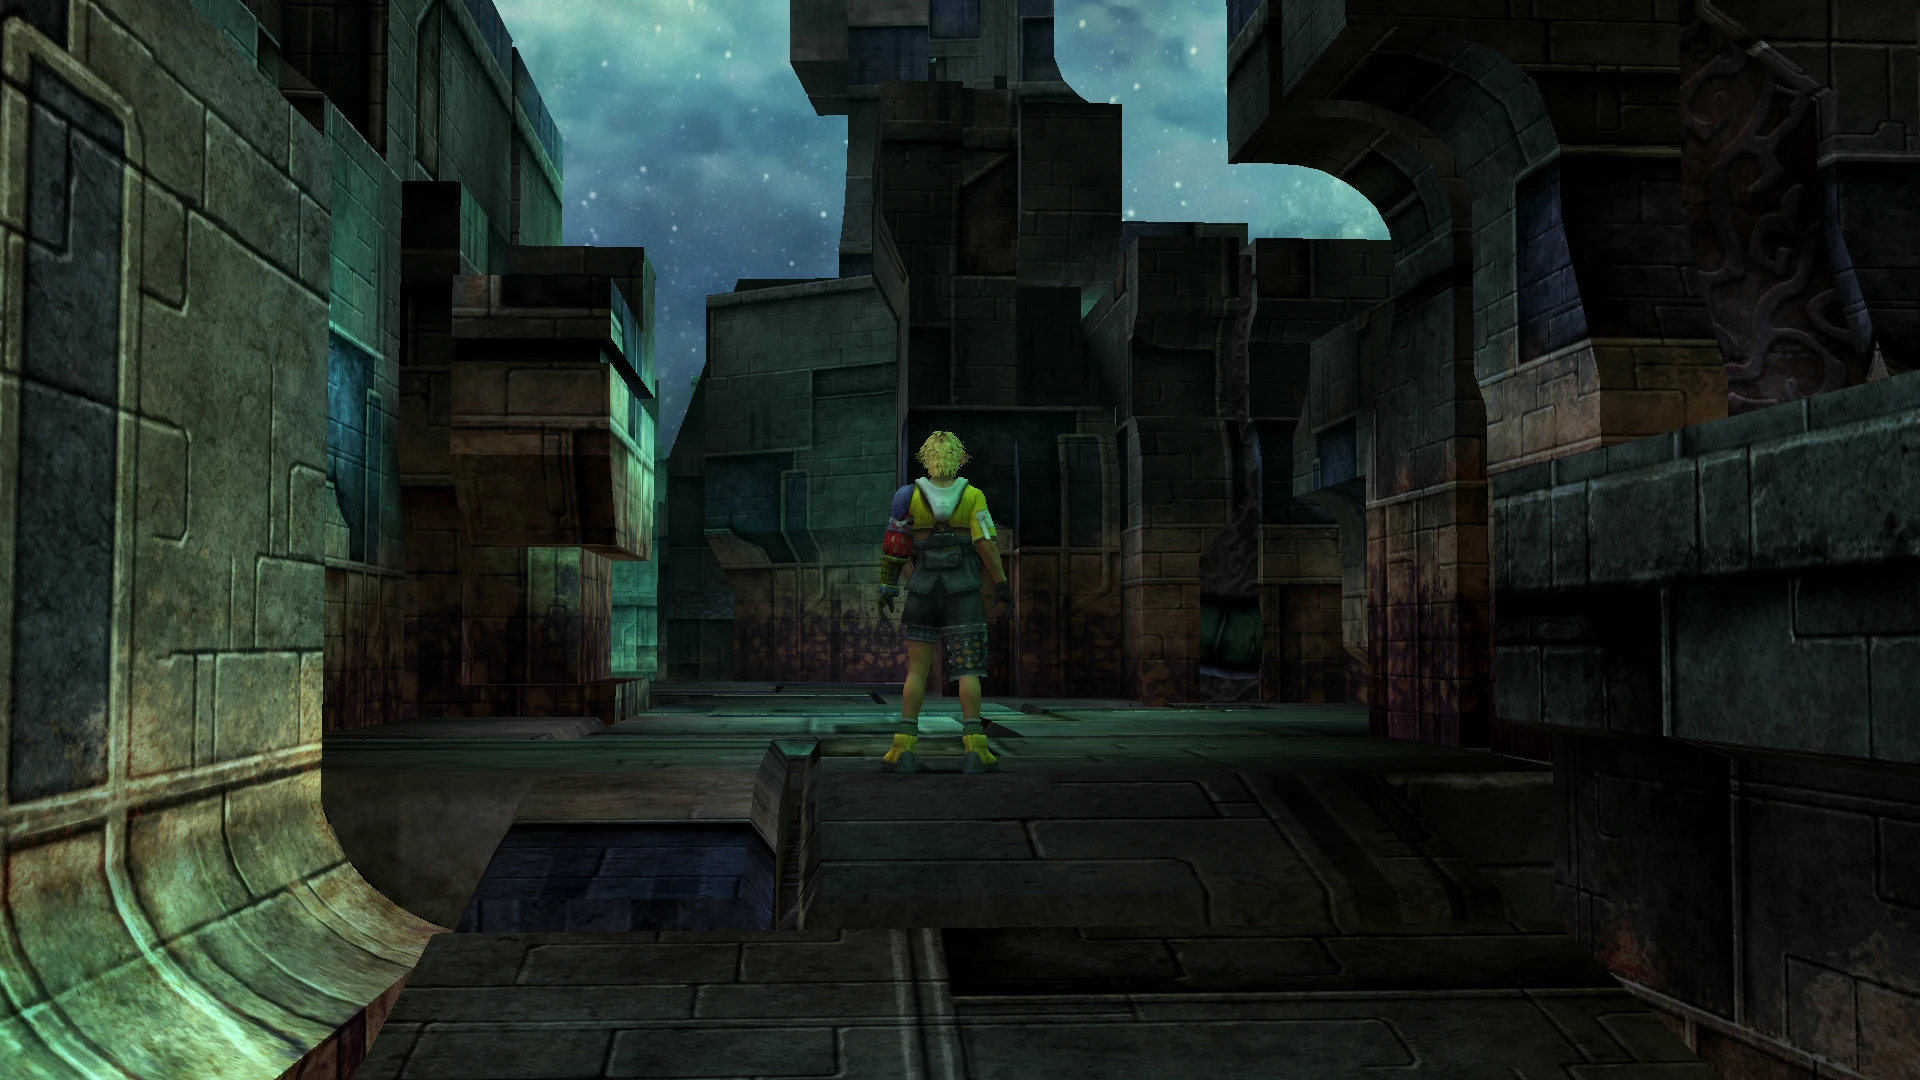
We end up in the City of Dying Dreams. There's a door on your right as you head in that says "Ten fiends still seek eternal repose." i.e., kill ten fiends and approach the door to make it open. Behind which you'll find...another door! Which exactly the same opening requirements. Real original, Square. Kill ten more fiends, then open the door to reveal another bloody door. This one wants a whopping fifteen offerings.
When you've finally killed the requisite fiends, you receive your prize. A Level 4 Key Sphere. Cheers mate; that's just what I want. Head north. You'll see a blue platform forming a bridge across a small gap. It's a bit fiddly, but run about on it and it shoudl take you up to a chest containing a Four-on-One. If the platform doesn't work, try again after the next bit.
Head back down and examine the glyph on the left wall. Tidus flexes his muscles and pushes over a pillar, creating a path to a treasure chest containing a Defending Bracer.

In the more open area up ahead there's a slope leading down to a chest containing 20000 Gil. Step onto the blue tile and it shoots up out of the floor. Walk along the ramp to get a HP Sphere and a Defence Sphere. The blue platform will lower you down.
In the southwestern part of this area is a hidden path with a glyph door. No more fiend-killing, thankfully. Just touch it and grab the Megalixir.
Head east and watch for the platforms that rise up from the floor. Go around the southeast part of this area (looks on the mini-map like south, in a rectangular outcrop). Here you'll find a subway entrance-type thing that slides you down to the lower level, where you can find the final treasure of the main game, which contains...a Laevatein. That SOS Overdrive will serve Yuna well...yeah.
Climb up the platforms and head towards the red arrow. That is the final Save Sphere. If you head north, a giant tower will fall from the sky.
Warning! Point of no return!
You can let the tower fall and go back to the Save Sphere, but once you enter The Nucleus there's no going back. If you want to finish the game, go right ahead. If you wish to do sidequests, take the Save Sphere out of here.
← Home
← Part 23: Shingeki no Sin.
→ Part 25: Awakening.