The end is near, the end is near. Part 33 of Paramina's Final Fantasy VIII Walkthrough, Disc 4 out of 4, the final curtain. I hope you like this part, I made a map and everything!
"You think what's-her-face really lives here?"[]
I sure hope so Irvine, otherwise we're rather stuck in the wrong era without a paddle. Before we enter to definitely check (her name's not on the mailbox, anyway), Squall wants to divide the team into two parties - if you went and levelled up a bit like I suggested (particularly Zell and Rinoa), then you should still be okay with the Squall-Irvine-Quistis combo. Plus, don't forget, Junction Exchange is your friend. Of course, you could play this with Enc-None but that's embarrassing for you if anyone ever finds out, chicken. Besides, you'll have to swap about a bit anyway for an elevator and there's alot of walking to be done here, so Enc-None makes it notably less exciting. Yeah - exciting, something in FFVIII is exciting. Despite Ultimecia's (who?) rubbishness as a villain, this is actually a decent final dungeon.
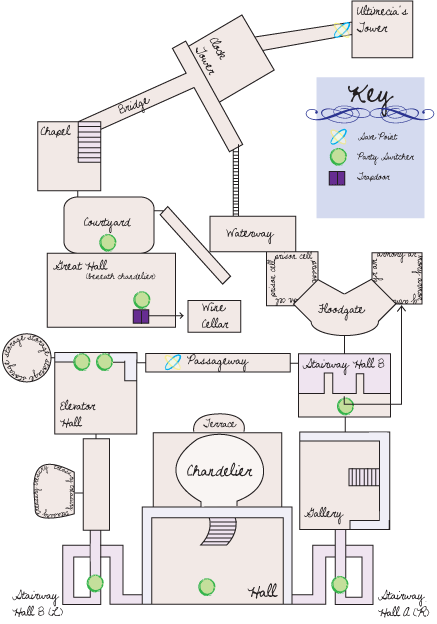
You'll probably want to keep an eye on the Map I've kindly made for you, because this place is pretty tricky to navigate and it helps to know your way around - especially if you're going after Omega Weapon. Which you will be.
Enter the Hall with both your parties. For simplicity and laziness, I'll be referring to Squall, Quistis and Irvine as Team A and Zell, Rinoa and Selphie as Team B. It turns out upon entering that Ultimecia has swiped our abilities! The plunderers have become the plundered, sneaky sneaky. In order to get them back for our final showdown, we have to fight each of Ultimecia's minions that are dotted about the castle. At the moment, we only have Attack unlocked, the following are sealed:
- [Item] - Can't use items, which includes in your field menu as well as in battle.
- [Magic] - Can't use magic, which includes in your field menu as well as in battle.
- [GF] - Can't summon GFs, nor can you use their Ability menu in your field menu.
- [Draw] - Can't use Draw on enemies or at Points.
- [Command Ability] - Can't use abilities such as Mad Rush, Treatment, etc.
- [Limit Break] - Can't use Limit Breaks, even under Aura.
- [Resurrection] - Can't resurrect players once they hit KO - no Full-Life or Phoenix Downs either.
- [Save] - Can't save at save points.
So our quest begins to regain our powers whilst looking for Ultimecia in this massive castle. I'll advise you which Ability to unlock after each fight, but it gets a bit complicated because it depends on whether you're missing GFs or not. If you are, then follow the instructions initially stated - if you've got all your GFs and don't need to Draw any, then follow the instructions in the brackets, because you'll have slightly different priorities than the lazy ones who inevitably miss out on the best of the GF abilities.
To make the next fight a little more in your favour, shuffle around your Elem-Def-J Junctions to ensure you've got a decent All-Elemental Defense going on. If you can't fit all four for everyone, then just spread them around. Any element you can get on, I recommend you do it. Take Team A up the main staircase, where our first minion awaits. You have to talk to it to actually cue the battle, so go ahead to make friendly chat:
| Boss Battle: Sphinxaur | ||
It isn't so much as detailing a strategy than pointing out the obvious: all you can do here is beat him up since we only have Attack. Sphinxaur will throw out from level 3 magics your way, hence my Elem-Def-J advice, which might save you a bit and heal some people up. Once you chip away half of this guy's HP, it'll turn into Sphinxara. Of course, we're incapable of adapting our battle plan in light of this change, so keep hammering away. Sphinxara will probably cast Doom so try and hammer it before your timer reaches 0. It also likes to Summon monsters to fight alongside it - I say ignore the first monster (a Jelleye), because if you kill it Sphinxara will only Summon a tougher one, and so on and so forth.
|
Take the stairs to your right to find yourself in the Stairway Hall A (Right), then follow through until you reach the Gallery. In here, you need to examine every painting on the wall, leaving the large one on the left wall on the first floor. It's easy to skip one by accident, so here's a checklist of sorts for you:
With all these observed, head down to the big painting on the Ground Floor on the left wall, and it should prompt you to enter three painting names. The key to knowing which to put in are due to the clock on the ground, but if you just want to enter the password - VIVIDARUM-INTERVIGILIUM-VIATOR - go ahead. This will summon our next boss battle, Trauma. Before you approach him, Junction Tornado onto your Elem-Atk-J.
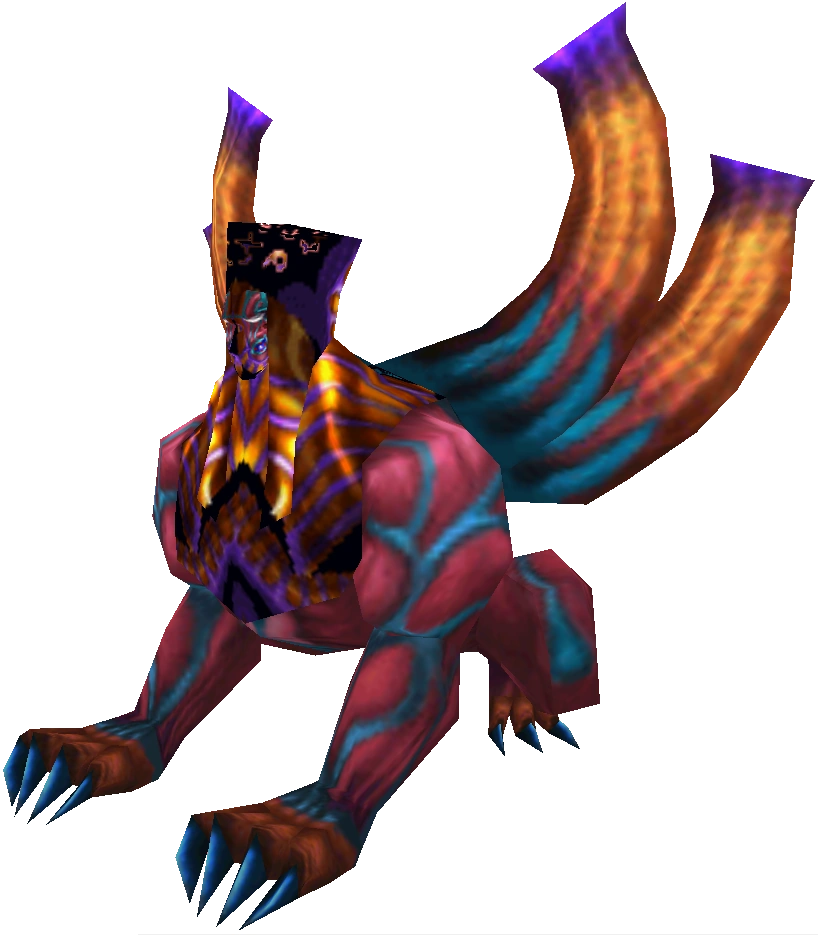
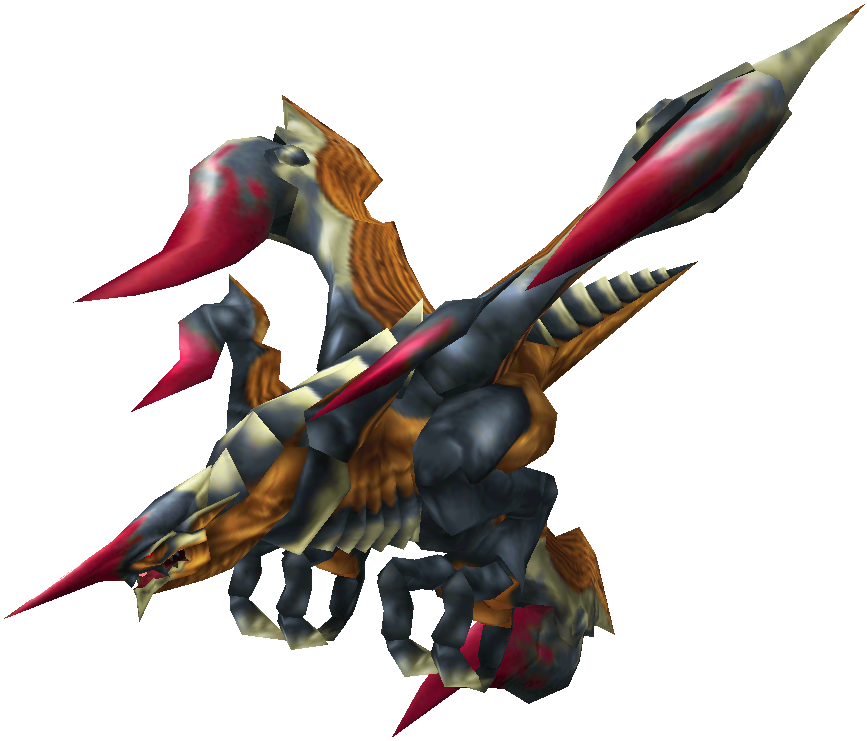
| Boss Battle: Trauma | ||
If you missed out on Leviathan, then Draw him from Trauma. If you've unlocked Magic already, I suggest you cast Meltdown to negate this guy's incredibly high defence. He'll constantly summon Dromas so there's no point wasting turns on dispatching them - focus on the big guy and he'll go down in no time, Dromas alongside.
|
Remove Tornado from your Elem-Atk-J, and exit the Gallery North to Stairway Hall B. Head to the Floodgate, then the Prison Cell on your left. The door slams behind us and we're locked up, Akon Style, with no way of escape... except... is that a key in that stone thing's hand? Examine it to obtain the Prison Key and to summon the Red Giant.
| Boss Battle: Red Giant | ||
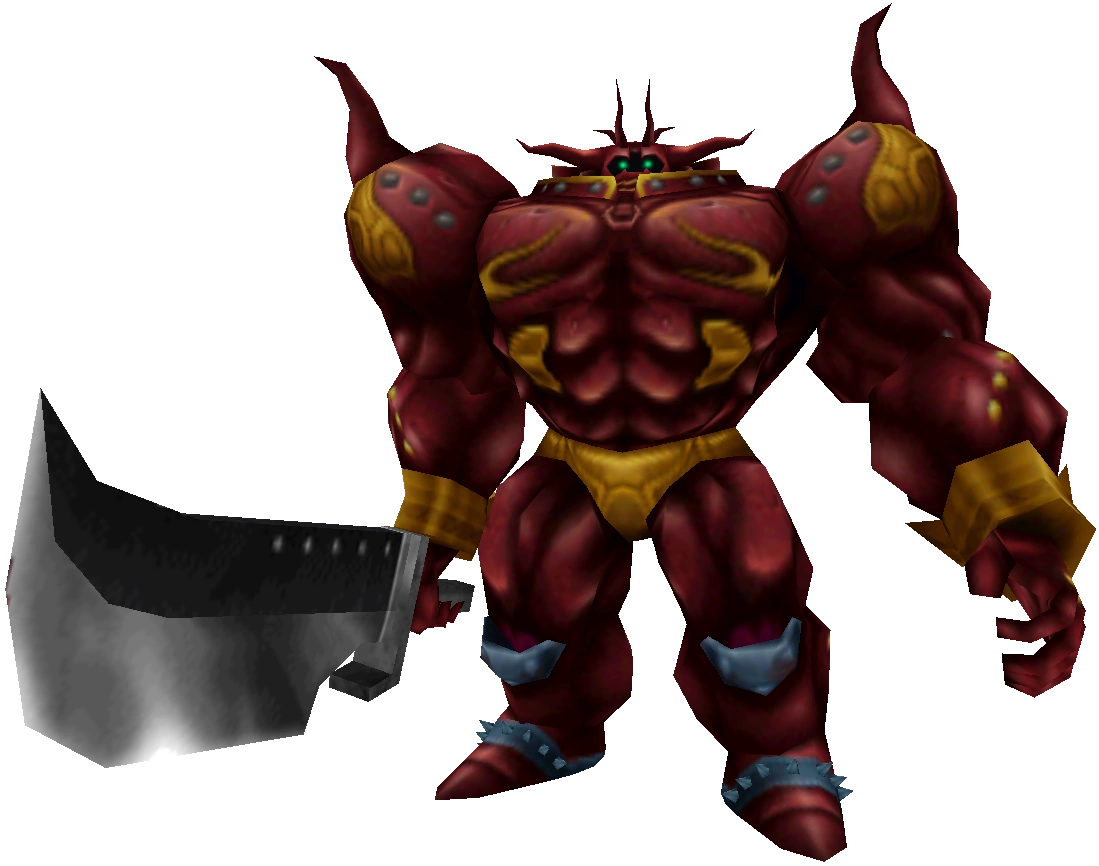
If you missed out on Pandemona from Pirate-jin in Balamb, then Draw her at the start. This is another minion with crazy defence, so either cast Meltdown or Summon Doomtrain to tip the battle in your favour. Then, Cast/Draw Demi or Summon Diablos to really knock this guy's HP down - the first Demi gave a hit of 9999, then of 7000+, so it's actually worth casting here, for a change. Once you've whittled his HP down, he'll throw away his sword and rely on Punch to inflict pretty heavy physical damage - you can either try to negate this with Blind or buff up your party with Protect to take the edge off, whilst continuing to mix Demi with physicals.
|
Head back to the Hall where you fought Sphinxaur (waving to Team B waiting patiently at the Party Switcher - their time will come, their time will come) and exit North to the Chandelier. Clamber onto it for it to buckle under the party's weight (must be all those belts) and crash into the Grand Hall. Ah well, no worries, there appears to be a trap door here for our perusal. Excellent - head on down to the Wine Cellar. Am I the only one who can't quite imagine Ultimecia kicking back on her throne of evil whilst enjoying a good Pinot Grigio? Hmm. Anyway... Junction Thundaga onto your Elem-Def-J.
| Boss Battle: Tri-Point | ||
If you missed out on Siren from Jay Leno in Dollet, then Draw her at the start. In true NORG style, Tri-Point opens with "USING ELEMENTAL ATTACKS. WHATEVER I DON'T USE, I DON'T LIKE." Ignore this chat as it's nonsense - Tri-Point is either weak to Fire or to Ice, but casting Scan to see which and which one when is just a waste of time. Treat it like all your usual fights, Meltdown followed by physicals and team HP buffering when needed. Tri-Point will counter physicals with Mega Spark, which should heal you if you Junctioned Thundaga to your Elem-Def-J like I said to. Eventually, Tri-Point will cast Scan on your team - which is rather novelty, seeing it the other way around -, which is a precursor for Onrush, a pretty nasty attack that ignores your Vit stat. Don't worry though, it's easy enough to take this thing down before even getting to Scan.
|
Before leaving, check out the hidden Aura Draw Point between the barrells, and then head on back up to the Great Hall. Now, this bit is pretty annoying, so pay attention, especially if you didn't go for a Squall/Quistis/Irvine Team A. Exit into the Courtyard and use the Party Switcher to control Team B. Take Team B through the door on the left of the Hall, through Stairway Hall A (Left) and Passage to reach Elevator Hall. Provided Team B contains two girls and a guy, then place them on the Party Switcher on the left. Switch back to Team A, and make your way to Stairway Hall B and take a left to the Passageway. Cross until you reach the Elevator Hall, and place Team A on the Party Switcher on the 2F. By doing so, Team A should then lift Team B up to the 2F.
Switch to Team B and exit to the Storage Room, where you'll find the Watergate Key (and a Curaga Draw Point, big whoop). Return to the Elevator Hall and stand on the elevator, switching to Team A again. As Team A, walk off the elevator - bringing Team B back to the same floor - and then wave them another goodbye as you head back to the Floodgate. By the Prison Cell is a lever - examine it (trusty ![]() , press it twice) to drain all the water from the castle. That's how we'll kill Ultimecia - with dehydration!
, press it twice) to drain all the water from the castle. That's how we'll kill Ultimecia - with dehydration!
Return to the Courtyard and examine the fountain to find the Treasury Key. Why we couldn't just get Squall's wrists wet by him getting the key out of the extremely shallow fountain without having to go through all that elevator balance nonsense, I don't know. Anyway, head back to the Hall and exit left, pass Stairway Hall A (Left) and into the Passage. On your left is the Treasury, use the key to gain access. Oddly enough, there are coffins in here... you know what they say: one sorceress' treasure is another man's... dead body. Before you go grave-digging, put Thundaga back onto your Elem-Def-J and then put Water onto your Elem-Atk-J. Examine the Coffin on the far left, then the far right, then the left, then finally the right to find this guy:
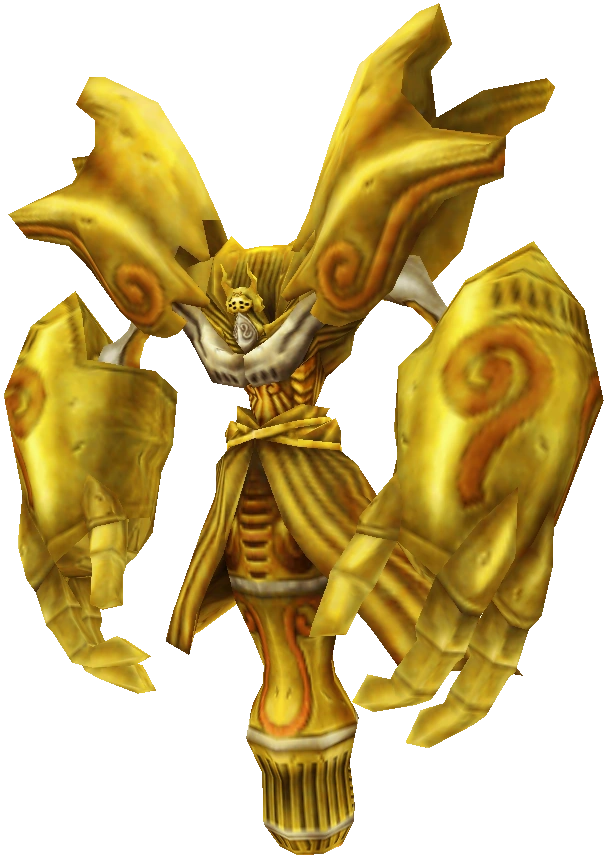
| Boss Battle: Catoblepas | ||
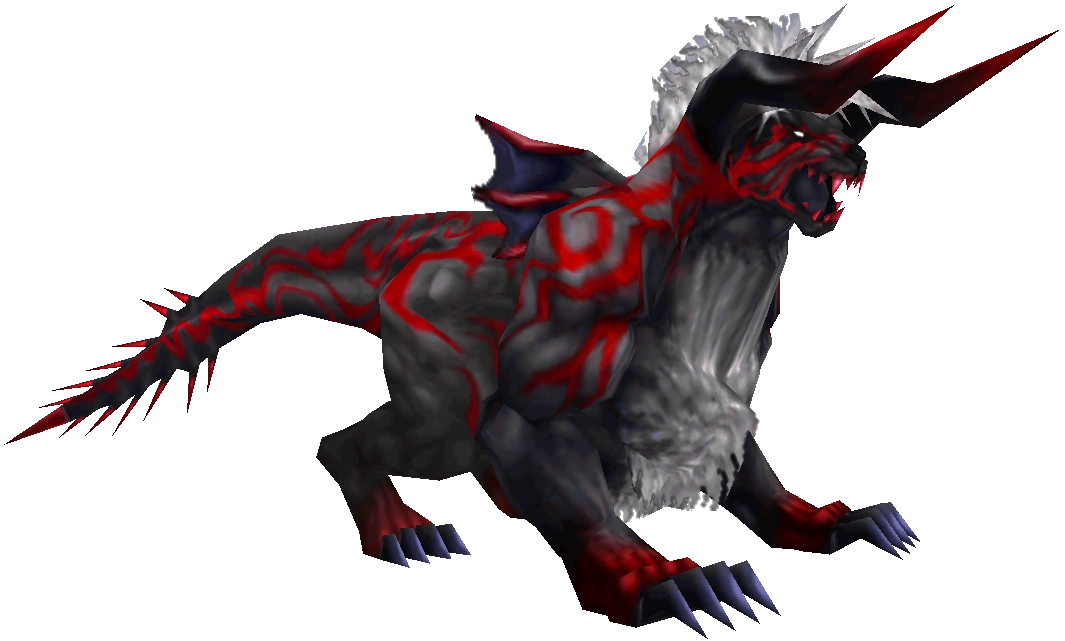
If you missed out on Alexander from Awesome Edea, then Draw him at the start. Other than that, you may as well just do the usual - Meltdown/Doomtrain, hammering physicals. Meltdown wil really kill this one considering Catoblepas already has shoddy defence. You might want to stock up on Meteor if you don't already have them Junctioned to your stats at 100, since they're pretty good. You'll also probably want to throw up a Triple Protect because Deadly Horn packs a punch of about 7000. It's Thunder attacks should heal you, but don't be complacent - keep your HP as high as possible at all times, because it uses Meteor as a parting shot, which does varying damage depending on your Spr stat.
|
Considering this Castle still has some boss battles to go and this page is getting pretty long, I'll split it here. Head onto the next part for the last three of Ultimecia's minions, and Omega. Looking forward to it!
→ Omega Omega Omega!
← Go back to us going back to bring just Rinoa back to go forwards.
← Home