Part 30. Yeah, 30! We've hit the big 3-0 in our Final Fantasy VIII walkthrough, by yours truly, Paramina. Enjoy (if possible).
Deja Vu[]
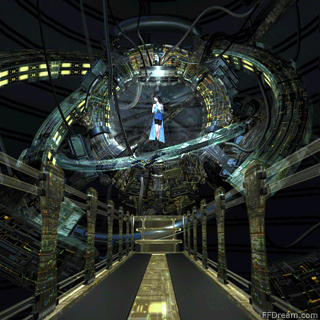
Looks a lot cooler than it actually is.
Hop in your Ragnarok and return to Esthar. You're looking for the Sorceress Memorial, which is the building that looks a bit like a squashed spider on the peninsula by Esthar City. Once you've found it your method is pretty simple. Enter for some fools to allow Squall to go inside the... sealing chamber? Squall will have another random dithering moment where he explains his motives:
"...To do what I should have done earlier. ...I'll never know unless I do it. ...I know what I want and what I have to do. ...There's still a chance. I'm not gonna look back."
Wow, thanks for clearing that up, Squall - it would have been really annoying if you hadn't explained yourself properly. In quite an awesome moment, actually, Quistis and Irvine brandish their weapons and toss them about rather threateningly. See, this is why I brought them - the whip and the shotgun are a lot more threatening than the glove and the skipping rope. Take Squall to the left and up the walkway to approach Rinoa. Squall will cut her free and you're treated to a rather weird, awkward scene where Rinoa falls out of the steam and into Squall's arms and... Squall totally looks like he's sniffing Rinoa's hair. Desperado. With Rinoa rescued, we'll have to make a break for it. There's hardly any resistance though, so just casually wander out into the lobby to see Quistis and Irvine being awesome again. Sadly, we don't get to beat these guys down because a massive man comes and pardons us. The party seem to recognise him, but he doesn't elaborate as he speaks only with "..." If you don't recognise him, then I don't even know what game you're playing. Who else is that massively built and cannot speak due to his throat being spliced open? Admittedly he was better dressed when you last saw him - that robe does nothing for his giant frame other than make him look like a circus tent.
I lied[]
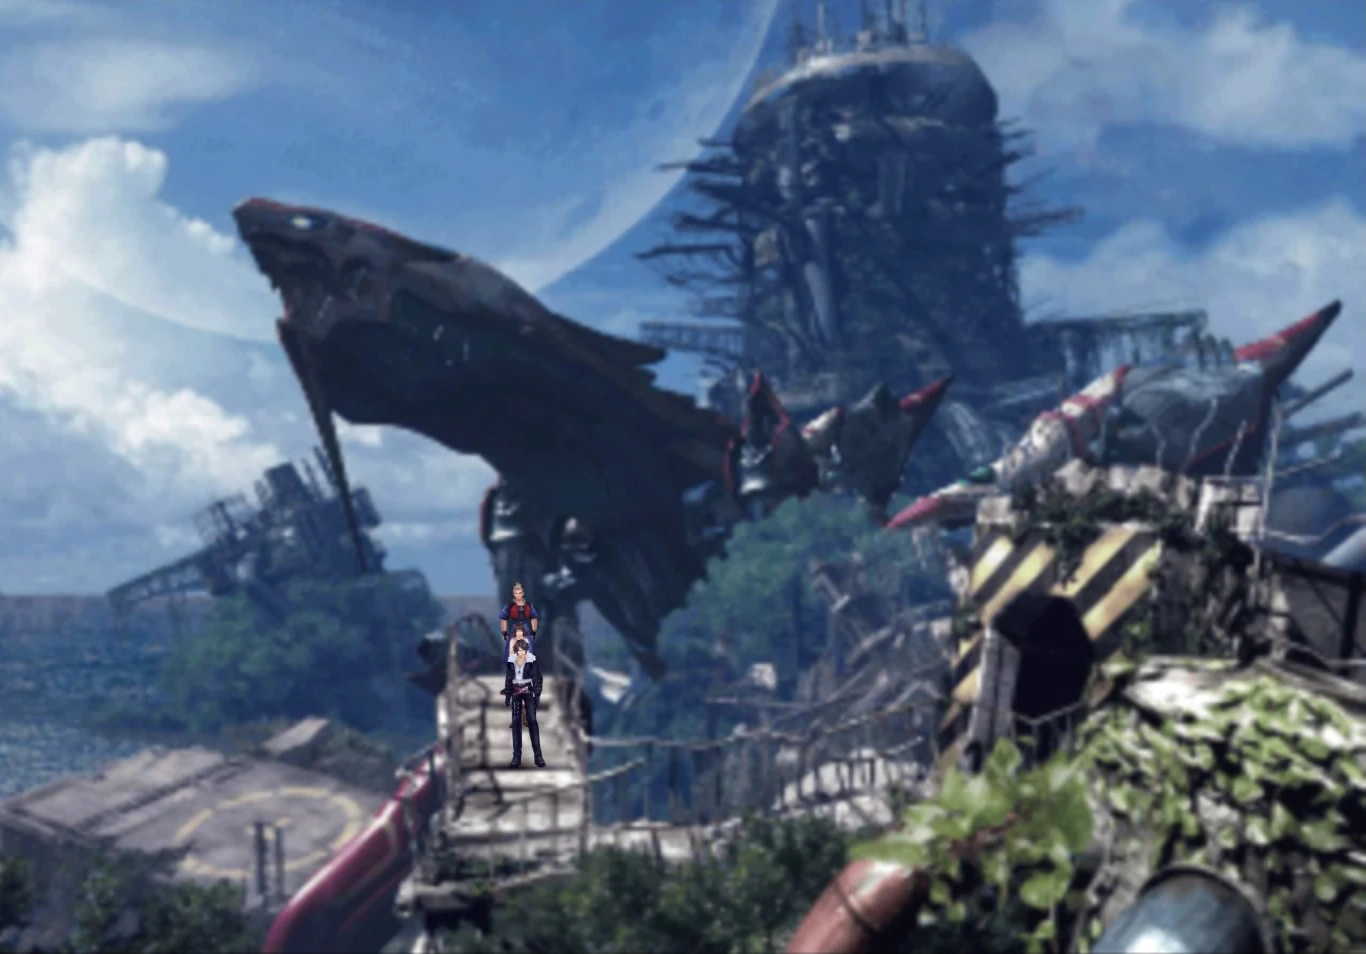
Where's Wally?
I do that sometimes, you know? Rinoa wants to go to Edea's Orphanage, but I think you should try and get a little more Sidequesting in Disc 3 before it's too late and Ultimecia screws things up with her ridiculous plan. Ergo, I command you to head to the Orphanage, but keep going West until you reach the Deep Sea Research Center, in the most Southern-West point of the map. This is actually the toughest area of the game so if you're just in this for a drive-through, then go ahead and skip. If you're in this for a walkthrough, you'll grit your teeth and bear it.
I hope you packed your scuba.
Your recommended soundtrack for this portion. God, that crab can really sing.
As per usual with this walkthrough, there is prep: Junction Blind to Squall's St-Atk-J, and Sleep to Quistis' (though it should probably still be on anyway). If you can, put Stop on St-Def-J. Put Blizzaga on as many Elem-Atk-Js as possible, and get Strength and Vitality up as high as possible (Ultima, Tornado and Meltdown are good). Also make sure you're got Firaga on your Elem-Def-J, or even better, Flare, as well as Thundaga and Tornado. And make sure someone has Alert! Honestly, I could list more endless Junction recommendations at you but these are the most important, so feel free to fill the other slots up with Holy or whatever you have lying around. You need a strong team here, so if you plan on pitching Selphie in for some exp, then turn around and fly away.
If you arrive with Zell in your party (why?) then he'll ramble on with his usual drivel. As always, I strongly recommend a Squall/Quistis/Irvine party of trio. Enter the Center where you'll see a huge flashing blue orb. The key to avoiding draining battles here is to move only when the lights are off - DO NOT MOVE WHEN THE BLUE LIGHTS ARE SPINNING, OR YOU WILL LIKELY DIE. I hope I made that clear. Anyway, playing a weird strain of Musical Statues, approach the Orb and you'll be asked a series of questions.
- "So you wish to challenge me?"
Pick "It's not our will to fight" to be plunged into battle with a Ruby Dragon. This guy is pretty easy - just smack him about a bit to send it asleep then summon Doomtrain. Draw Meteor and Flare if need be, then pummel it to bring things to an end.
- "Begging me for mercy?"
If you are, then stop playing. If not, choose the correct answer, "Never," for another Ruby Dragon fight. However, this time it's a Back Attack - if you've got Alert, like I told you to, then this will null the supposed shock of it, but Initiative works just as well. Just pray to Chuck Norris that this thing doesn't open with Breath on a Back Attack. KO - Game Over. If you escape the killer opener, then patch your party up and kill the thing. Before you do though, I recommend you end the fight with as full HP as possible, considering you'll need it for the next battle.
- "Damned imbeciles, why do you wish to fight?"
Hmm, okay, rudeness. Regardless, scroll down to the third option: it's hidden so you can only really see a white dot, but it'll say "It's in our nature." Cue battle!
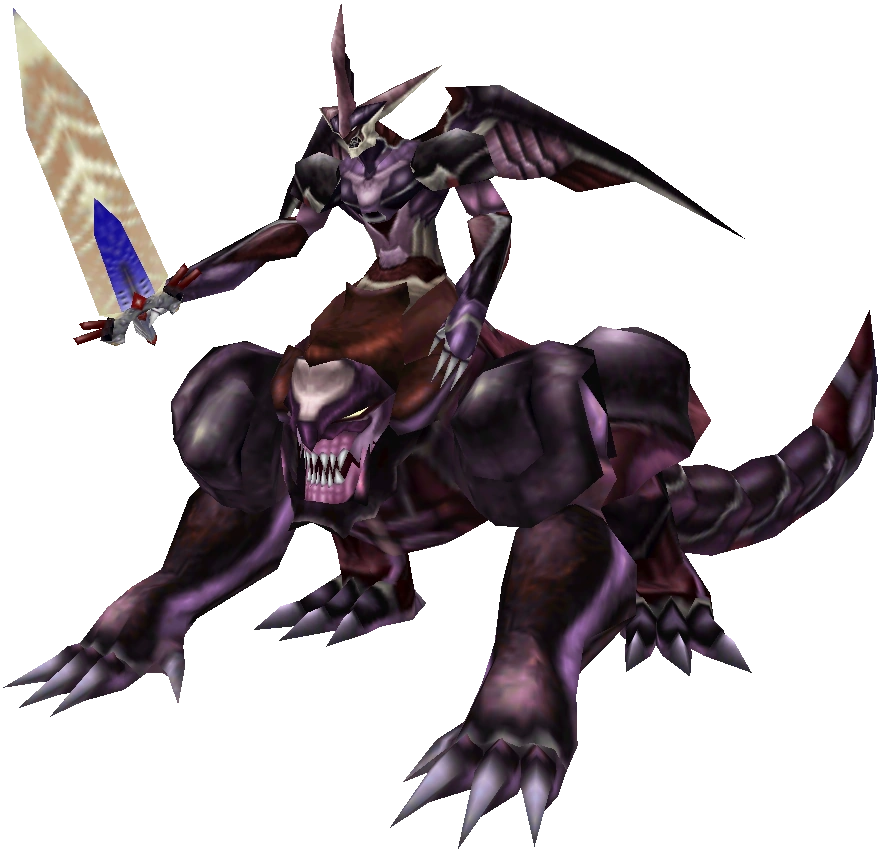
| Optional Boss Battle: Bahamut |

'Tis our old pal Bahamut, King of Dragons, Master of Summons. Note that I've only placed this battle as Medium because it's pretty enduring, not particularly tough. You want to open with Squall walloping the Dragon with a Blind hit to render this guy's physicals useless. Doomtrain heals Bahamut, so if you've not done any damage yet Summon him anyway - if you have, cast Meltdown as a replacement and then Summon Cereberus. With Quistis now, throw out three Auras onto your party and have them let loose - use Armor/Demolition Ammo with Irvine, the usual with Squall, and choose Mighty Guard with Quistis to buff your team up. Once Quistis has Mighty Guarded, then Triple Shell to take the edge off Bahamut's Mega Flare, which ignores Vit and can regularly do about 3000 damage a pop, so keep your HP levels 4000 and above to be safe. Of course, you can also Summon your GFs for them to take the Mega Flare hit if you're feeling cowardly. If you do, remember NOT to summon Quezacotl, Pandemona or Brothers as these will just counteract everything you've done so far. With Bahamut blinded, this should make the battle much easier. Have Quistis focusing on support, but when she's not needed have her Draw Full-Life and Flares. Keep battering with Squall's Renzokuken and Irvine's Shot, and he should go down in no time. "Have you seen the light?" |
Huzzah! A new GF! I recommend you set Mug and Rare Item as your priorities, and then consider Auto-Protect.
However, our Deep Sea Adventure isn't over yet. No, there's plenty more a-plundering to be done! To continue on, you'll have to leave and return to the cock-pit of the Ragnarok. Tell Irvine you're ready to go and just disembark again. On a sidenote, how appalling is the Ragnarok theme? I know I'm a big creepy fan of this soundtrack, but seriously, this tune makes my ears bleed. What on earth was Uematsu thinking?
Now, please note that I only recommend you do this Sidequest if you have decent Speed stats and means to increase it - i.e., ONLY DO THIS IF YOU CAN JUNCTION TRIPLE, HASTE, STOP OR SLOW ONTO YOUR SPD-J. If you can't, you're basically walking into a Game Over, so don't bother.
If you have your Spd-J as high as possible, return to the Deep Sea Research Center and go down the empty hole where Bahamut used to be (in a shoddy piece of animation, your entire party will clamber on top of each other in a bid to be the first to mount the pipe). When you're down a floor, examine the computer to the left to learn about RSPs. This tutorial is extremely tedious and far more complex than it needs to be - basically, you've got 20 RSP, and you need RSP to go down floors, but you can't run out or you're stuck. Oh, and you just wasted 4 RSPs opening that door, so you've only got 16. Easy.
In order to get to the Excavation Site, do the following. Only use Method Two if you're a Zell User (why?):
- Method One

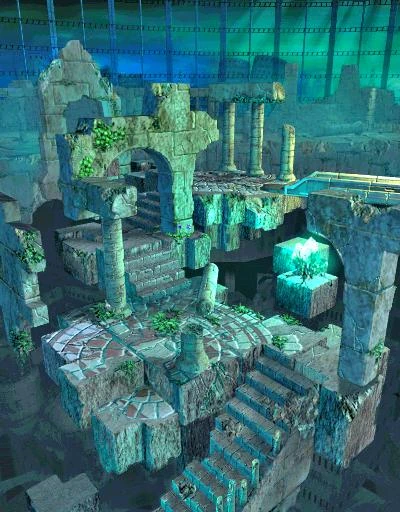
This is ridiculous, there are 23 bloody pictures of Ultimecia's digs, but only two for this place, so I'm forced to slot this stupid picture in again to break up the text.
- 2F - use 2 RSP. Remaining RSP: 14/20
- 3F - use 4 RSP. Use computer on the left for an Esuna Draw Point and a machine recharging 7 RSP. Open the door to the next floor. Remaining RSP: 16/20
- 4F - use 1 RSP. Remaining RSP: 15/20
- 5F - use 1 RSP. Remaining RSP: 14/20
- 6F - use 4 RSP. Remaining RSP: 10/20
- Method Two (why?)
- 2F - use 1 RSP. Remaining RSP: 15/20
- 3F - use 1 RSP. Remaining RSP: 14/20
- 4F - use 1 RSP. Remaining RSP: 13/20
- 5F - use 1 RSP. Remaining RSP: 12/20
- 6F - Have Zell employ his ADHD to use and destroy the machine, meaning you don't have to use any RSP.
Ahhh, we're finally down! The catacombs of the sea like Brendan Fraser in that bad 3D movie I'm sure I've already referenced beforehand. Now, in the Excavation Site, you are guaranteed at least one fixed battle against an enemy on every screen. Whew, this part really lends itself to list-usage, huh?
- Screen 1 - Tri-Face. Mug for Curse Spikes if you can, if you manage to get 100 then you can refine it to teach Quistis Shockwave Pulsar, her strongest Blue Magic.
- Screen 2 - Imp and a Grendel. Nothing to write home about, just look out for the Holy finisher, which, with a decent Spr stat, should only do about 300 damage anyway.
- Screen 3 - Behemoth. Mug for a Barrier if you're sans Quistis' most useful Blue Magic, Mighty Guard. There's also a Triple Draw Point here, so plunder!
- Screen 4 - Ruby Dragon. Yawn (0/10, guys), the exact same fight as before. Just Sleep, Meltdown, Beat-Up. There's an Ultima Draw Point around here somewhere, you know what to do.
- Screen 5 - Iron Giants. Yawn: the Sequel, just use your same tactics as with the Dragon. If you manage to get a Star Fragment, then... well done.
If you have Siren's Move-Find ability on, you'll spot a hidden Save Point at the final steam machine thingy. Heal and save accordingly, before getting ready to delve into some good old prep. Yeah, you love the prep really. I've already nagged at you about the Spd-J, so if you haven't done it, then what on earth are you doing all the way down here?! Make sure you have access to Revive, and only have one person with the Draw command, because there's really only one thing that needs Drawn here. Take Mug off, it'll supremely ruin your reward down here. Make sure enough Quake is on your Elem-Def-J that it heals you... I think that's pretty much it. Oh! No it isn't - make sure your supportive character (Quistis) has decent Vit and HP, because you really, really don't want them taken out.
With this all done, use the final steam machine to trigger a scene. Our favourite "what's going on?" animation returns as the party flounder about, twisting from side to side as an alarm sounds and the screen starts flashing red ominously. "The rocks are... resonating?"
| Optional Boss Battle: Ultima Weapon |
Now this is probably the toughest you've come across in this FF installment yet, due to Ultima's incredibly infuriating speed. At lvl 100, it has the max of 255 for speed, which basically means regardless of how much you try to soup up your team, you will never be faster than him. That's why I've advised you to do this fight now, before lvl 100, because it gives you room to peak his speed a little. If you've been really stupid and ignored by incessant Spd-J insistence, then you'll be handed a Game Over faster than you can say "But I thought it was just a recommendation!" It's a requirement. Know that Ultima Weapon has some nasty moves up its steel sleeves ('stleeves'?): Gravija hits the whole party for around 3000-5000 HP and is pretty much unavoidable unless you Shell. Meteor is no big deal since with a decent Spr and a Regen status it can't kill you outright. Quake should heal you if you followed my prep instructions, saving you valuable turns. The worst by far is Light Pillar, which pretty much guarantees Insta-Death to whoever's on the receiving end, causing you to drop whatever carefully constructed attack pattern you have in flurried panic and frantically throw Full-Life and Phoenix Downs around - what a doozy. At least you've been warned. First things first: DRAW EDEN. I swear, if you get through this battle without doing it I have a half mind to find your email address and sign you up for incessant spam. With that done, either summon Doomtrain or throw out a Meltdown to make this battle a lot easier. Throw an Aura at Quistis so she can use Mighty Guard, giving Regen (integral for Meteor nullification), Shell (taking the edge off Gravija), Protect (blunting his physicals a bit) and a Haste status to speed up the party even more. The 'honest' way to fight basically involves you beating him senseless while constantly Reviving post-Light Pillar, but a good way to get the battle going in your favour is to abuse Aura for Squall to use Renzokuken, and if he throws out a Lionheart then you're in the green, comrade. If not persevere, and keep up the buffs so things don't get really bad and two of your party our out for the count. Eventually, he'll start to stagger and explode in beams of light, not unlike Tom Riddle's exit from the 2nd Harry Potter movie I'm still not entirely 100% happy with. Nonetheless, with this guy's explosion, we get 100 Ultima Stones, i.e., 100 Ultima! However, you'll only get them if you didn't Mug the much inferior Three Stars during the fight, which, you know, I did say not to do earlier. You'll also get Eden's Card and the GF, Eden, PROVIDED YOU DREW HIM. If you didn't... God, I give up, I really do. |
With Eden in hand, you now possess the strongest GF in the universe. Whoop whoop. Though for such a ledge, he/she has pretty rough abilities to learn, just Spd-J, Eva-J, Hit-J... actually, he/she's pretty disappointing, but his/her attack is the strongest in the game despite having an achingly (and excessively) long summoning sequence.
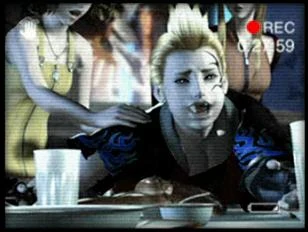
Probably another thought you should have kept to yourself.[]

Why?
Ah yes, oblige Rinoa's wishes and head to Edea's. As soon as you get there, Angelo - that rather pudgy dog that Rinoa carts about, if you're having trouble recalling - runs off and exits stage left. Since there's nothing else for you to do, follow him to find yourself in a flower field... oh no, is that Love Grows? No, not again...
The third party member manages to skidaddle and escape the inevitable awkwardness about to ensue. Everyone is so incredibly cringe with the whole "I'll leave you two alone" thing I can't press ![]() fast enough for this to be over. Rinoa embarks on another of her incessant whines about herself - "What will become of me?" Me, me, me. I don't know what will become of you Rinoa, but let's put it this way - you probably won't be dying anytime soon due to your apparent immortality, but given your track record, you'll be in need of a rescue in around ten minutes.
fast enough for this to be over. Rinoa embarks on another of her incessant whines about herself - "What will become of me?" Me, me, me. I don't know what will become of you Rinoa, but let's put it this way - you probably won't be dying anytime soon due to your apparent immortality, but given your track record, you'll be in need of a rescue in around ten minutes.
Sadly she keeps going on until she delivers this disaster: "If I fall under Ultimecia's control again... SeeD will come kill me, right? And the leader of SeeD is you, Squall... Squall's sword will pierce my heart...... I guess it's ok if it's you, Squall. Nobody else. Squall, if that ever happens..." If that's not the sign of a psychopath, I don't know what is. Who says that to someone? They've not even been on a date - how incredibly creepy! She then ruins things even more by telling Squall about this pyscho dream she had about him which is definitely on of those thoughts you should always keep to yourself. I'm beginning to think Rinoa lacks a filter between her brain and her mouth. The scene winds up with Squall promising to meet Rinoa here given the chance - foreshadow dump! - and Zell (merciful Zell! Who would have ever thought I'd be this pleased to see this guy?!) interrupts by telling us we've been summoned to Esthar City, by none other than Kiros "Crazy Beads" Seagill!
To Esthar!
→ So you've gone for the Clown again?
← I said, I loves me some sidequesting.
← Home