Why is the weather so bloody miserable. It's been cloudy, raining and cold for about a week. I want to go out, but I'd get beaten up by Mother Nature. At least there's spicy vegetable soup downstairs for my many, many snack breaks.
We're coming to end the end of our adventure -- but first, let's pick up the rest of the ultimate weapons and take on an optional area with decent treasures.
Welcome to Part 31.
We'll start in Wutai.
Wutai[]
Items[]
Head to the Da-chao Statue. Enter the fiery cavern on the west side of the trail. Now you have the Leviathan Scale from the Underwater Reactor, you can extinguish the flames. Do this twice on the first fire to find an Oritsuru, then head around to the back and put out the fire to be able to grab the Steal as Well Materia, which makes the equipped character steal when they use the Materia with which it's paired.
Also, if you didn't manage to get the playset of stat sources and the Megalixir from the Turtle's Paradise bartender, pick them up now.
We're done here, so fly to Cosmo Canyon.
Cosmo Canyon[]
Items[]
Put Nanaki in your party and head to Bugenhagen's observatory. You'll receive the Limited Moon, Nanaki's ultimate weapon. Now the only one without their best weapon is...Cloud. Cloud, like Cid, actually has two 'best' weapons -- one with triple AP growth and one with the highest attack power and a special power modifier.
To get Cloud's triple AP weapon, you need either a specially-bred Chocobo, or to defeat the boss that drops Cloud's ultimate weapon. For convenience, we'll take on that particular boss.
Fly to the watery crater near Fort Condor and engage the creature inside.
| Boss Battle: Ultimate Weapon |
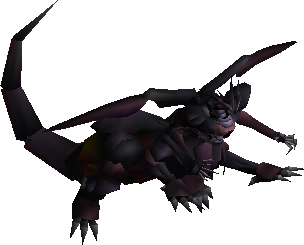 Level: 61 Attacks:
Once again, you can't defeat him yet. You can fight him either on the ground or in the air, depending on where he lands. The first time will be an aerial battle, but depending on how much damage you deal him, he'll fly off to a new location after the battle. Use White Wind and All-Cure3 to avoid dying; Ultima Beam hits your party for around 1,700 damage, and Thunderball is worth about 1,400 to one character. Surely those damages should be reversed? Anyway, hit it as hard as you can. Limit Breaks and summons are the order of the day -- if you have Knights of the Round, they should deal around 65,000+ damage, which will make him flee the battle. Once he's under 20,000 HP, he'll flee to Cosmo Canyon Area where his final battle takes place. |
If he starts flying around the world, ram into him with the Highwind around four times to get him to move to his next fixed location. Keep fighting him until he appears near Cosmo Canyon. Make sure you equip all 4 Enemy Skill Materia on the character with whom you plan to kill it.
| Boss Battle: Ultimate Weapon |
Level: 61 Attacks:
1Final Attack, Enemy Skill. Okay, now you can bring him down. Start with Big Guard, and use White Wind for healing purposes. If you have Knights of the Round, use it to bring the battle to a swift close. If not, use a Hero Drink on the first character, get their Limit Break up and then use said Limit. Make sure you still have Big Guard up when it dies -- its Final Attack, Shadow Flare, deals around 8,000 damage to one character, which is just about survivable when halved with Big Guard. You also want to learn Shadow Flare as an Enemy Skill, so having your finisher (whoever has Knights of the Round, if you're going in that direction) tricked out with all 4 Enemy Skill Materia will load it onto every copy at once, since it'll be a new skill for each copy. |
When you defeat it, it falls to the ground and explodes, creating a crater that lets you access the Ancient Forest, otherwise accessibly only by Green, Black or Gold Chocobos.
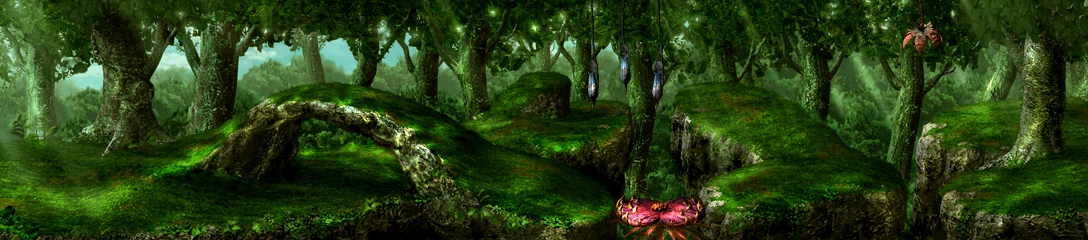
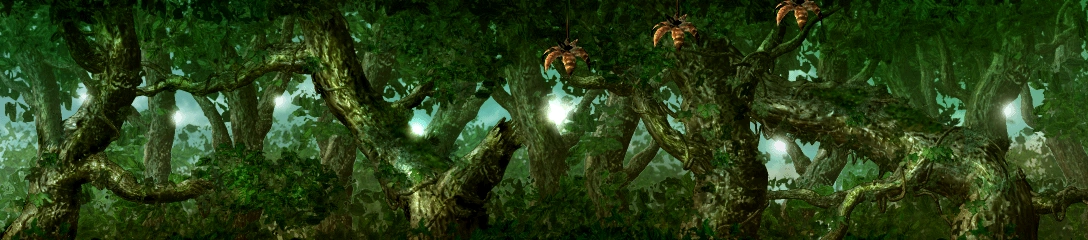
Ancient Forest[]
Enemies[]
Items[]
- Supershot ST
- Spring Gun Clip
- Slash-All Materia
- Minerva Band
- Typoon Materia
- Apocalypse
- Elixir
In this area, you have to use frogs, insects and beehives to navigate obstacles and traps and proceed. You can also use ![]() to return instantly to the entrance, in case you get stuck.
to return instantly to the entrance, in case you get stuck.
Also, the Rilfsak enemies have huge evasive capabilities, so throw Ultima at them.
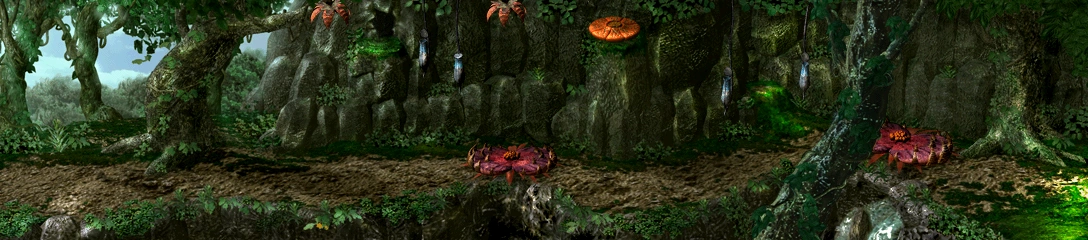
In the first area, pick up the three insects and drop them near the small slope (you can only carry one at a time though). Before doing anything else, grab the Supershot ST from the Venus flytrap, but be careful -- inch forward mashing the confirm button until you access it, otherwise it'll eat you.
Now pick up the insects and quickly feed them to the pitcher plants one by one. Jump across to the other side. Approach the pink vine and you'll jump across a gap. Grab the Spring Gun Clip, which sounds like it's for Barret but is actually for Nanaki, and head right.
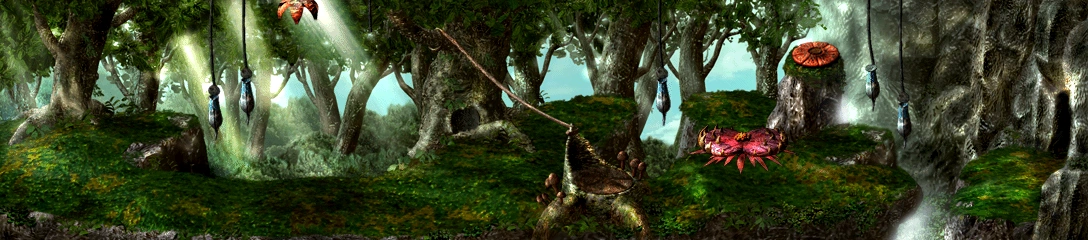
Here, pick up the insect and jump up via the pink vine on the right. Feed the insect to the plant and jump across to the right. Grab the frog and run up the small ledge to the north. Feed the frog to the pitcher plant and jump up to the left. See, if you feed a frog to the plant, it gets spat out and you get launched -- handy for accessing higher areas. Grab the beehive thing and feed it to the Venus flytrap. There's a Slash-All Materia up for grabs.
Go back right and feed the frog to the right plant. Head right; we'll be getting that other treasure shortly.
In this next area, go right and grab the second insect. Feed it to the first plant, then feed the second with the other insect. Jump across and the vine will launch you up to the treetops. Head left (used Select to show the exits) and down to grab the Minerva Band. You'll have to jump off to the left.
Head back up to the treetops and cross all the way to the right. You'll find the Typoon Summon Materia, which should be your last (unless you still don't have Knights of the Round). Now head left and jump across the vines. As soon as you land, hold Up to go down (yeah, I know) the back of the stump and into a new part of the previous area.
Head right and feed the insect to the plant. Jump up and grab the beehive, then feed it to the flytrap. Grab the other insect and use it to feed the other plant. Jump across to the left. Pick up another insect to your left and place it by the hole in the tree. A frog will appear. Take it and feed it to the pitcher plant we just crossed. Wait for it to spit out the frog and take said frog over to the right. Feed it to the plant, jump on and wait for it to launch you over to the right.
In this cave, the first chest contains the Apocalypse, which has triple AP growth for Cloud. Excellent. The other chest contains an Elixir. Leave to the north to exit the Ancient Forest.
One last thing you should do before taking on the final dungeon -- head to Gold Saucer. We've got a gauntlet to face.
Gold Saucer[]
Items[]
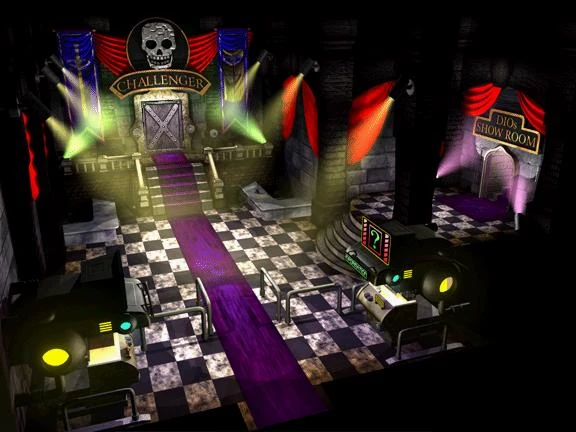
Head to Battle Square. We have to survive an eight-round slugfest with difficult enemies and random handicaps thrown in for good measure.
To unlock this punishing trial you need to have won both Omnislash and W-Summon from the existing prize pool. Talk to the attendant and take up her offer of the special battle.
You'll want Cloud equipped with the Ultima Weapon and Mystile -- you won't be gaining AP anyway, and the Mystile's evasion will help you cheat your way out of otherwise fatal attacks. Your accessory should of course be the Ribbon.
I used a setup involving as many Stat Up Materia as were relevant. My main attacks were Double Cut and Knights of the Round, paired with a mastered MP Absorb. I used Enemy Skill (specifically White Wind) for healing since it also clears up ailments. I didn't use any Magic Materia due to their Strength and HP reductions, plus it let me cheat the Magic Materia Broken 'handicap'. I got mostly Level Down handicaps and one Time x30 damage, which I mopped up with a few rounds of White Wind.
Here's a breakdown of what you have to face:
Round 1: Sea Worm
HP: 18,000
Difficulty: Easy
Start by using a Hero Drink and Speed Drink. Regular physical attacks will take it out tout de suite.
Round 2: Ho-chu
HP: 8,600
Difficulty: Easy
Ribbon renders his threat null. Note that you can morph it into another Ribbon.
Round 3: Unknown 3
HP: 30,000
Difficulty: Medium
Creepy Touch is actually beneficial as it increases your defence for the rest of the gauntlet. With Ribbon equipped, Poison Fang will always miss. Just watch out for Bolt2.
Round 4: Serpent
HP: 28,000
Difficulty: Medium
Viper Breath will hit for around 800 damage should it hit, which may or may not be relevant, depending on what handicaps you'll landed up with. Stick with Double Cut.
Round 5: Wolfmeister
HP: 20,000
Difficulty: Medium
It hits hard, for around 1,000 damage. Double Cut will end it quickly but actually start healing now; it gets more intense from now on, especially with the handicaps piling up.
Round 6: Behemoth
HP: 14,000
Difficulty: Medium
Kill it in one go, or watch it kill you with ????. Save up Omnislash while continuously healing to deal with this thing without having to risk getting OHKO'd by ????.
Round 7: Maximum Kimaira
HP: 8,000
Difficulty: Simple
Freeze is the only issue here. But with its low HP it may never get to use it. Double Cut should kill it instantly, assuming your HP isn't too low.
Round 8: Proud Clod/Jamar Armor
HP: 120,000/40,000
Difficulty: Hard
It's only hard because you're going in with seven handicaps and its HP is huge. Use Knights of the Round (twice if you've managed to level it up). The first casting will take out Jamar Armor, while the second shot will finish things off. If you still don't have Knights of the Round, spam Double Cut and use White Wind to heal. If you do get a full Limit Break gauge again, throw out an Omnislash.
For winning, you receive the Final Attack Materia. This uses the paired Materia automatically when the equipped character dies, so pair it with Phoenix or Life Materia to revive the caster as well. It's awesome.
If you complete this special match ten times, you receive a Ribbon. But there's a much easier method -- just morph that Ho-chu (or a Master Tonberry in the final dungeon, but Ho-chu is a much easier target).
With that, I'd say you're ready to take on the final dungeon. Buy whatever you need (99 of everything seems reasonable) and fly to the Northern Crater. Descend. It's showtime.
← Home
← Part 30: Shingeki no Shinra.
→ Part 32: Into the Qliphoth.