I'm watching the Labour Party Conference 2015 as I write this, and it's brilliant. I'm not a staunch leftie, but it's definitely a good show. Jeremy Corbyn has a surprisingly strong sense of humour for a nearly seventy-year-old politician. If you don't know anything about British politics, please feel free to ignore all of that ;P
Also, if you don't get the section title, go watch more Scrubs. Seriously, do it. It's a good show.
Welcome to Part 11 of my Final Fantasy V walkthrough!
"Dude, you want some alone time?"
Fly the airship (I don't think it has a name, so let's call it the Previa in honour of the -ids who worked on it) southwest of the Library of the Ancients, towards Gohn. There'll be a scene as the Ronka Ruins ascends from the earth and flies into the sky, unreachable even by the Previa. So that's why it's called "Gohn", hah.
So, fly back to the Crescent Island catapult, then land. It's tricky to stop on the exact spot, but there y'go. Cid and Mid explain that the Ronkan civilsation used the Earth Crystal to make their city float. In other news, King Walse has just announced plans to use the Water Crystal to set the Ancient Library on fire.
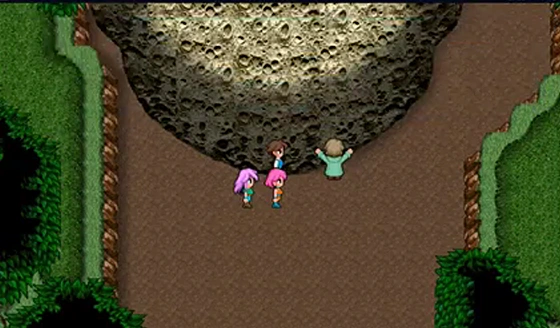
We need a piece of Adamantite to make the ship strong enough to reach the flying Ronka Ruins. Galuf mentions that there's some in the meteorite in which he landed. Fly northwest to Tycoon and examine the front of the meteorite. Galuf will let you in, so grab the Adamantite. As you leave, you're attacked by a monster. Didn't mention that, did you Galuf?
| Boss Battle: Adamantoise | |||||||||||||||||||||||
 |
Level: 20 Steal: Iron Draft Weakness: Ice | ||||||||||||||||||||||
|
| |||||||||||||||||||||||
| Strategy: The difficulty tag is assuming you don't have Level 5 Death. Both its attack and defence are very high, so you can't let the battle drag on (I forgot to put in the space when I first type that :P) Spam Blizzara backed up by Frost Rods, and Spellblade Blizzara to end the battle (relatively quickly). Have a White Mage on-hand to clean up should things get ugly. | |||||||||||||||||||||||

With the Adamantite in hand, head back to the Catapult and try to leave the ship. After the scene, you'll be able to fly even higher. Unfortunately, it's only relevant for this one part of the game. No extra Skies of Arcadia-type exploration :(
Press A and select the up arrow. You'll have to take out the four weapons on either side of the ruins. I'd recommend at least one Ninja for this, as they can throw Lightning Scrolls to deal massive damage. You can also learn both the Flamethrower and Missile Blue Magic spells.
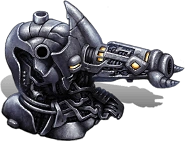
Once you've destroyed the weapons, a huge cannon will emerge. Go back to the lower skies and land, then heal and save your game. The next boss is genuinely very hard. When you're ready, rise up to Ronka Ruins and examine the large cannon from the front.
| Boss Battle: Soul Cannon | |||||||||||||||||||||||
 |
Level: 36 Steal: Ether, Elixir Weakness: Lightning | ||||||||||||||||||||||
|
| |||||||||||||||||||||||
| Strategy: The main cannon has only one attack, but it's an absolute doozy. Wave Cannon deals massive damage to the entire party and inflicts Sap. It takes a while to charge up, but with that massive HP count you'll have a hard time defeating it in time. Throw out Lightning Scrolls to destroy the Launchers, otherwise they'll cause you major problems. From there, continue lobbing Lightning Scrolls and casting Thundara. A melee character equipped with the Coral Sword will deal heavy damage, especially if you use Spellblade Thundara beforehand. | |||||||||||||||||||||||
With the main cannon busted, head into Ronka Ruins.
Ronka Ruins[]
Enemies[]
|
|
Items[]
|
Blue Magic[]
White Wind[]

Enemies: Enchanted Fan
Location: Ronka Ruins
MP: 28
Effect: Heals the party's HP equal to the HP of the caster.
White Wind is awesome in certain situations. It ignores Reflect and Undead, so you won't end up bouncing it or having it damage you.
You'll need to Control the Enchanted Fan to make it use the spell.
1,000 Needles[]

Enemies: Lamia
Location: Ronka Ruins
MP: 25
Effect: Deals 1,000 damage to one enemy.
For once, not entirely useless. Usually, most enemies are immune to this kind of spell, but its MP cost justifies the level of usefulness. Use it sparingly.
Level 4 Graviga[]
Enemies: Ghidra

Location: Ronka Ruins
MP: 9
Effect: Reduces the HP of enemies with a level divisible by 4 to 1/4 of their current HP.
Level 5 Death is better since it kills outright. Gravity, like death, doesn't work on Heavy enemies, so it can't even cover Level 5 Death's blind spots.
Just have it for completion, though I will point out spots in which it's useful.
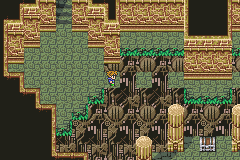
Urgh. That quality.
Alright, let's get on with it. Leave the ship and head south, following the obvious path to Level Two. Here, you'll noticed pathways without grass growing on the side. These indicate invisible floors, so walk right across to the other side, then south and west to the central platform. Grab the Golden Armour and continue.
On Level Three, take the southwest, invisible path to the southern platform and go left. There are four 'fingers' sticking out from the platform. Use the second from the right, and take a left as soon as you step onto the second platform. Now go north and grab the Elixir.
Return to the platform and take the leftmost path, going right once you're at the end. Ignore the first staircase that you see. The second leads up to a Save Point. Back down, go right and take the Phoenix Down. Go right to the long platform and south, down the stairs to Level Four.
Follow the path, and cross a small, invisible platform back on Level Three to find a Golden Shield in that chest. Return to the pair of stairs (heh) on Level Three and take the left stairs down. Follow to Level Five. Take a right, go through the doors and up the stairs. There's a chest containing a Hi-Potion here.

Uh...right. I totally agree with you, buddy.
Right of the chest, take the stairs. You'll come to a treasure room. There are holes in here; one two spaces ahead and another one a tile to the right. If you have a Thief you'll find them before you fall. Raid the chests for 5,000 Gil, a Shuriken, an Ancient Sword, a Moonring Blade and a Power Armlet. Return to Level Four (you could just fall through one of the holes) and take the door just to the left of the stairs.
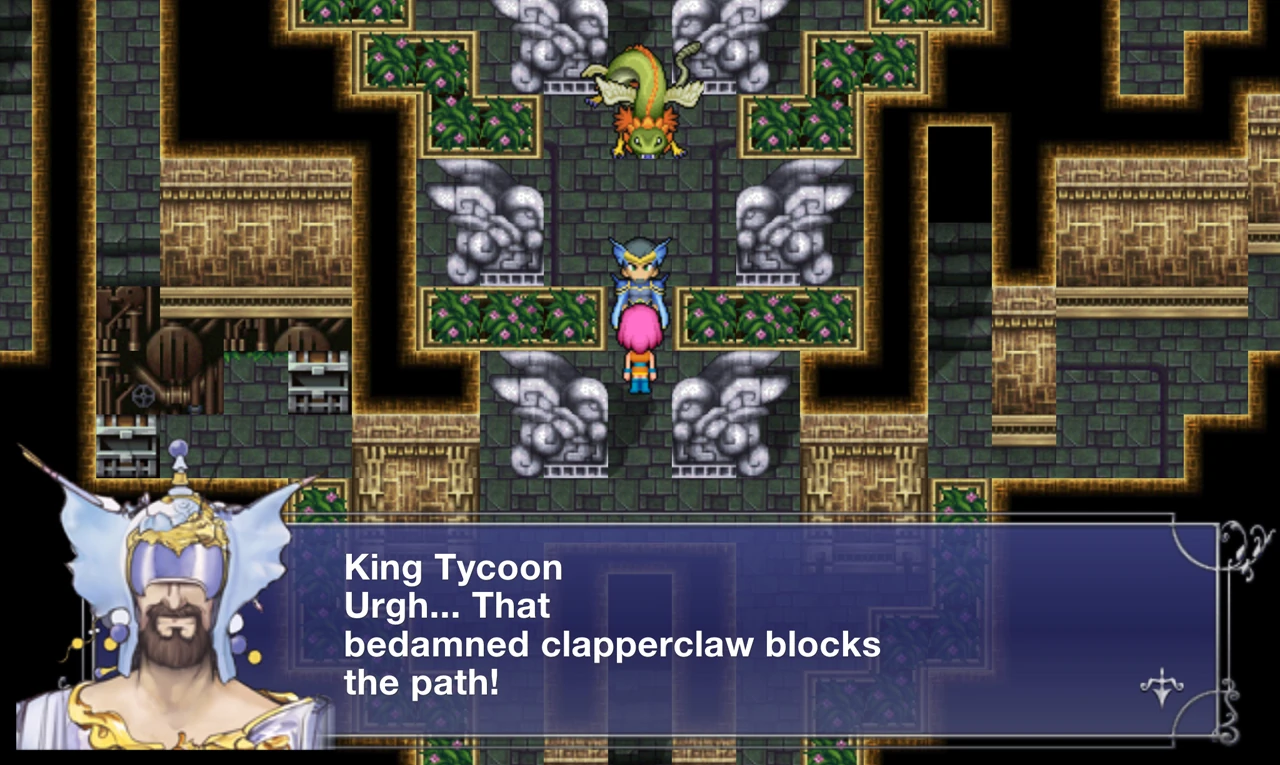
There's a straight path ahead, but watch out for the hole just south of the door on Level Four. You'll eventually come to a north-south split on Level Five. South is some stairs to a Save Point. Go north to continue. You'll come to another stairs/door split. Take the stairs first again to find an invisible floor which grants you access to a Cottage and an Ether. Also, is that King Tycoon?
Head back up and go through the door. Press the switch to fall down. Note that if you haven't yet encountered the Hydra or Ghidra, do so now. The Hydra is exclusive to this area and you can't come back later. The Ghidra has a good rare steal, the Killer Bow. You can defeat it with a Phoenix Down since it's undead.
Anyway, talk to King Tycoon (whose first name is Alexander, which is a waste of such a cool name on such a flaky character). He rather rudely orders us to defeat the guardian of the crystal. Here we go, then.
| Boss Battle: Archaoaevis | |||||||||||||||||||||||
 |
Level: 19-24 Steal: Nothing Weakness: Wind (First form) | ||||||||||||||||||||||
|
| |||||||||||||||||||||||
| Strategy: It changes form without an obvious transition, but it does so after taking 1,600 damage. Its first four forms will use things like Frost, which inflicts Sap and is its nastiest attack. It also uses Thunder, which does bugger all. After defeating its first four forms, it 'dies' and is reborn. It's now immune to most elements, but it does have a Level of 20...you know what that means, right? Right? You can do maths, can't you? Watch out for Tusk, which damages and confuses a party members, as well as Maelstrom, which can reduce multiple party members' HP to critical levels. If you don't have Level 5 Death, use 1,000 Needles for efficient damage. Test Goblin Punch - it's good damage output and there's a chance you'll match levels, dealing ~6,000 damage in one go. | |||||||||||||||||||||||
This guy.
And with that, the path is clear for King Tycoon. I don't know...something about this seems a bit Ocarina of Time. Head into the crystal room.
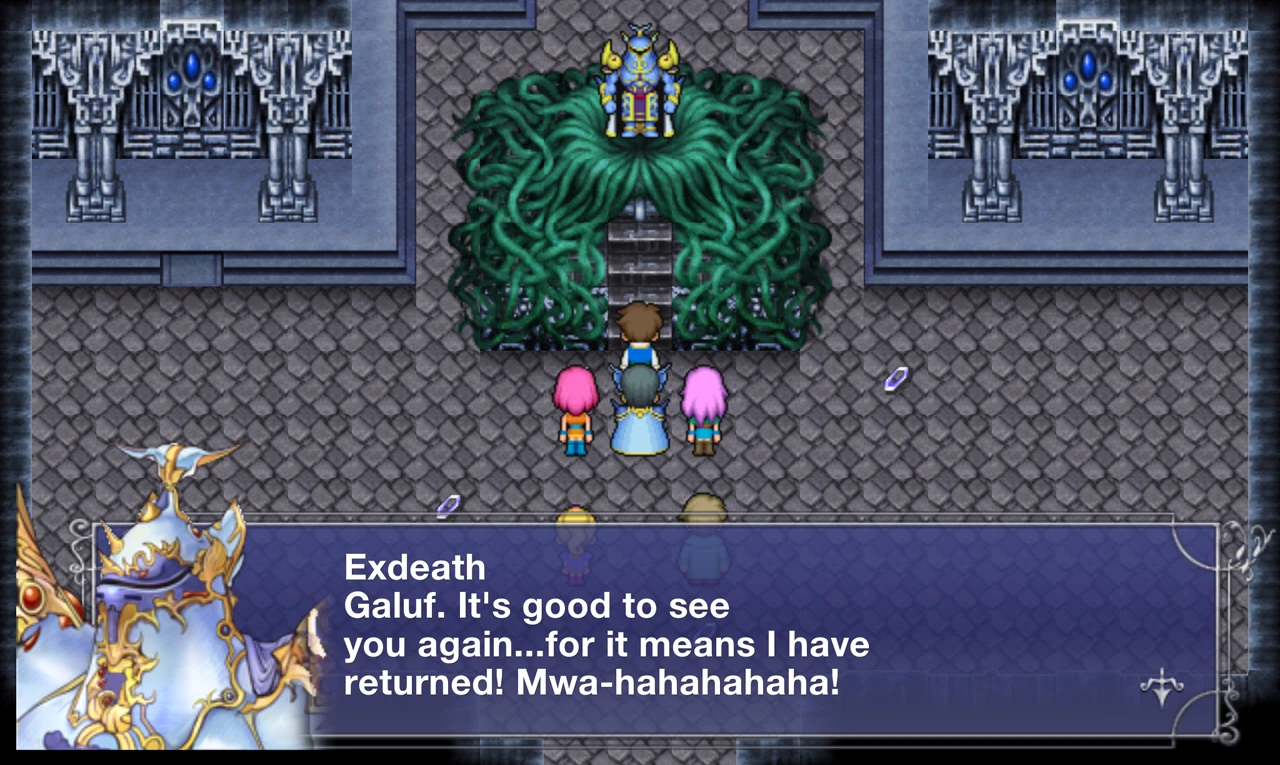
Yeah, called it. He's being controlled by Exdeath. A meteor falls, and a young girl blasts a hole in the ruins. Good shot! She knocks out King Tycoon, and Galuf recognises her -- she's Galuf's granddaughter, Krile. I like how his question mark bubble just kind of walks off.
- Author's Note #8: 'Krile' is the least adorable name of all female characters in any RPG. Makes her sound like a crustacean.
Unfortunately, the reunion is cut short. The Earth Crystal's seal vanishes, and the evil warlock Exdeath is free D:
He uses the crystal shards to attack the party, but King Tycoon uses the last of his power to neutralise Exdeath's. The crystals, free of Exdeath's control, grant the party with their power. You receive the Samurai, Dragoon, Dancer and Chemist Jobs. Of course, without the Earth Crystal keeping it in the air (I know, I know) Ronka Ruins starts to fall. Time to hightail it out of there.
Galuf, with his memory restored, reveals that he came to Bartz's World in order to prevent Exdeath's revival. Now that he's been set free, he's heading back to his own world to try and seal him back up again. They leave via Krile's meteorite. Next time, we're going to find a way to follow them to help them out on their world.
← Home
← Part 10: Sinking Feeling.
→ Part 12: Tour de Meteor.