
Oh, shut up and help me remodel the Northern Cave (Final Fantasy VII) page!
- Adding a Locations section with images and brief descriptions of the areas within the whole location.
This request can be discussed on the associated discussion page. Remove this notice upon completion.
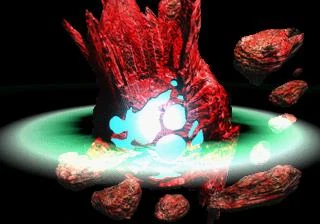
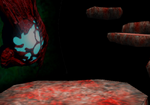
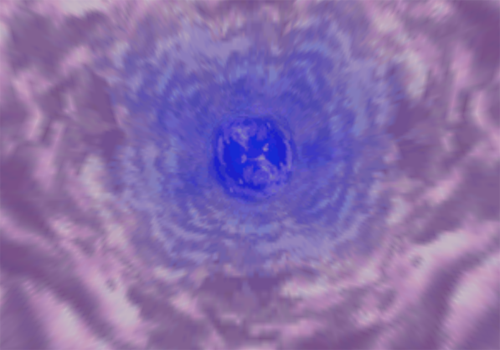
Planet's core.
The Northern Cave(北の洞窟, Kita no Dōkutsu?), also called the Great Cavity(大空洞, Daikūdō?) is a location and the final dungeon of Final Fantasy VII. It is situated at the bottom of the North Crater that takes up much of the Northern Continent. The inside is a large cave system where the game's most powerful monsters reside. It is visited twice in the game, once briefly towards the start of Part 2, and again at the end of Part 3.
At the end of the game Sephiroth waits at the cave's bottom, at the Planet's Core (星の体内, Hoshi no Tainai?) as the game's final boss.
Story
Final Fantasy VII
Template:Sideicon
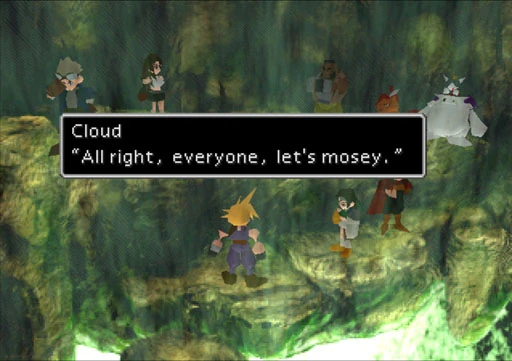
Cloud rallying his party just before the final battle.
The Northern Cave was created with the North Crater when the asteroid or meteorite impact that contained Jenova hit the Planet thousands of years ago.
When Sephiroth was defeated by Cloud Strife at the Nibelheim Mako Reactor during the Nibelheim Incident, he traveled through the Lifestream to the Northern Cave to recuperate. Controlling Jenova and making her use his form, he leads the Sephiroth Clones to the crater along with Cloud and his party for the Reunion. They bring the Black Materia, which is used to summon Meteor. The Weapons awaken, sensing the cataclysm, and rampage across the world. Sephiroth seals the crater's entry with a force-field, and begins to remake his body to prepare for his ascension into godhood.
Shinra uses the Sister Ray cannon to destroy the Diamond Weapon and blast through Sephiroth's shield. With the defense down, Cloud Strife and his party storm deep into the Northern Cave to defeat Sephiroth and release the trapped Holy. After Sephiroth's defeat, Holy is released in a massive burst. The party escapes on the Highwind before being caught in the uproar of magical energy.
Final Fantasy VII: Advent Children
Template:Sideicon
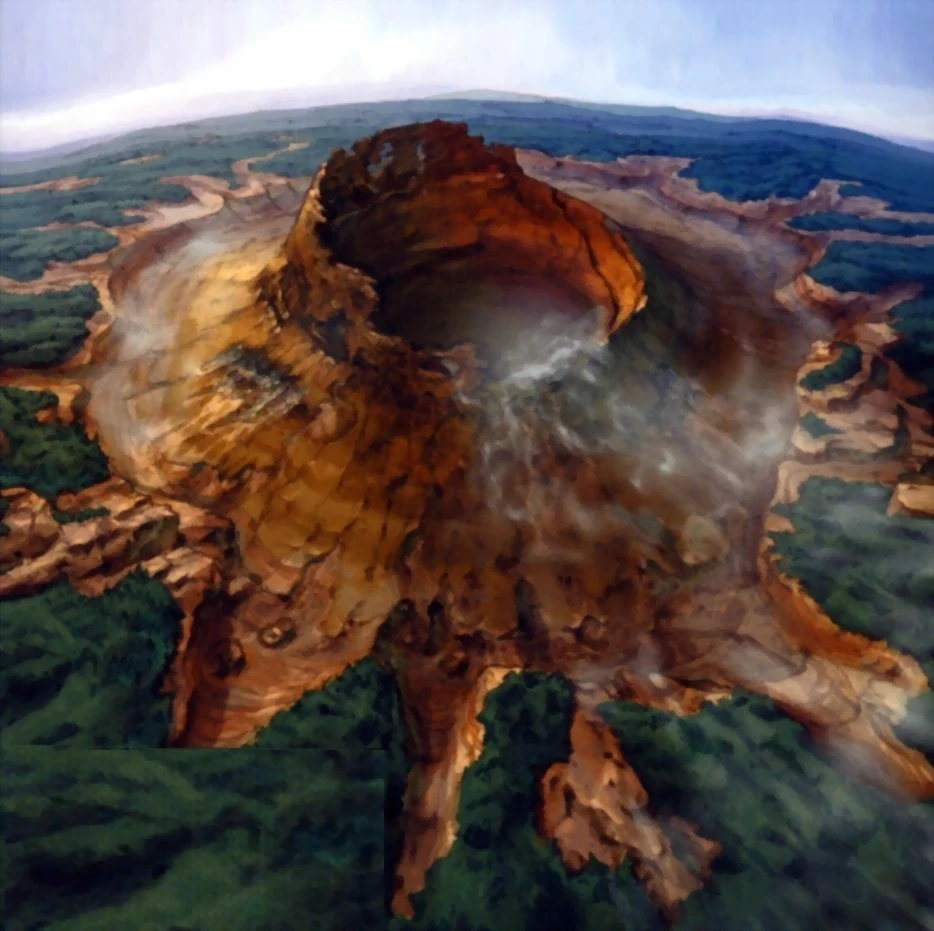

Advent Children crater artwork.
Though Sephiroth and Jenova are defeated, Jenova's remains linger within the Northern Cave. The Turks steal them before the Remnants of Sephiroth can get a hold of them to resurrect their master, but Elena and Tseng are captured during the ensuing battle, and are rescued by Vincent Valentine.
Locations
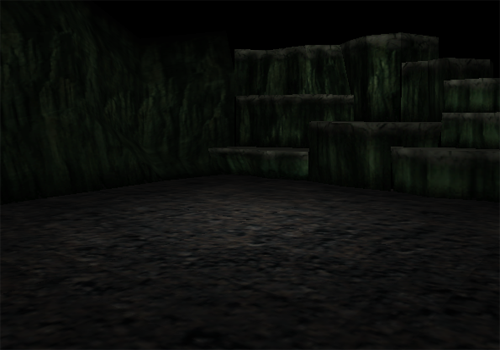
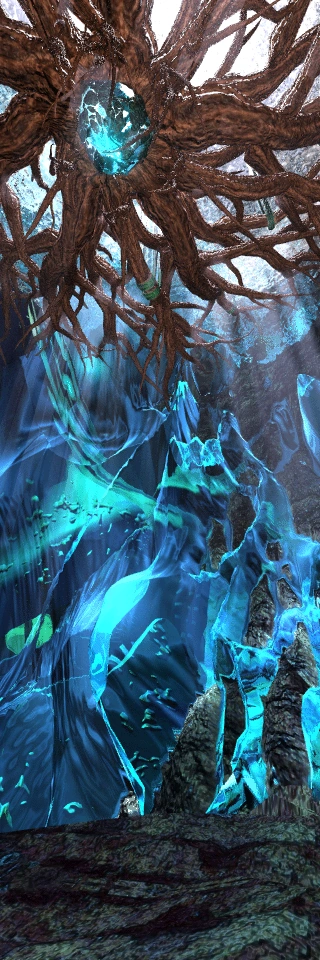
Reunion Area
Having walls of Materia, this area is the resting place for Sephiroth, and where Jenova, being controlled by Sephiroth, leads the Sephiroth Clones for the Reunion. The Weapon also rest here. The area is destroyed when Cloud gives the Black Materia to Sephiroth.
This part of the cave is only visited once in Part 2. Beneath this area of the cave continues a path down towards the center of the Planet. These parts of the cave are visited as the final dungeon in Part 3.
This area is notable for having enemy formations set for it including the Tonberry who is fought nowhere else but the Battle Square. The random encounters here are disabled, and the player never has control of the character in the area so they are never fought.
Surface
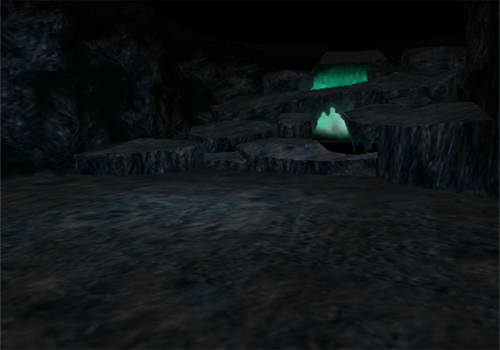
Cave Opening
First Descent
Spiral Descent
Winding Descent
Platform Descent
Red Passage
Horizontal Fork
Vertical Fork
Up Descent
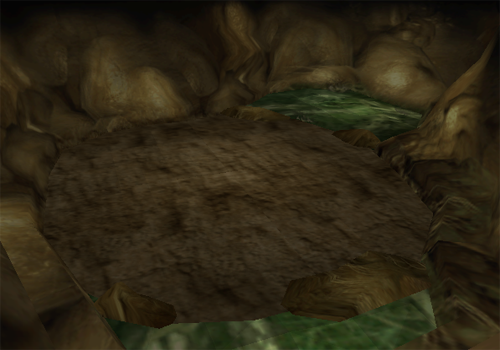
Lake Crossing
Because you have to go into the water to get through the area.
Lake Path
Light Cavity
Down Descent
Rocky Descent
Above Mako Stream
Mako Stream
Right Descent
Spiral Upper
Spiral Lower
Hatchery
Spine
Final Descent
Junction
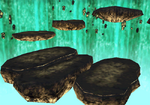
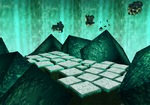
Floating Platforms
Inside the Planet
Planet's Core
Treasures
The Northern Cave has significantly more items than any other location in the game.
- Save Crystal (see Save Crystal Glitch)
- Guard Source x2
- Power Source x2
- HP Absorb Materia
- Elixir x3
- Magic Source
- Mind Source x2
- Megalixir x2
- Hero Drink
- Magic Source
- Remedy x2
- Vaccine x2
- Shield Materia
- Imperial Guard
- Hero Drink
- W-Magic Materia
- Counter Materia
- Luck Source
- Turbo Ether x2
- Mega All Materia
- Speed Source
- X-Potion x2
- Magic Counter Materia
- Mystile
- Tetra Elemental
Item Duplication Trick
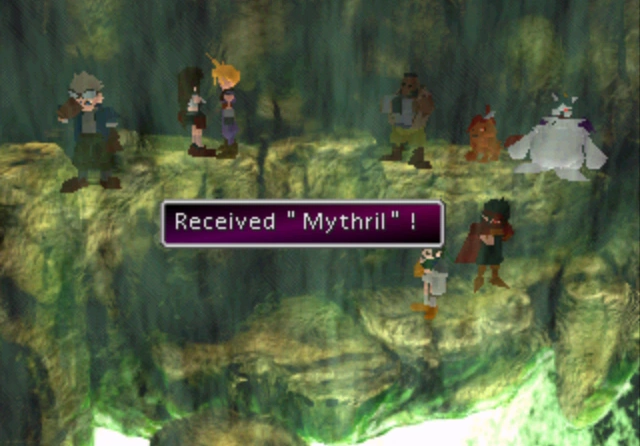

Receiving 'Mythril', actually a Mystile.
The items received from party members at the bottom depend on which way the player sends the characters when splitting up. This can be used to get a third Mystile armor from Tifa.
At the Northern Cave at the point where the party is split down the two paths the player should send Tifa down the right path, and tell Cloud to go left. When Cloud's path divides, the player should choose the lower path. When going down at the bottom where all the paths converge, the player must not walk toward the stairway that leads further down. This would cause the other party members to appear, which causes all chests to be registered as "open" and the third Mystile will be missed. Instead of going down, the player should go back up the cave by taking the entrance to the lower path up to where the left and right paths split, then go down the right path and grab the second Mystile.
The player can now go all the way down to the end again and walk toward the path leading down causing the other party members to appear. When talking to Tifa she should give a third Mystile (though in the PlayStation version the player will appear to have received 'Mythril', which is a key item. A Mystile will still be added to the player's inventory).
It is possible to duplicate all of the items found on the paths the player sends the party members to that Cloud won't go himself. If one sends more party members than there are items on the pathway, the remaining party members will hold Megalixirs.
List of all the items that can be duplicated this way:
- Send an ally right:
- Vincent: Megalixir
- Yuffie: Megalixir
- Red XIII: Mind Source
- Tifa: Mystile
- Barret: Guard Source
- Cait Sith: Elixir
- Cid: Speed Source
- Send an ally left, then up or down:
- Vincent: Magic Source or Mega All Materia, respectively
- Yuffie: Counter Materia or Vaccine
- Red XIII: Shield Materia or Speed Source
- Tifa: Hero Drink or Turbo Ether
- Barret: Vaccine or Remedy
- Cait Sith: Remedy or X-Potion
- Cid: Imperial Guard or Elixir
Specifically,
- Send an ally left at first, then up:
- Vincent: Magic Source
- Yuffie: Counter Materia
- Red XIII: Shield Materia
- Tifa: Hero Drink
- Barret: Vaccine
- Cait Sith: Remedy
- Cid: Imperial Guard
- Send an ally left at first, then down:
- Vincent: Mega All Materia
- Yuffie: Vaccine
- Red XIII: Speed Source
- Tifa: Turbo Ether
- Barret: Remedy
- Cait Sith: X-Potion
- Cid: Elixir
If in any junction where the party splits the player sends Yuffie alone in any way, once the party gathers up at the bottom, Yuffie will not give the items she found to the player, and will lie she found nothing. At this point, any characters sent alongside Yuffie remind her, and she grudgingly gives the items to Cloud, but if Yuffie was sent alone she will keep the items.
Enemy Formations
Descent (1st Screen)
- Gargoyle
- Dark Dragon
- Parasite x2
- Gargoyle x2
Battle background.
Descent (2nd Screen)
Descent (3rd Screen - Outer)
- Scissors
- Dark Dragon
- Parasite x2
- Parasite x3
- Scissors x2
- Parasite x2 (Back attack)
- Scissors (Back attack)
Descent (3rd Screen - Cave)
- Scissors x2
- Dark Dragon
- Parasite x2
- Scissors
- Parasite x3
- Master Tonberry
- Parasite x2 (Back attack)
- Scissors (Back attack)
Dividing Point
- Scissors x2
- Dark Dragon
- Parasite x2
- Scissors
- Parasite x3
- Master Tonberry
- Parasite x2 (Back attack)
- Scissors (Back attack)
Graveyard - Upper/Lower Pillar (Both screens)
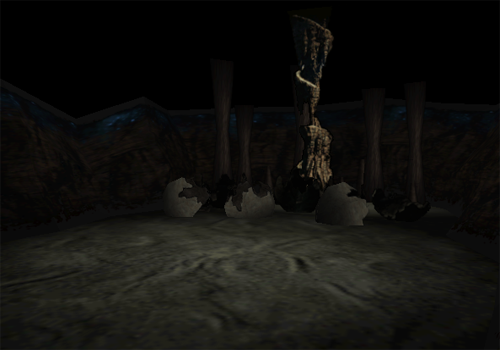
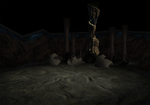
Battle background.
- Pollensalta
- Death Dealer x2
- Pollensalta, Parasite x2
- Parasite x3
- Malboro
- Dragon Zombie
- Death Dealer (Back attack)
- Death Dealer x2 (Ambush)
Graveyard - Hatchery and Spine (Both screens)
- Pollensalta
- Death Dealer x2
- Pollensalta, Parasite x2
- Parasite x3
- Malboro
- Dragon Zombie
- Death Dealer (Back attack)
- Death Dealer x2 (Ambush)
Left Junction
Battle background.
- King Behemoth
- Allemagne
- Armored Golem
- Master Tonberry
- Allemagne (Back attack)
Floating Platforms (The three screens)
- King Behemoth
- Allemagne
- Armored Golem
- Master Tonberry
- Allemagne (Back attack)
Water Area (1st and 2nd Screens)
Battle background.
- Christopher, Gighee
- Magic Pot
- Magic Pot x2
- Allemagne
- Master Tonberry
- Mover x3
- Magic Pot x2 (Side attack)
- Allemagne x2 (Ambush)
Grassy Area
- King Behemoth
- Allemagne
- Armored Golem
- Master Tonberry
- Allemagne (Back attack)

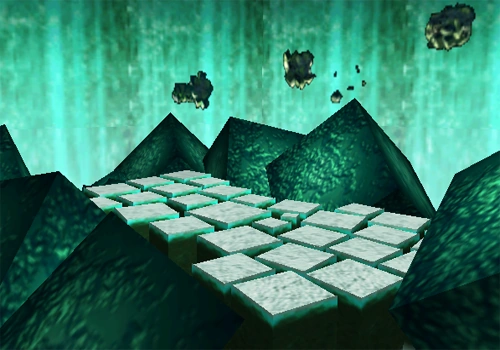
Final descent.
Final Descent
The final descent comprises of two screens containing 15 platforms. On each platform the player has a 29.7% chance of entering a battle. There are three possible enemies to fight and each have a different chance of being fought.
- Dragon Zombie (39.8%)
- Allemagne (10.2%)
- Iron Man (50%)
Jenova∙SYNTHESIS.
Core (Upper)
- Jenova∙SYNTHESIS (Boss)

Bizarro∙Sephiroth.
Safer∙Sephiroth.
Core (Lower)
- Bizarro∙Sephiroth (Boss)
- Safer∙Sephiroth (Boss)

Final battle.
Lifestream
- Sephiroth (Boss)
Other appearances
Dissidia Final Fantasy
Template:Sideicon
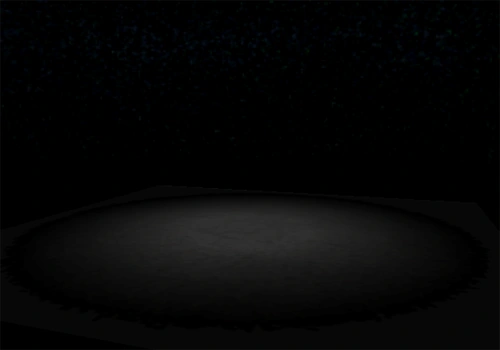
The Northern Cave in Dissidia.
The Northern Cave is the representative arena for Final Fantasy VII under the name Planet's Core (星の体内, Hoshi no Tainai?, lit. Inside the Planet). It is here that Cloud battles and defeats Sephiroth at the climax of his storyline.
Shortly after, Terra enters the Planet's Core to look for her ally, the Onion Knight, and Cloud battles her when she loses control of her esper powers to pacify her. The Warrior of Light fights Sephiroth at the Planet's Core to rescue Firion, and Cecil faces off against Exdeath to defend Golbez.
The arena consists of a large circular platform at the bottom of the arena, with floating rocks and square pillars in the air surrounding it, forming a rough path spiraling to the top of the arena. Tendrils of Lifestream connect the platforms and can be slid on using Quickmove. Powerful attacks can destroy the platforms and pillars if a character is knocked into them. In the arena's Ω form, after a period of time has passed, the arena shakes and the platforms and pillars float upwards, reminiscent of what happens after the battle with Jenova∙SYNTHESIS in Final Fantasy VII.
Eventually the stage calms down, but the stone platforms are gone, there are more floating pillars, and more strands of Lifestream have appeared on the stage. EX Cores will teleport if the platform they are on is destroyed, and the Bravery pool will continually rise.
The Materia is the battlegen item obtained through stage destruction in this area.
Dissidia 012 Final Fantasy
Template:Sideicon The Planet's Core returns in this prequel to Dissidia. Sephiroth confronts Tifa in this area.
Theatrhythm Final Fantasy
Template:Sideicon
The Northern Cave appears as the FMS for "Judgment Day", and the depths of the planet's core where Safer∙Sephiroth is fought appears as the BMS for "One-Winged Angel".
Theatrhythm Final Fantasy: Curtain Call
Template:Sideicon The Northern Cave returns in both the FMS and BMS of their respective themes. Template:Gallery
Final Fantasy Airborne Brigade
Template:Sideicon
Musical Themes
The Northern Cave's official background theme is "Judgement Day", a track found in Final Fantasy VII: Original Soundtrack.
Gallery
Template:Gallery
Trivia
- In Dissidia, if either character uses their EX Burst during the time when the screen flashes as the platforms stop rising in the stage's Ω version, the background for the EX Burst will be much brighter than normal.
- In the 2012 PC re-release of Final Fantasy VII, in one area in Northern Cave, las2_1, (referred to as "Inside Northern Cave" in the menu) there is an easter egg. If the player uses the Save Crystal in this area the area's name in the menu changes to "Secret Cow Level". This is a reference to Diablo.
- An area of the Northern Cave
 exists that is another version of the area where the party gathers with Shinra and where the Weapon's eye is seen through the crystal. It cannot be accessed during gameplay and the area itself can be accessed only via the Debug Room, via the Field Room and selecting Yuffie's option "TRNAD53". As the scene is still used during an FMV, the screen was probably intended only as an anchor for the character models; because the area hasn't been coded with paths for the player character to walk on, it was probably never intended to be accessed during normal gameplay. Curiously, the background music for the area when accessed from the Debug Room is "Aeris's Theme" which would have been intended to play in the background of the original Japanese exiting of the crater FMV. Because of this, and the numerous oddities in the finalized scene of Aeris's death, some fans have suggested that Aeris was originally meant to die in the Northern Cave rather than the Forgotten Capital.
 - The area of the Northern Cave visited on the first storyline visit to the Northern Cave after the Whirlwind Maze in Part 2 was programmed to have random encounters, but they cannot be accessed as the player never controls a character here and the encounters are disabled. Among the encounters are two Tonberry encounters, who can otherwise only be battled at the Battle Square, and a battle against a Killbin and two Gremlin enemies, two enemies never otherwise fought together.
- In the PC version of Final Fantasy VII, a bug exists in this area when playing on Windows XP. When the FMV showing the Weapons' rising takes place, the game will crash when the Weapons climb out of the crater. The crash could be avoided by playing this section of the game in quarter screen mode, but this will not always work.
Template:FFVII Template:VIIAC Template:Dissidia Template:D012