Template:Sideicon
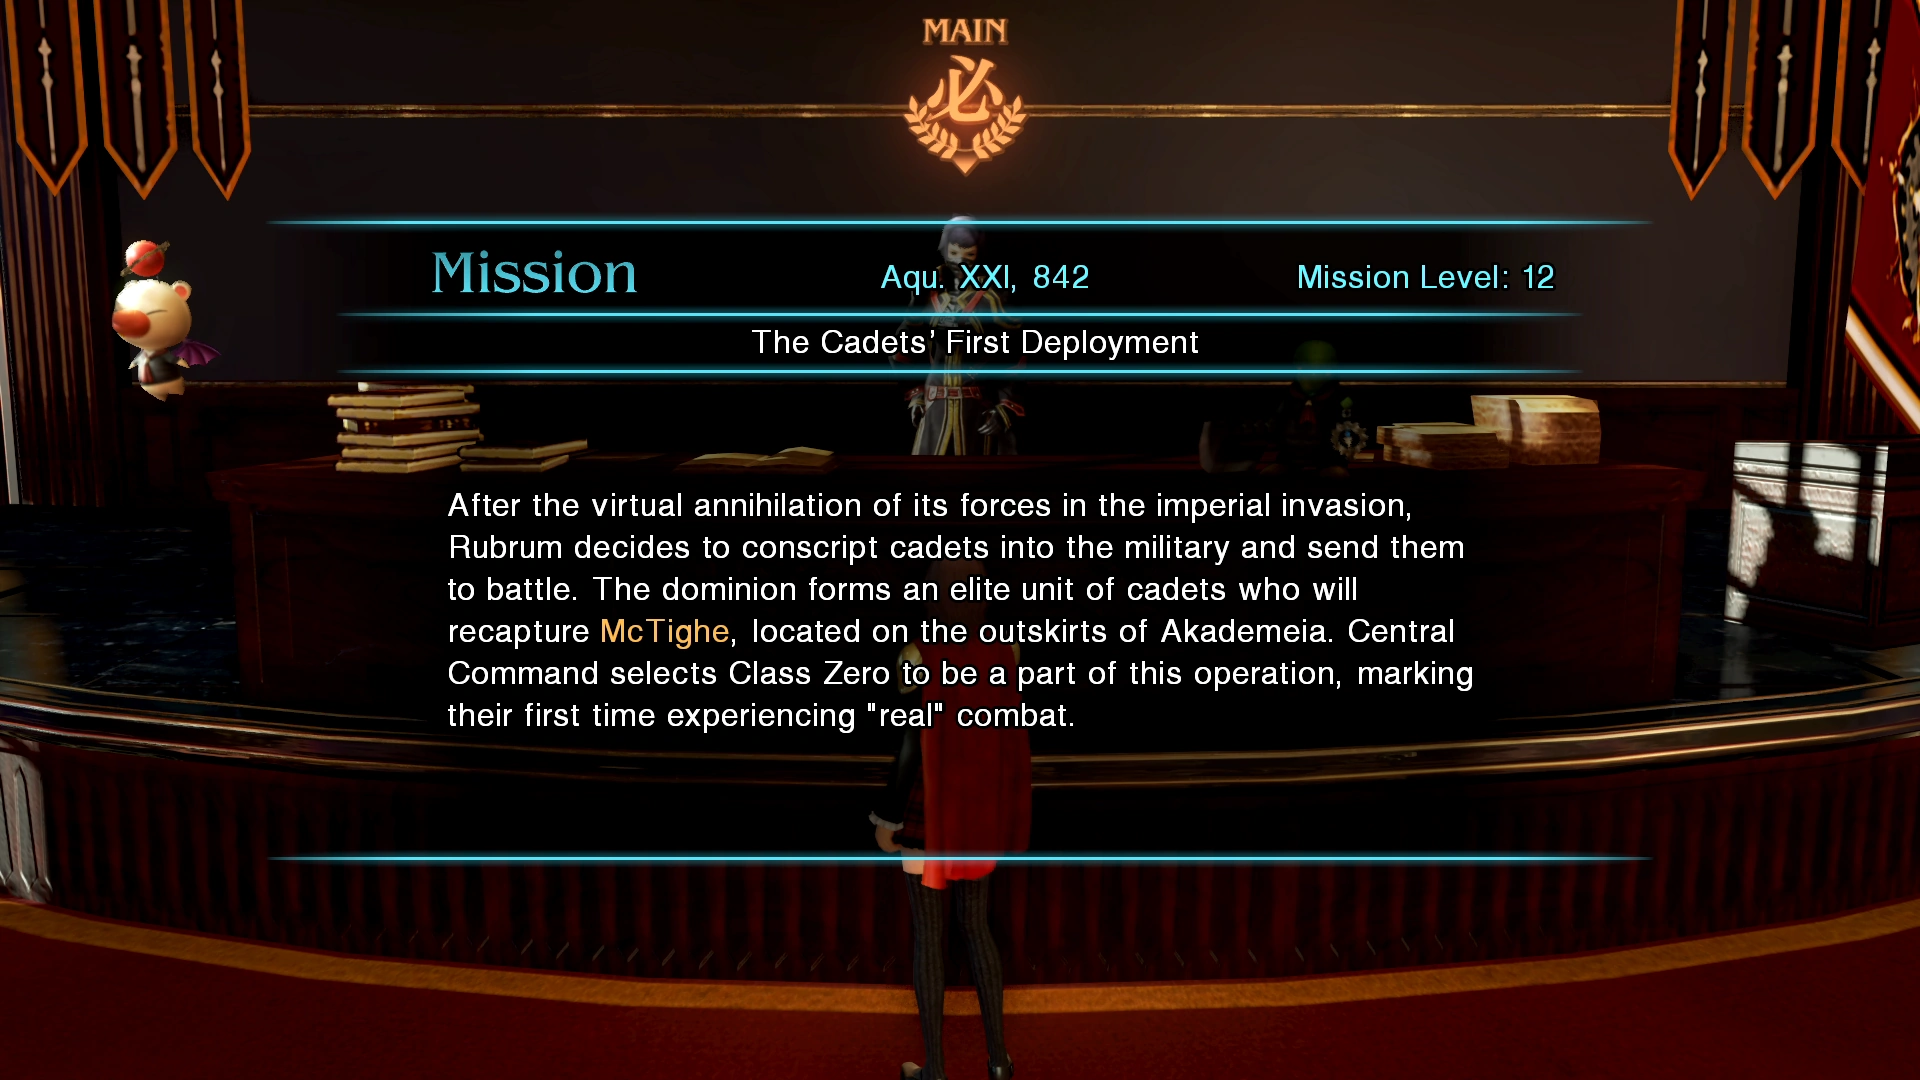
"The Cadets' First Deployment".
I expect great things of you--don't disappoint me. May the Crystal guide you.
Kurasame
The Cadets' First Deployment (初陣の候補生, Uijin no Kōhosei?) is a storyline mission in Chapter 2 of Final Fantasy Type-0. It takes place on Aqu. XXI, its initial mission level is 12 and has no limitation of participants. The mission is initiated by talking to Kurasame Susaya who waits in Classroom Zero in Akademeia.
Briefing
After the virtual annihilation of its forces in the imperial invasion, Rubrum decides to conscript cadets into the military and send them to battle. The dominion forms an elite unit of cadets who will recapture McTighe, located on the outskirts of Akademeia. Central Command selects Class Zero to be a part of this operation, marking their first time experiencing "real" combat.
Mission Briefing
The mission
S-rank requirements
- Time: 06:00
- Phantoma: 48
- Casualties: 0
Rewards
- Completing the mission unlocks Wizard's Hat at the SPP Shop.
- Completing the mission unlocks Remedy at the Orderly Shop.
- Completing the mission on Officer difficulty unlocks the spell Fire SHG.
- Completing the mission on Agito difficulty unlocks Mythril Ring at the Armory Shop.
- Completing the mission on Finis difficulty unlocks Diamond Ring at the Armory Shop.
- A possible reward for clearing the mission is a Tactical Vest.
- A possible S-Rank reward is Ignis Secundus, Vol. I.
- A possible S-Rank reward is Aegis Prima, Vol. II.
Special Orders
List of unique special orders is as follows:
| Performance Evaluation | Time Limit | Effect | Reward |
|---|---|---|---|
| Fight your way through the enemy ambush. | 05:00 | Protect 0:30 | Elixir |
| Crush the enemy defense point with a frontal attack. | 05:00 | Haste 0:15 | Ferric Ring |
| Destroy the fuel tank. | 05:00 | Endure | Megalixir |
Strategy
- McTighe Midtown

McTighe.
Three Imperial Troopers attack as Class Zero arrives. After taking them out the next area is to the north, where near the end of the area to the east there will be three more Imperial Troopers. After dealing with them the class should head to the eastern exit of McTighe Midtown rather than the northern exit that is marked as the next destination on the compass. There are four more Imperial Troopers and killing them off opens the door to the north. There is a fallen legionary with a Knowing Tag in this area.
In the center of the next area there are yet more Troopers and their commanding officer (Second Lieutenant Molton). The area's SO is to take them out within five minutes to earn an Elixir. There is also an item in the "dead end" (First Aid Kit/Combat Ration/Strength Serum). The class should return to the second zone (where they headed east) and go through the northern exit.
- Imperial Line
This area has stairs near the middle and many of Imperial Troopers, a few barricades and Autoturrets. The cadets can go around the long way and take them from behind, or face them head-on, but taking them head-on completes a special order hat yields a Ferric Ring. Cadets with Blizzard BOM can take down the barricades easily.
After taking out the barricades, the class should finish off the enemies behind them before moving on to the next set of barricades and the Imperial Troopers. At the top the class should move behind the Autoturrets and unleash their most powerful attacks to destroy them. The gate that leads to the net area is visible from here, but is still closed as there are more enemies nearby.

Lieutenant Theodore.
Following the icon on the compass, the party must head toward the warehouse whose door is still closed to find another Autoturret. Defeating the turret opens the warehouse and more Imperial Troopers spill forth, including their commanding officer (Lieutenant Theodore); defeating this set opens the way to the next area. Instead of moving forward, the party should go down the stairs and through a western exit instead.
- McTighe Midtown
There are three Imperial Troopers along the slope, and in a corner there is an item (First Aid Kit/Combat Ration/Fortified Ration). Returning to the east leads back to the Imperial Line area, and then going east past the top of the stairs where the party fought the Autoturrents leads to the next area.
There are four Imperial Troopers ahead, two on elevated platforms. A cadet with ranged attacks can make quick work of them. There is a recovery portal in this area near the burning stairs.


There are troopers on the balconies.
The next area has respawning snipers on the balcony, but they stop respawning after a while. If the player wants an S-rank for this mission, it may be wise to kill the snipers because the requirement for the phantoma harvest is quite high. The party can also focus on the commanding officer (Second Lieutenant Necker) to finish the area quickly.
Defeating him opens the path to the next area, the Demolished Square safe zone. This area has an item (First Aid Kit/Combat Ration), on the side. The next area is the final area there the cadets will battle the boss, Major Massena.
- Imperial Command
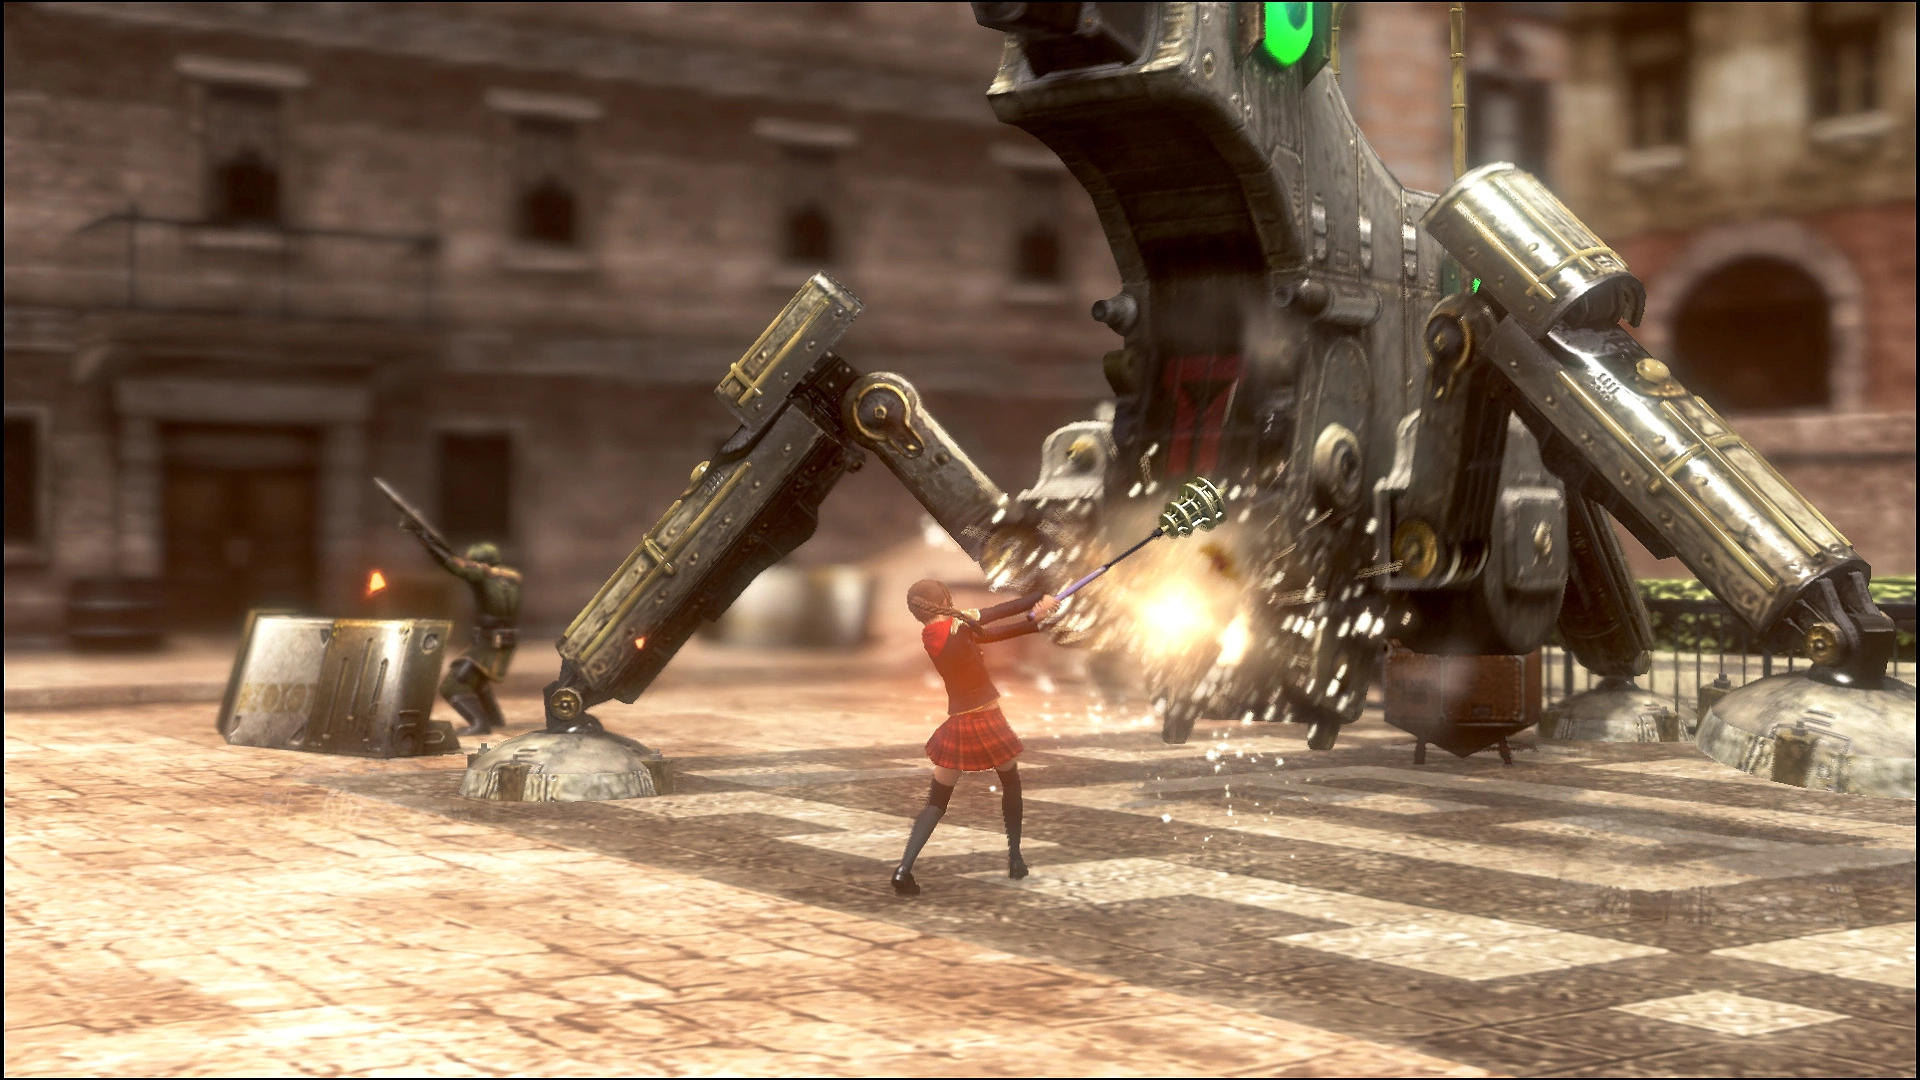

Major Massena
The boss is a magitek armor, and the area also has infinitely respawning Troopers the cadets can concentrate on slaying if they want to harvest enough phantoma for an S-rank. The party should stick to the sides of the boss to avoid most of its attacks. A ranged party member works well. The party should first focus on Major Massena, and switch to the fuel tank when Massena is on the ground. There is an SO to destroy the tank that yields a Megalixir. When doing this mission the first time it is best to ignore the Imperial Troopers that attack from the south as they endlessly respawn, and keep focus on the boss. Defeating the magitek armor completes the mission.
Rubicus
Template:See Also
- Aqu. XXI – The Cadets' First Deployment
Having lost the majority of its army in the imperial invasion, the dominion hurried to rebuild its military, but the empire was unrelenting. Uncertain of the outcome but left with no other choice, Dominion Central Command devised a strategy to employ the newly conscripted cadets in the liberation of McTighe, a town on the outskirts of Akademeia.
It was an ambitious undertaking, with three objectives: secure base for offensive operations, test the cadets' skills in the field, and gauge the empire's reaction. Thankfully, the operation was an astounding success, assuaging all the dominion's fears. This victory proved the cadets could, indeed, provide invaluable military support.
Template:Type0