Template:Images Template:Sideicon
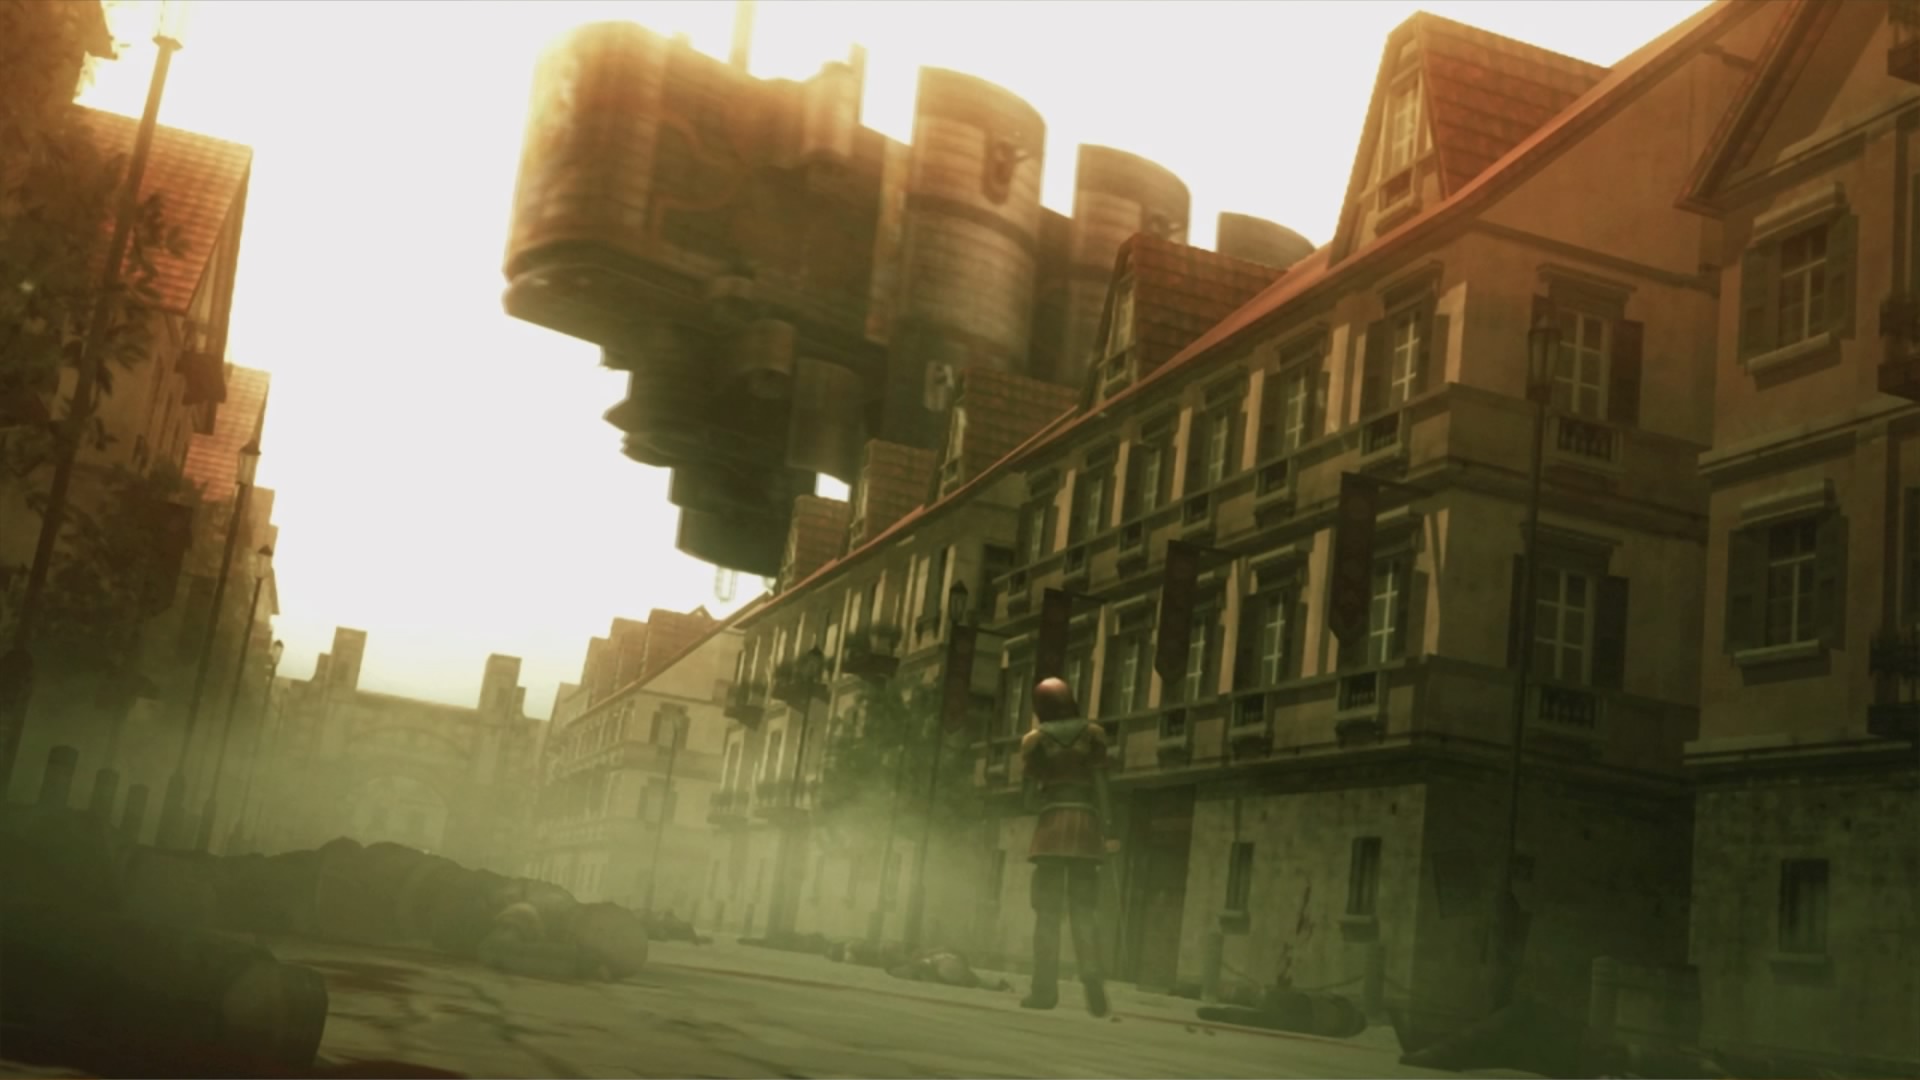
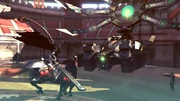
Airship crush during Akademeia Liberation.
The Akademeia Liberation (魔導院解放作戦, Madōin Kaihō Sakusen?, lit. Magic Academy Liberation Mission) is the opening mission that starts once Final Fantasy Type-0 begins. Chapter 1 comprises this mission that takes place on Aqu. XII, its initial mission level is 7, and the pool of participants is limited and predefined to five characters of Class Zero, making Ace, Nine and Queen the first squad during the first part of the mission, and Ace, Seven and Jack the second one for the boss battle.
At the beginning of the mission the player can decide whether they want the tutorial—explaining the basic components of the game—turned on or off. This mission cannot be replayed from the Missions menu.
The mission
S-rank requirements
- Time: 07:00
- Phantoma: 40
- Casualties: 0
Rewards
- Earning S-Rank on Cadet difficulty yields an X-Potion.
- Earning S-Rank on Officer difficulty yields an Iron Bangle.
Strategy
- Vermilion Bird Gate
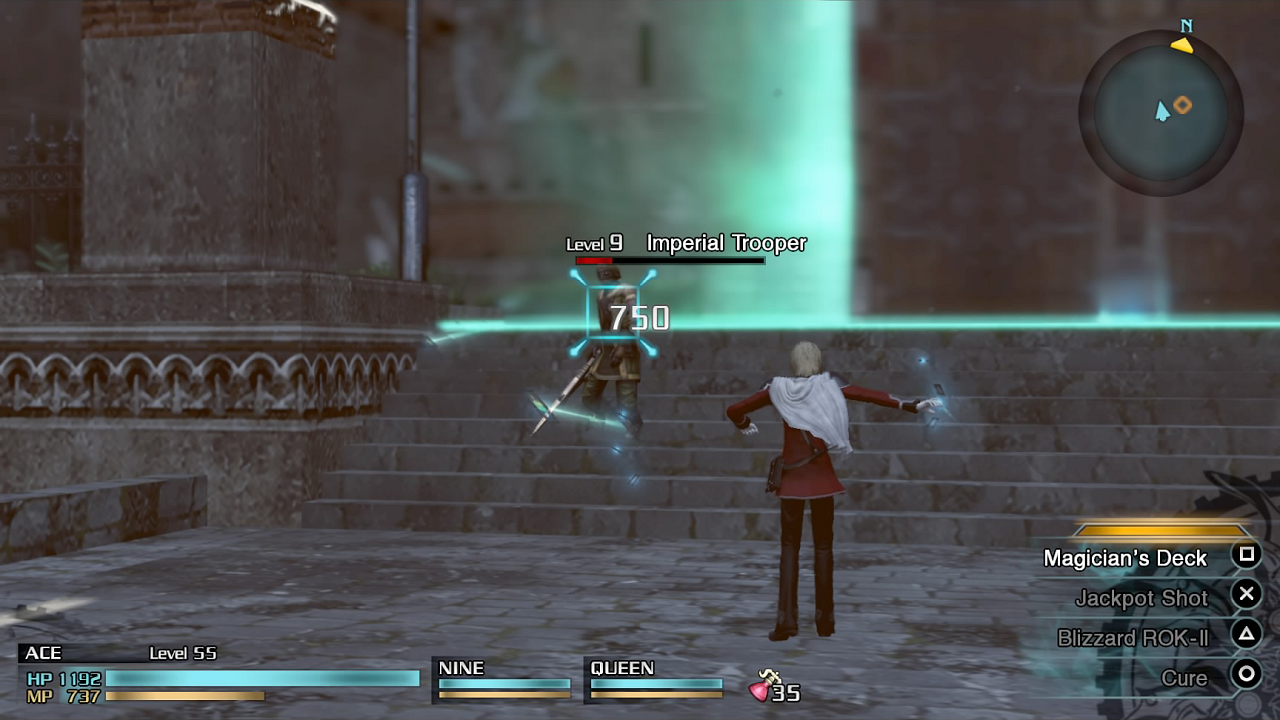
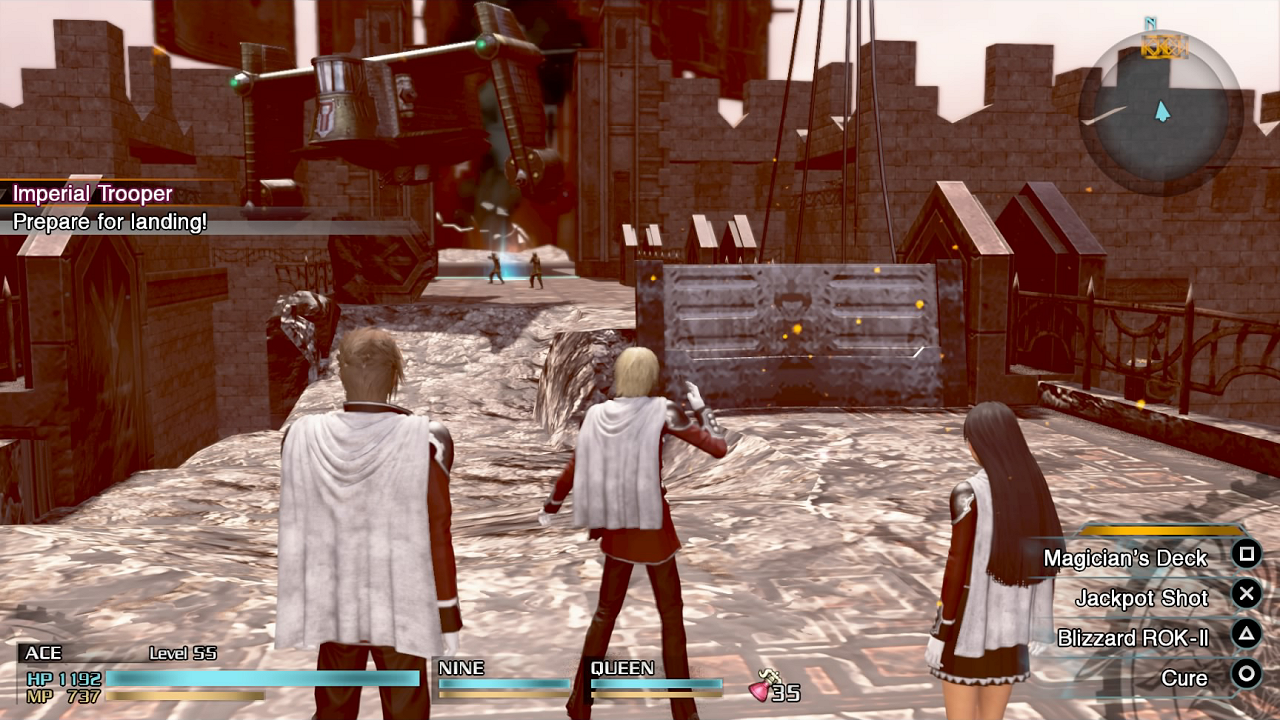
Imperial Troopers.
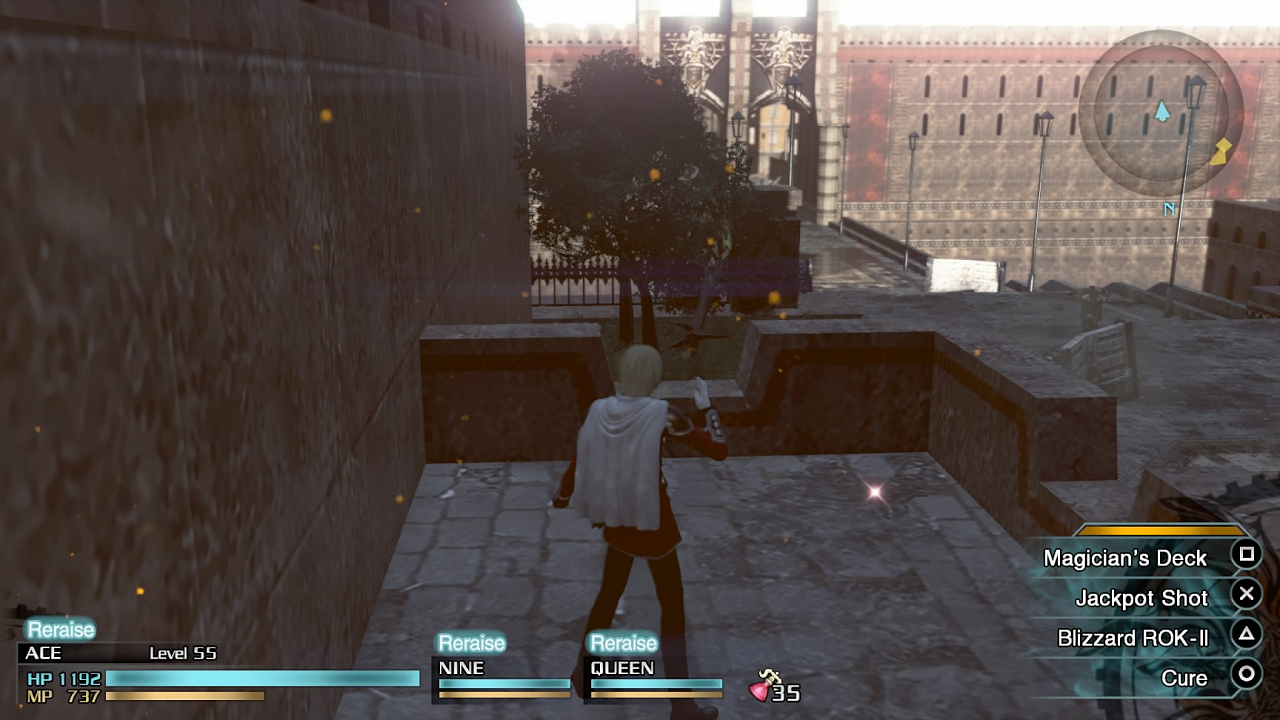
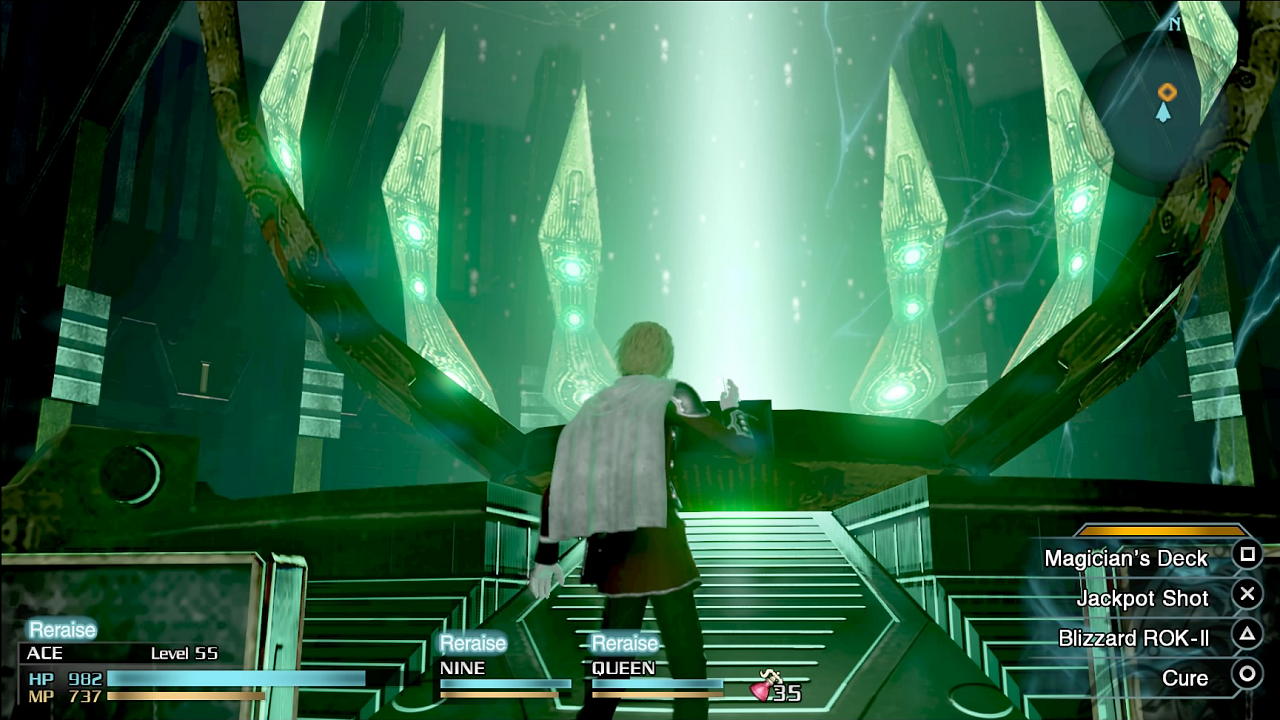
The player starts controlling Ace. For the first part of the mission the cadets are equipped with Life Armlets that grants Reraise, meaning if the player falls in battle, the cadets are revived back to full health. There is a compass on the top right corner of the screen that has a yellow arrow to the direction the player is supposed to go.
The player can choose to view the tutorial. Once accustomed to the controls, the player should head forward and the gates will open. The first set of enemies are Imperial Troopers, whose phantoma the cadets are supposed to harvest after felling them by locking onto the dead bodies until the Harvest command appears. Phantoma is used later to upgrade magic, but harvesting enough affects the mission rank at the end.
The Potion near the gate.
Ace should send out cards and keep dodging. At the next gate the cadets encounter an enemy commanding officer marked with an arrow who are stronger versions of regular enemies. Defeating them before the other enemies in the area causes the regular enemies to surrender, and interacting with surrendered enemies yields items.
In front of the gate is a recovery portal that replenishes HP, MP and AG when stepped on. Climbing the stairs to the right of the door leading out of the Vermilion Bird Gate finds a Potion glinting on the ground.
- The Terraced Square

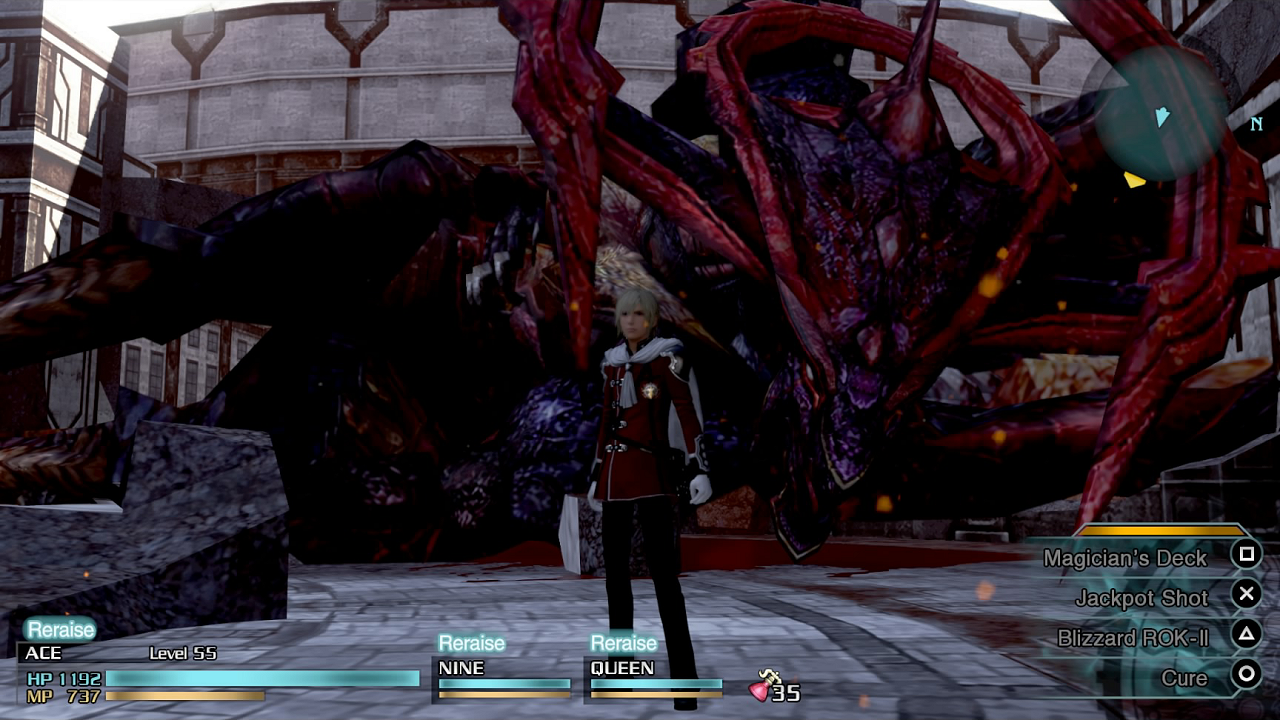
The Unidentified Target.
Through the gateway the cadets face the next set of Imperial Troopers, before being forced into a battle with an unknown enemy. The cadets can't do anything against it and must focus on dodging its fireballs until it disappears. Ace has a Wall spell that can help until it leaves.
Afterward the cadets can take the stairs on the right and before the next set of stairs, find a Knowing Tag glinting on the ground. Knowing Tags are left behind by felled Rubrum legionaries and cadets, but not every dead body has one. Up the stairs finds another recovery portal. Activating the switch in front of the door allows progress to the Tasuki Bridge area.
- Tasuki Bridge
Tasuki Bridge.
There is another item (Hi-Potion/X-Potion) on the ground in front of the first barrier. A group of Imperial Troopers appears, including soldiers on either side that require Ace to finish them off efficiently, leading to a cutscene. There is another recovery portal in this area.
- Rubrum Square

A felled Bahamut.
There is a recovery portal and a relic terminal ahead, the latter of which can be used for saving the game, switching out party members and upgrading characters (and magic later). There is another Knowing Tag on a dead body nearby. A felled Bahamut lies on the ground here but cannot be interacted with.
- Airship Landing

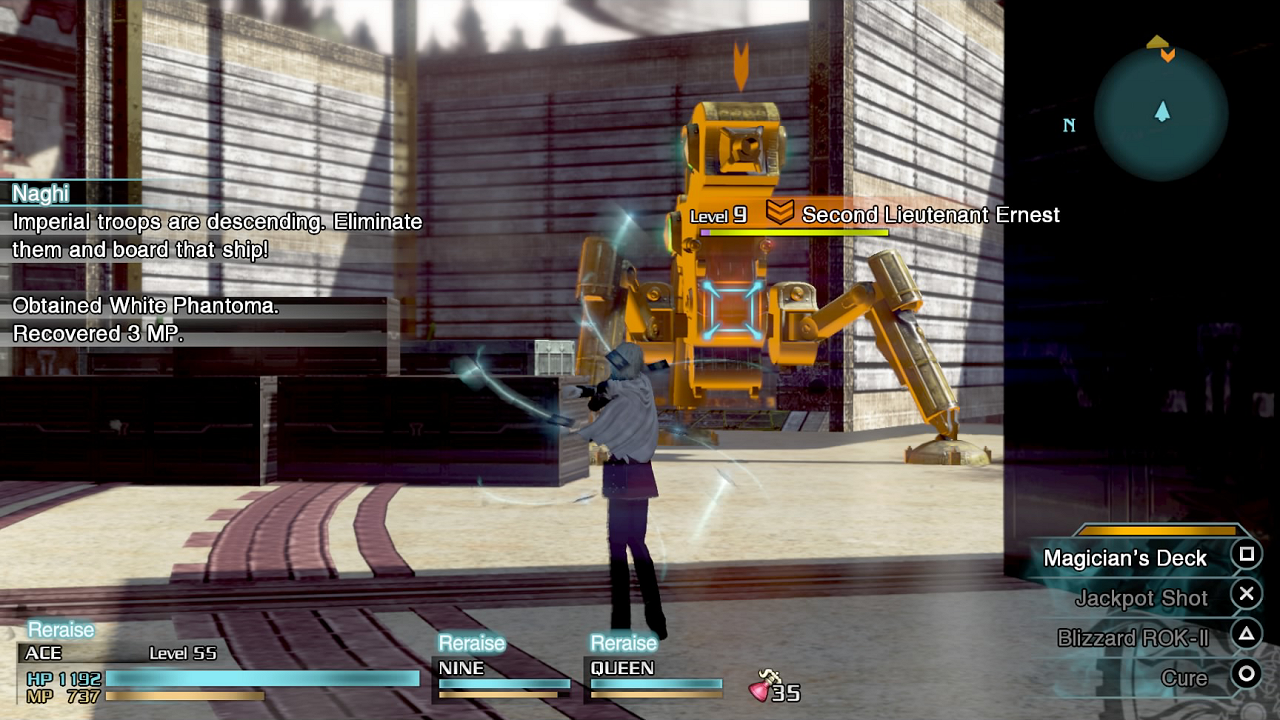
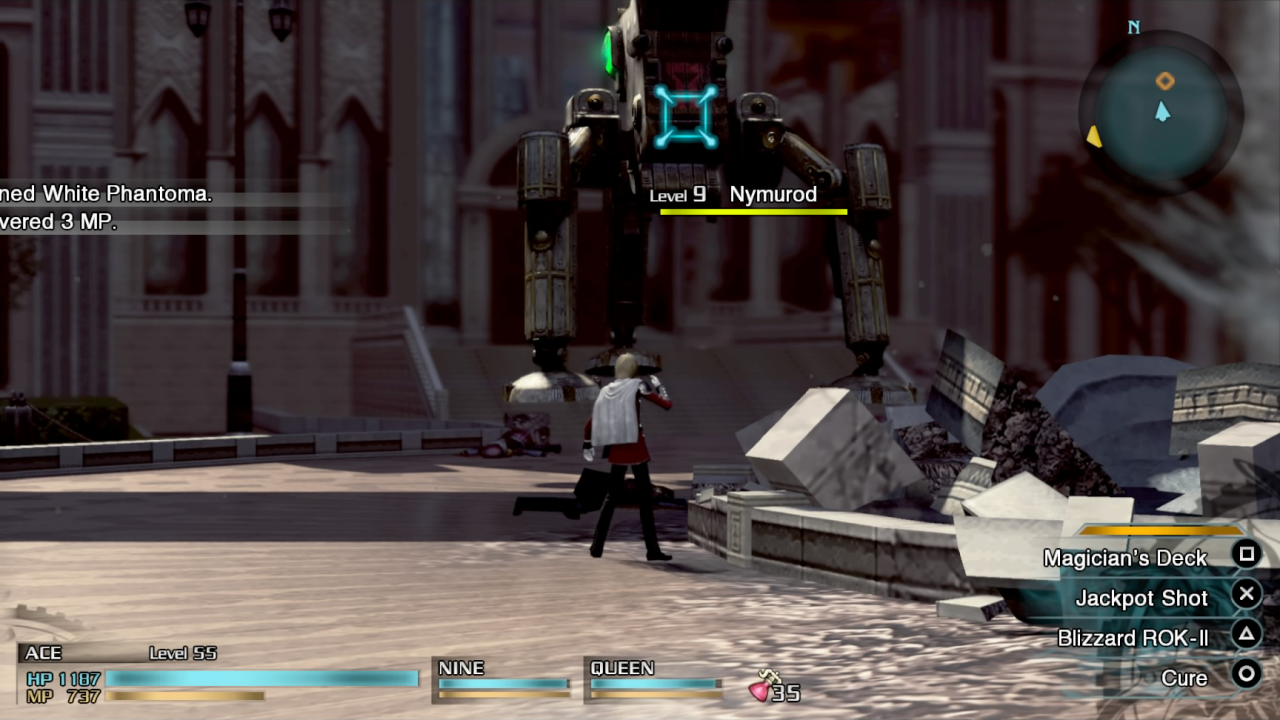
Second Lieutenant Ernest.
There are more soldiers but using Ace's Wall next to the boxes avoids their gunfire. After taking down the enemies the cadets should head to the area above while more soldiers appear, and hit the switch to raise the section near the beginning to reach more enemies. The enemy commanding officer (Second Lieutenant Ernest) will be in a magitek armor called Nymurod and can shoot missiles as well as a machine gun.
The player can stand behind the nearby boxes where the MA will continue to try and shoot the cadets with the machine gun, but can't reach. The player can attack and then dodge behind the boxes. If fighting it up close it won't fire but will try and stomp the cadets, which can be dodged. Nine's Jump does good damage when locked on and can be used just as it tries to stomp him. After downing the MA stepping onto the elevator sends it into an ascent, but some Imperial Troopers jump on board and the cadets must fight them on the elevator.
- Imperial Flagship

The crystal jammer on the flagship.
There are more troops and a recovery portal. The next area is Main Deck where the cadets face more Imperial Troopers. Approaching the far end of the room more Troopers will appear, including another enemy commanding officer (Second Lieutenant Vandamme). There is an RPG-155 Gunner on the balcony who shoots missiles. Defeating the commanding officer has the others surrender and the player can interact with surrendered troops to get items like a Fortified Ration. The door will open revealing the crystal jammer, and approaching it lets the player place the Magicite to destroy it.
When escaping from this area, the player will encounter a new recovery portal, and more Imperial Troopers, as well as Major Xulian in a bipedal MA who charges if the cadets get too close.
- Airship Landing

The item on the Airship Landing.
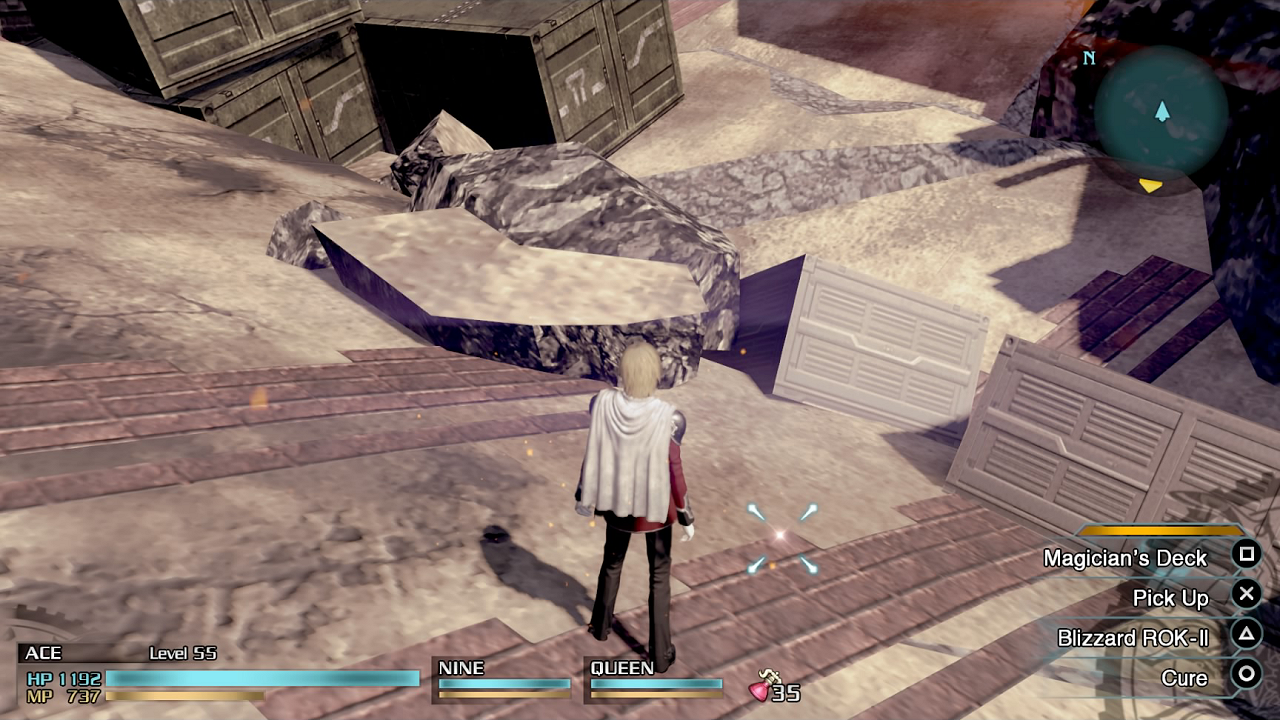
The landing is now destroyed. Before returning to Rubrum Square, taking a right from where the cadets landed and heading up the rubble in the north will find an item (Elixir/Ether).
- Rubrum Square
There is a Potion near some rubble in front of the relic terminal. Heading to the next objective triggers more scenes.
- Fountain Courtyard

Nymurods on the Courtyard
The Life Armlets have shattered, so getting knocked out has the fallen character remain out of combat until the mission's end. There are two Nymurods on the square but switching to Nine or Queen allows the player to get up close and defeat them without suffering much damage. After collecting a Knowing Tag from the fallen legionary in the south, the cadets should head up the stairs to the north for an item (Fortified Ration/Hi-Potion). Heading to the Arena triggers more cutscenes and a boss battle.
- Boss
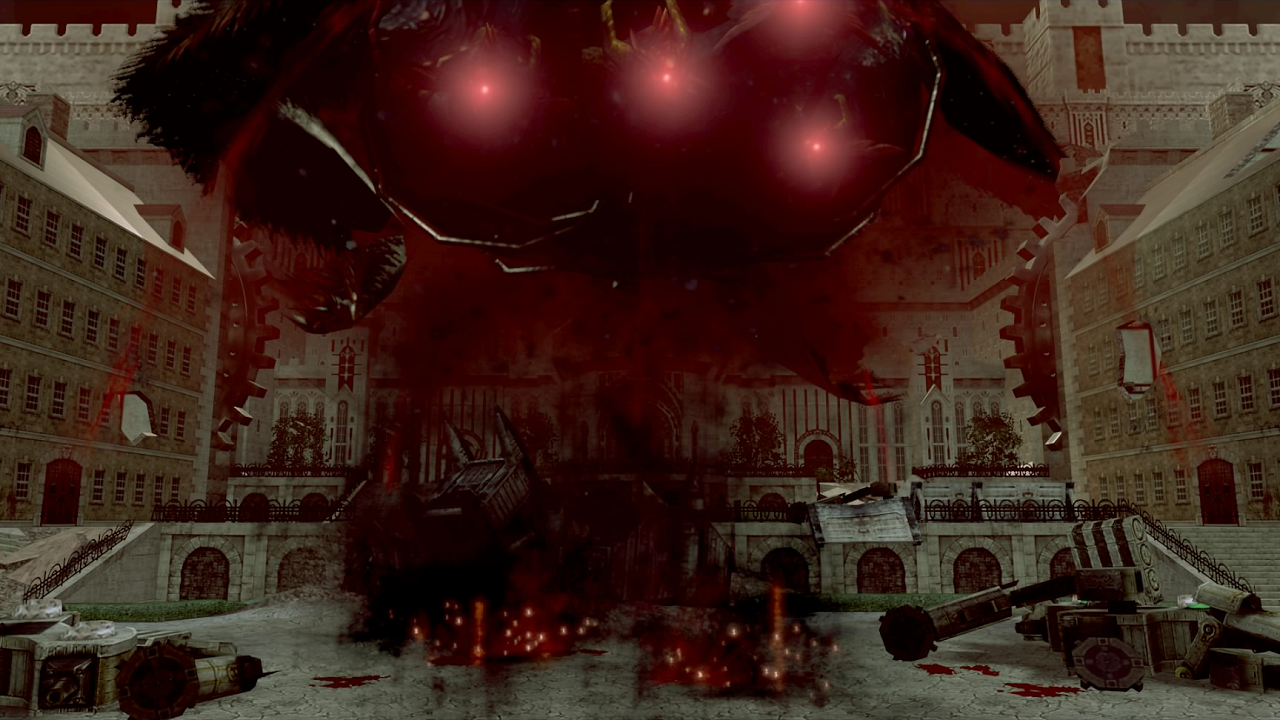
- Dáinsleif
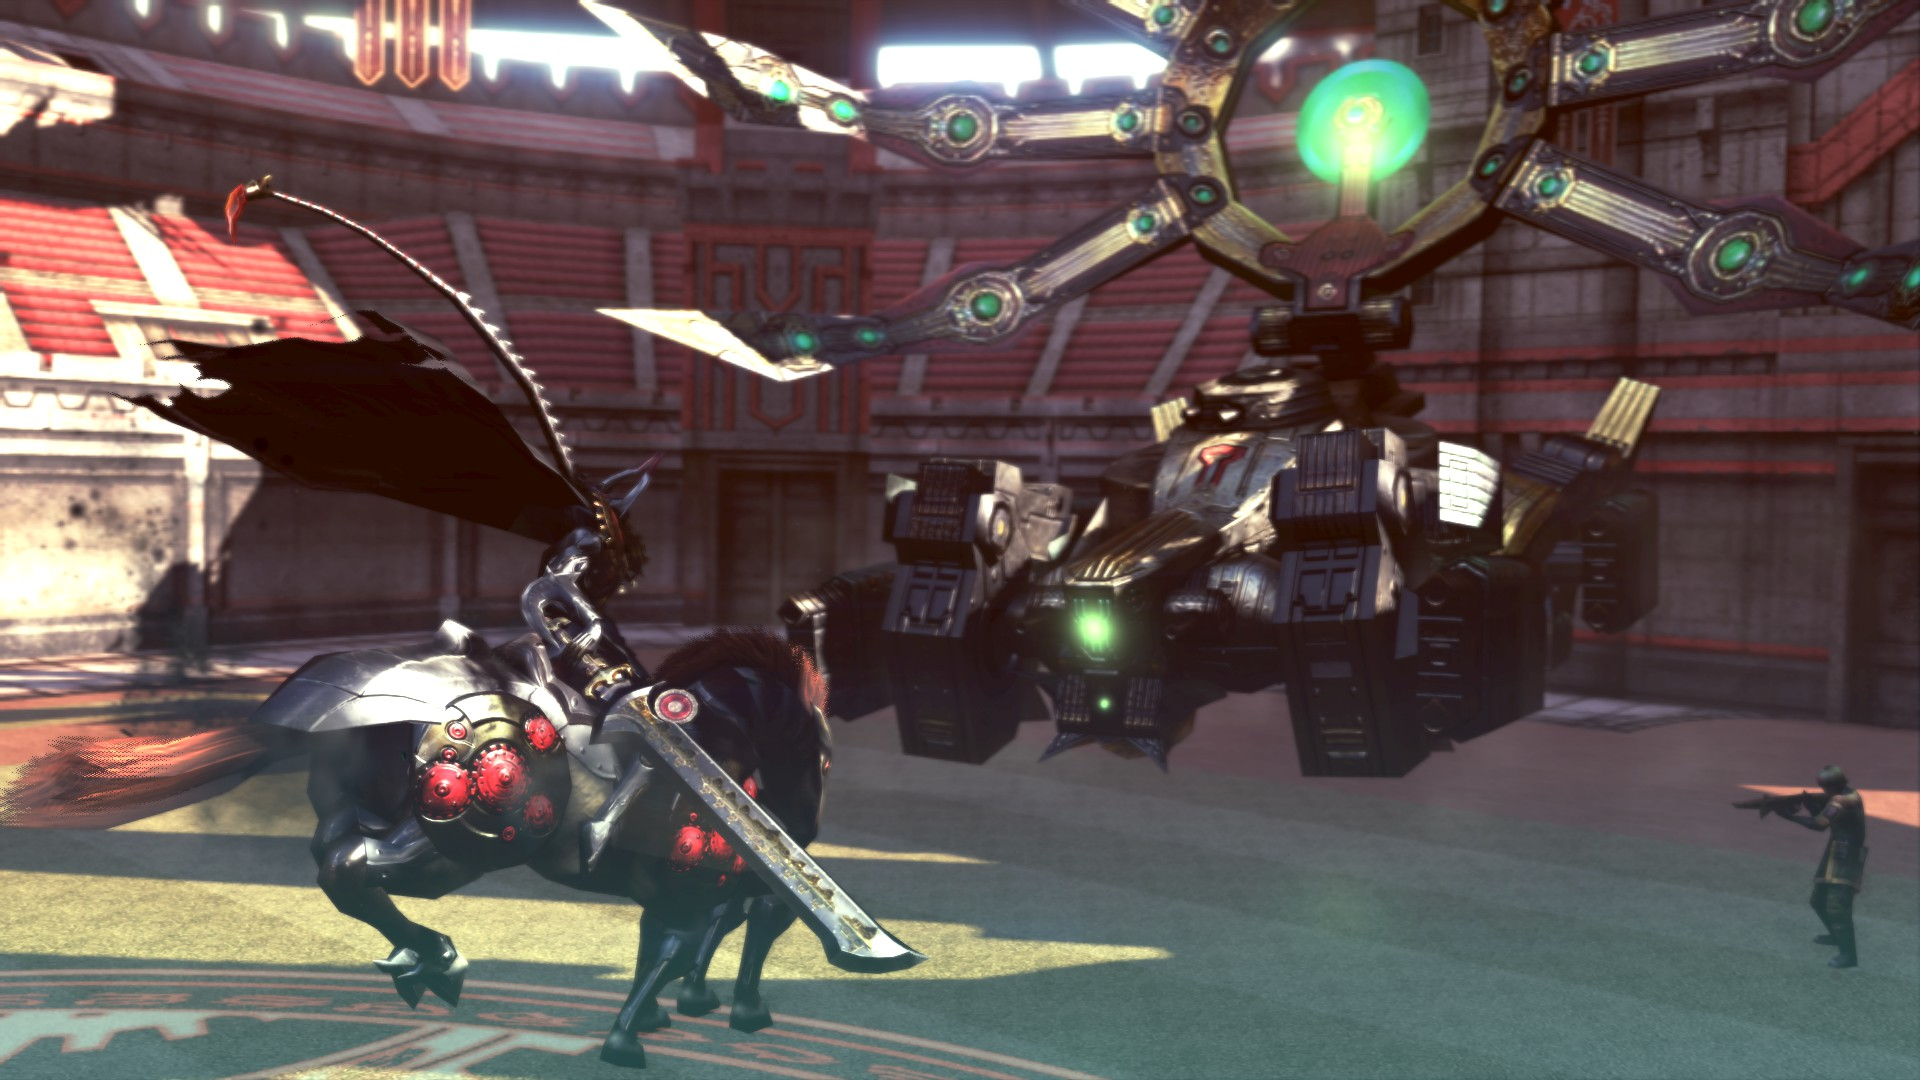
Odin attacks Dáinsleif.
The battle starts playing as the Eidolon Odin. Its Moonring Blade should quickly down the normal troops, while doing reasonable damage to the boss. Charging up Zantetsuken to 100% (the percentage appears in blue above his head) instantly kills Dáinsleif. Odin can dodge with the Prance command (or by just running around) and charge Zantetsuken by holding down the button. Unless fully charged it will miss
Next, Ace, Seven and Jack must fight it. Dáinsleif cannot move but has a delayed attack where it shoots a beam of light that comes down from above. It will launch four volleys in quick succession with a lull afterwards, giving the player time to counter. A green light beam indicates the time to dodge. Once its health is brought down it will heal about half a bar, meaning the cadets must resume their attack. Defeating the boss completes the mission.
Rubicus
Template:See Also
- Aqu. XII – The Akademeia Liberation
With Akademeia on the brink of capitulation, Dominion Central Command ordered all units to report to the capital and provide backup immediately. Unfortunately, the commandant did not issue the orders until after the crystal jammer had completely paralyzed Akademeia. The fall of the capital nigh inevitable, each unit was left to decide for itself how to advance.
Thus, the legions were unable to mount proper retreats, and rather than march on Akademeia, they were instead pursued there by the imperial militia. By the time the dominion units reached their destination, every squad has lost the majority of their forces.
Nevertheless, the sporadic attacks on the empire's rear guard slowed the imperial militia's progress, and the administration rightfully attributed the successful rescue of Akademeia to the actions of these dominion units. However, the liberation came at a great price: because all legionaries rallied at the capital, the entire dominion was left defenseless. Rubrum lost all of its territory, and the dominion legions effectively went out of existence.
Trivia
- The Akademeia Liberation and the Invasion of the Rursus are the only two missions which cannot be replayed in the missions menu on the title screen.
Template:Type0