Template:Sideicon
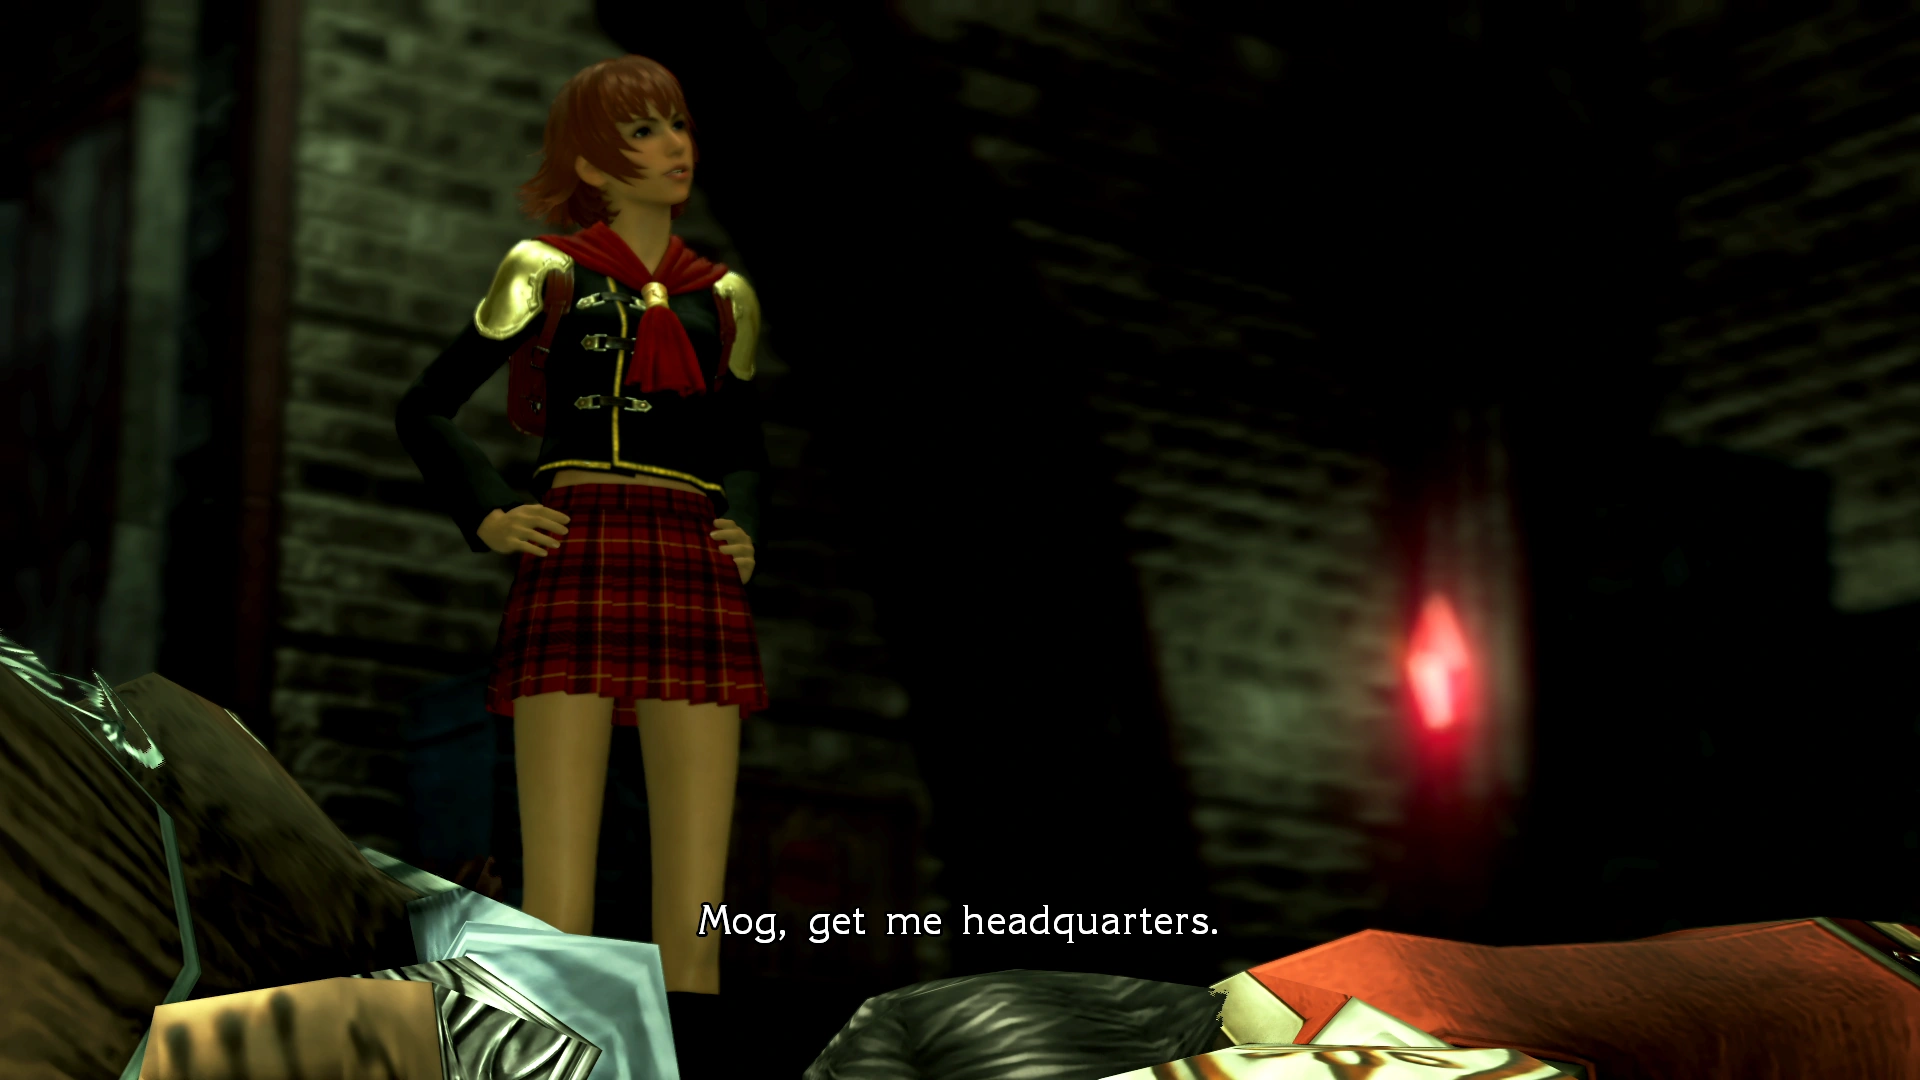
Cater during the Operation Breakthrough.
Operation Breakthrough (敵中突破作戦, Tekichū Toppa Sakusen?) is the first Code Crimson mission and replaces The Capture of Togoreth Stronghold, if chosen. The mission takes place on Ven. XXII, its initial mission level is 34 and is first available in New Game Plus. When the player approaches Togoreth Stronghold, they get to choose between "Storm the stronghold" (do the normal mission), or to "Circle around back" (do the Code Crimson mission).
Briefing
A few hours prior to the attack on Togoreth Stronghold, Class Zero receives new orders: eliminate the heavy artillery units behind the fortress, then extricate the civilian prisoners inside. Class Zero must penetrate the enemy's defenses and storm the citadel.
Mission Briefing
The mission
S-rank requirements
- Time: 12:00
- Phantoma: 120
- Casualties: 0
Rewards
- Completing this mission on Officer difficulty unlocks the Eidolon Shankara.
- Completing this mission on Agito difficulty unlocks Topaz Shield at the Armory shop.
- Completing this mission on Finis difficulty unlocks Mutsunokami at the Armory shop.
- Completing this mission on Officer difficulty rewards an Auric Hourglass.
- Earning S-rank yields a Mythril Gloves or Gold Anklet or Auric Hourglass or Megalixir
Special Orders
Here is a list of unique special orders for this mission.
| Area | Objective | Time Limit | Effect | Reward |
|---|---|---|---|---|
| South Passage | Defeat 3 enemies on high ground with leader | 3:00 | Freecast 0:30 | Ignis Essentia |
| North Stairs | Defeat enemy commander with leader | 5:00 | Haste 0:30 | Fulgur Essentia |
| Central Stairs | Defeat a Colossus with your leader | 2:00 | Invincible 0:30 | Wildfire Flute |
| Sample Depository | Defeat the demonicorn with leader | 2:00 | Freecast 0:30 | Magic: Quake |
| Inner Corridor | Defeat enemy commander with leader | 1:00 | Invisible 0:30 | Glacies Essentia |
Strategy
Togoreth Woods.
- Togoreth Woods
The party starts in the foggy woods and with the poor visibility the cadets need to get close to lock-on to enemies. There are two Colossi and Prometheuses. Defeating the last foe spawns two sets of three Heavy Gunners nearby. Upon defeating them the cadets automatically move on to the next area.
Stronghold Outskirts.
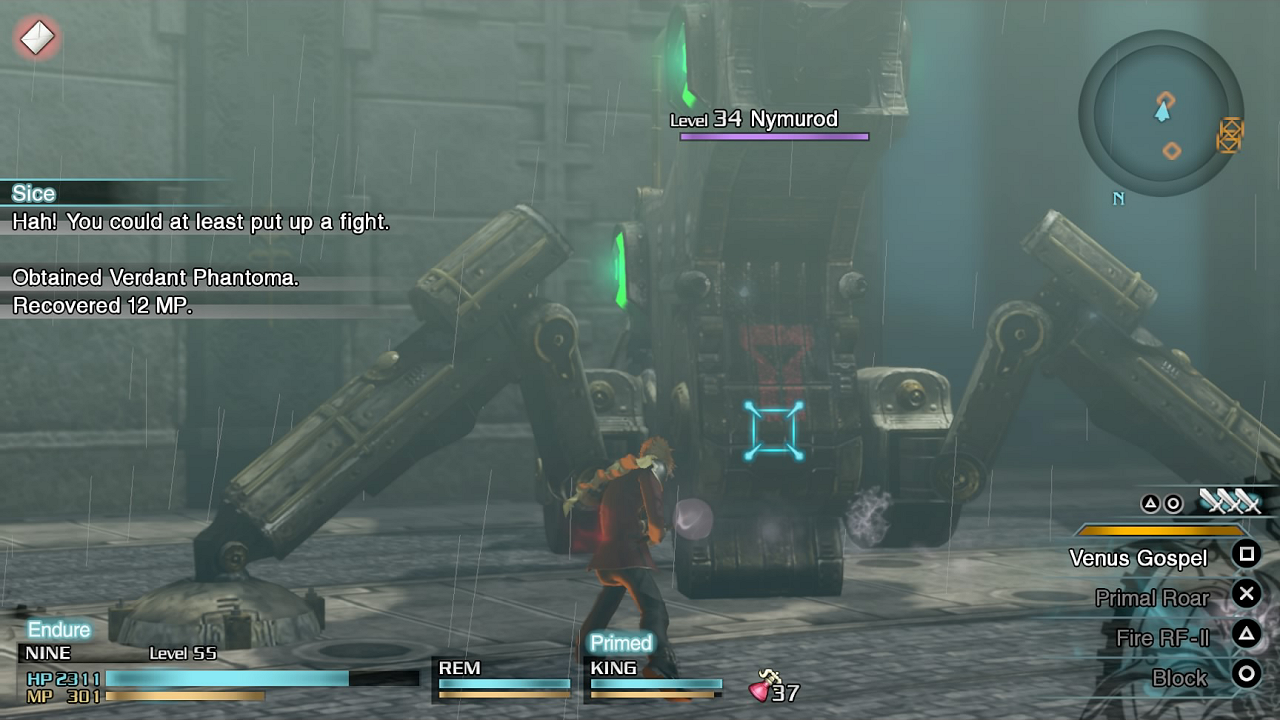
- Stronghold Outskirts
This area has two Nymurods, two Strikers and two Striker Transports. The Transports aref the easiest but will leave the cadets open to attacks from the other two; thus it may be better to start with either the Strikers or Nymurods. After clearing the area the cadets are automatically taken to the next area.
- North Gate
The cadets are greeted by Imperial Troopers and Militesi Coeurls and after felling them an endless supply of two more will come from the exit the cadets need to take. The player can either farm phantoma for the S-rank, or ignore them.
- West Stairs

West Stairs.
The cadets face more soldiers, some of which RPG-155 Gunners, and again endless enemies spawn from both exits. The player can either fight them for their phantoma, or ignore them and move on. If the player wants the S-rank it is best to farm here as the mission gets trickier soon.
There are two special orders the player can complete for some elemental magic boosting accessories by taking the stairs up that leads to an eventual dead end. This route can be skipped.
- West Stairs (2)
After felling the lone Prometheus some Strikers will spawn near the exit, and more will spawn by the other exit, switching back and forth infinitely.
- South Passage

SO completed.
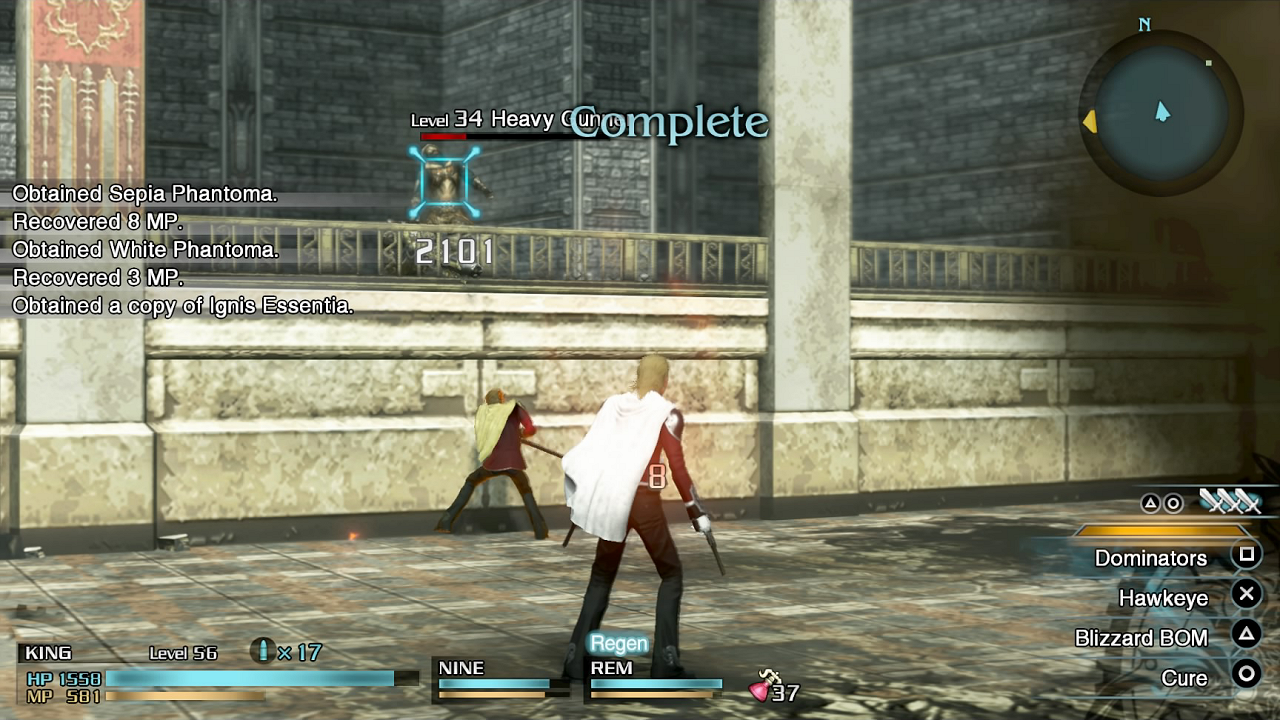
There are two Shock Troopers and an Imperial Trooper. The area's SO to take down three enemies on high ground with the active leader. These are two Heavy Gunners on the balcony, and after defeating them (with ranged magic or a ranged cadet) the player must wait for more to spawn while fending off endlessly spawning Supersoldiers. After completing the SO, that yields an Ignis Essentia, the cadets should move on.
- East Stairs
This area has a finite amount of enemies: Heavy Gunners, Imperial Soldiers and a lone Nymurod towards the opposite end from the entrance.
- North Stairs
Another area with a finite amount of enemies. The cadets will be faced with two Supersoldiers beyond the crates and two Autoturrets. There's an energy wall at the base of the stairs, narrowing the available fighting area. Defeating the enemies dispels the energy wall, but two Warriors spawn at the top and an enemy commanding officer (Second Lieutenant Achman) in another one. The SO is to defeat the CO with the leader to earn a Fulgur Essentia. The player can return to the actual mission now, and return to West Stairs (1) and go the other way to Central Stairs.
- Central Stairs

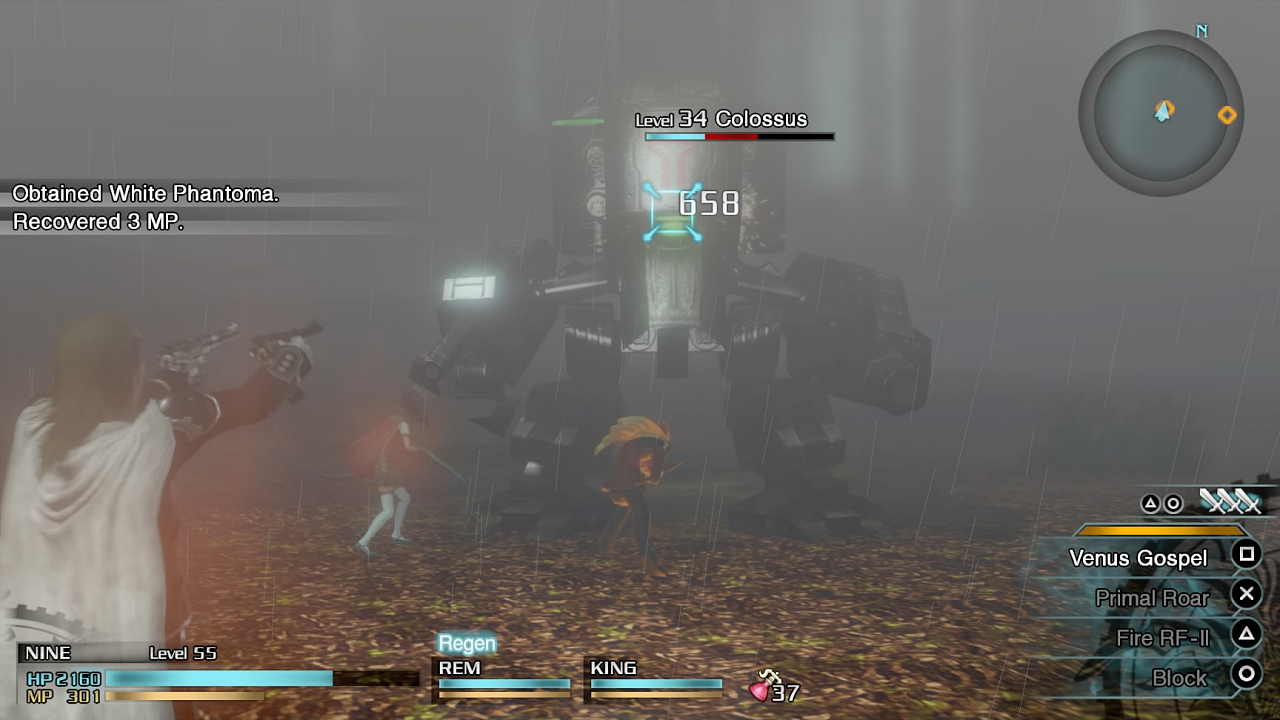
Fightingt he Colossi.
There are two Colossi and two Autoturrets. It is best to take out the turrets first while dodging as all the Colossi can do is shoot missiles. There is an SO to take down a Colossus with the leader for a Wildfire Flute weapon for Deuce. After taking the Colossi down another Colossus will spawn by the large opening and four Imperial Troopers will spawn atop the walls; these will keep respawning infinitely.

Stronghold Core.
- Stronghold Core
The cadets face Imperial Troopers and Supersoldiers that spawn endlessly.
- Dynamo Access (1)
Three Supersoldiers hide behind barricades here. After breaking through the cadets should head north, ignoring the endless Imperial Troopers descending the stairs.
- Central Dynamo
The player must interact with the pillar in the middle it to turn on the security system to make all confidential documents emit signals, allowing the cadets to pinpoint their locations.
- Dynamo Access
There is a Golem and a Channelgate, but the cadets don't need to confront them. Killing them takes time and yields no phantoma. There are three paths to take but the cadets should take the one going southeast to the Sample Depository.
- Sample Depository
There are two Shock Troopers and a Demonicorn inside a caged area. The area's SO is to defeat the Demonicorn with the party leader, which is easy as it can't hit the cadets. Completing the SO earns the magic spell Quake.
- Inner Corridor
In this narrow hallway there are enemies above on both sides, one being an enemy commanding officer (Lieutenant Ellis). The area's SO requires the player to defeat this commander, so someone with long-ranged magic or a ranged cadet is needed to reach him. Completing the SO earns a Glacies Essentia. A Militesi Coeurl will spawn soon as well, but will surrender if the CO is killed.
- Materiel Storage
In this enclosed space there are three Shock Troopers and two RPG-155 Gunners. It is best to take out the RPG Gunners first before concentrating on the Shock Troopers. The player can bait them to charge to attack them from behind.
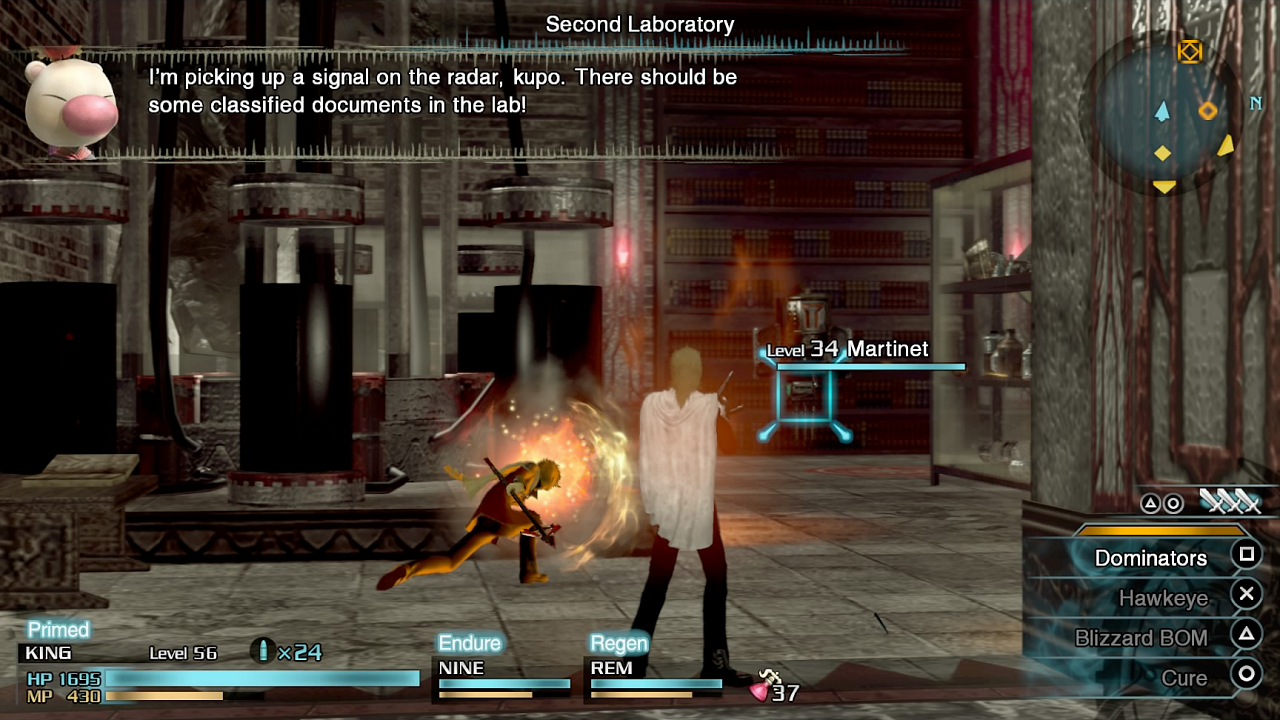
- Second Laboratory
The Second Laboratory.
The cadets must retrieve documents from inside the room while being pestered by an endless wave of Panjandrums and Martinets that appear two at a time. The cadets should destroy them before going after the two documents, both that are marked on the compass: one is on a shelf and one is on a wall.
After retrieving the documents the player should return to the room with the Golem and take the southwest exit to the First Laboratory.
- First Laboratory
This is the same as the previous room but with three documents. After gathering them the cadets should return to Dynamo Access with the Golem and take the southern exit.
- Stronghold Core
The cadets must run through the Stronghold Core outside to Central Stairs. The Stronghold Core now has an unmarked enemy commanding officer (Major Isaak) among the first wave of enemies who does more damage than the normal units.
- Central Stairs
The Colossus and soldiers atop the walls still spawn, but the cadets must get the last document on the ground. The player can hold the lock-on button, then flick the right stick up next to the item to target it. After getting the six documents, the cadets will be taken to the last area.
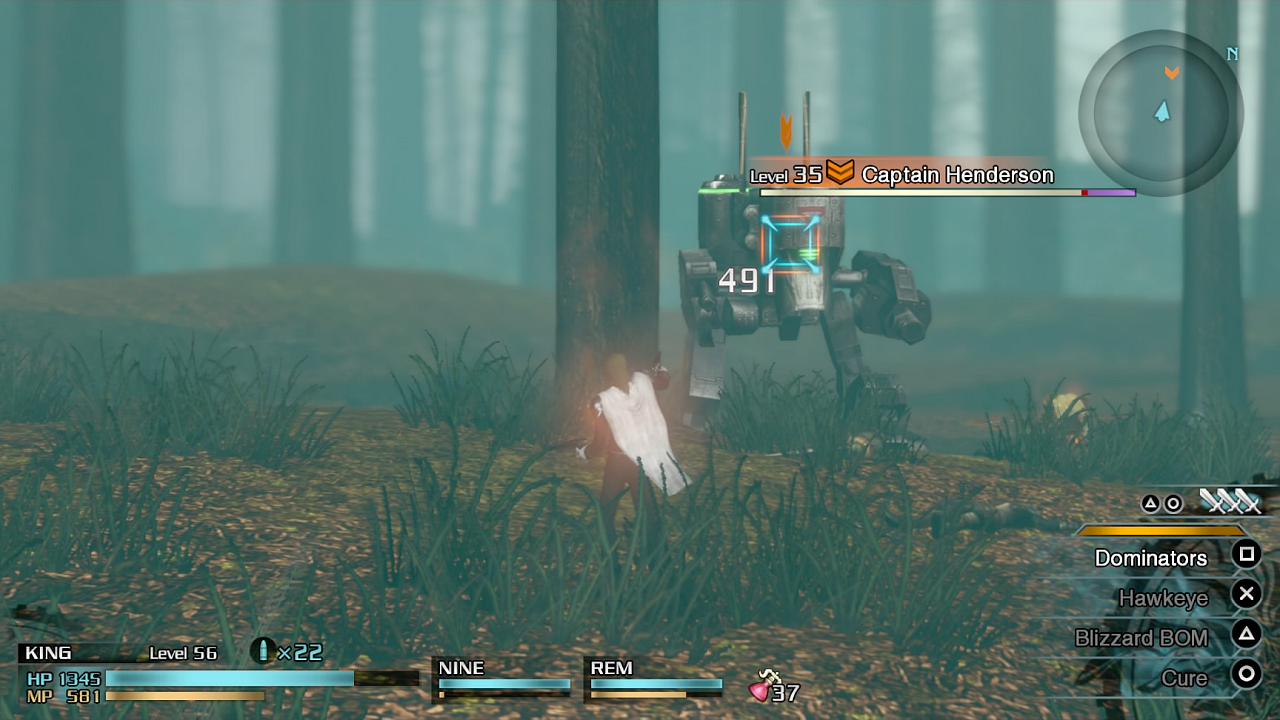
Captain Henderson.
- Togoreth Woods
There are two waves of enemies that include Imperial Troopers and Supersoldiers. After clearing them a Colossus commanding officer (Captain Henderson) appears alongside more enemies. Defeating the Colossus completes the mission.
Rubicus
Template:See Also
- Ven. XXII – Operation Breakthrough
Before the Battle at Togoreth began, Dominion Central Command decided to initiate a rescue mission in order to save the civilians imprisoned inside the stronghold. A cadet commando team would infiltrate the fortress and extricate the prisoners before any fighting broke out. The rescue squad encountered and successfully eliminated imperial forces en route to the stronghold—and although the infiltration proceeded as planned, the overarching mission of rescuing the captive citizens ended in failure.