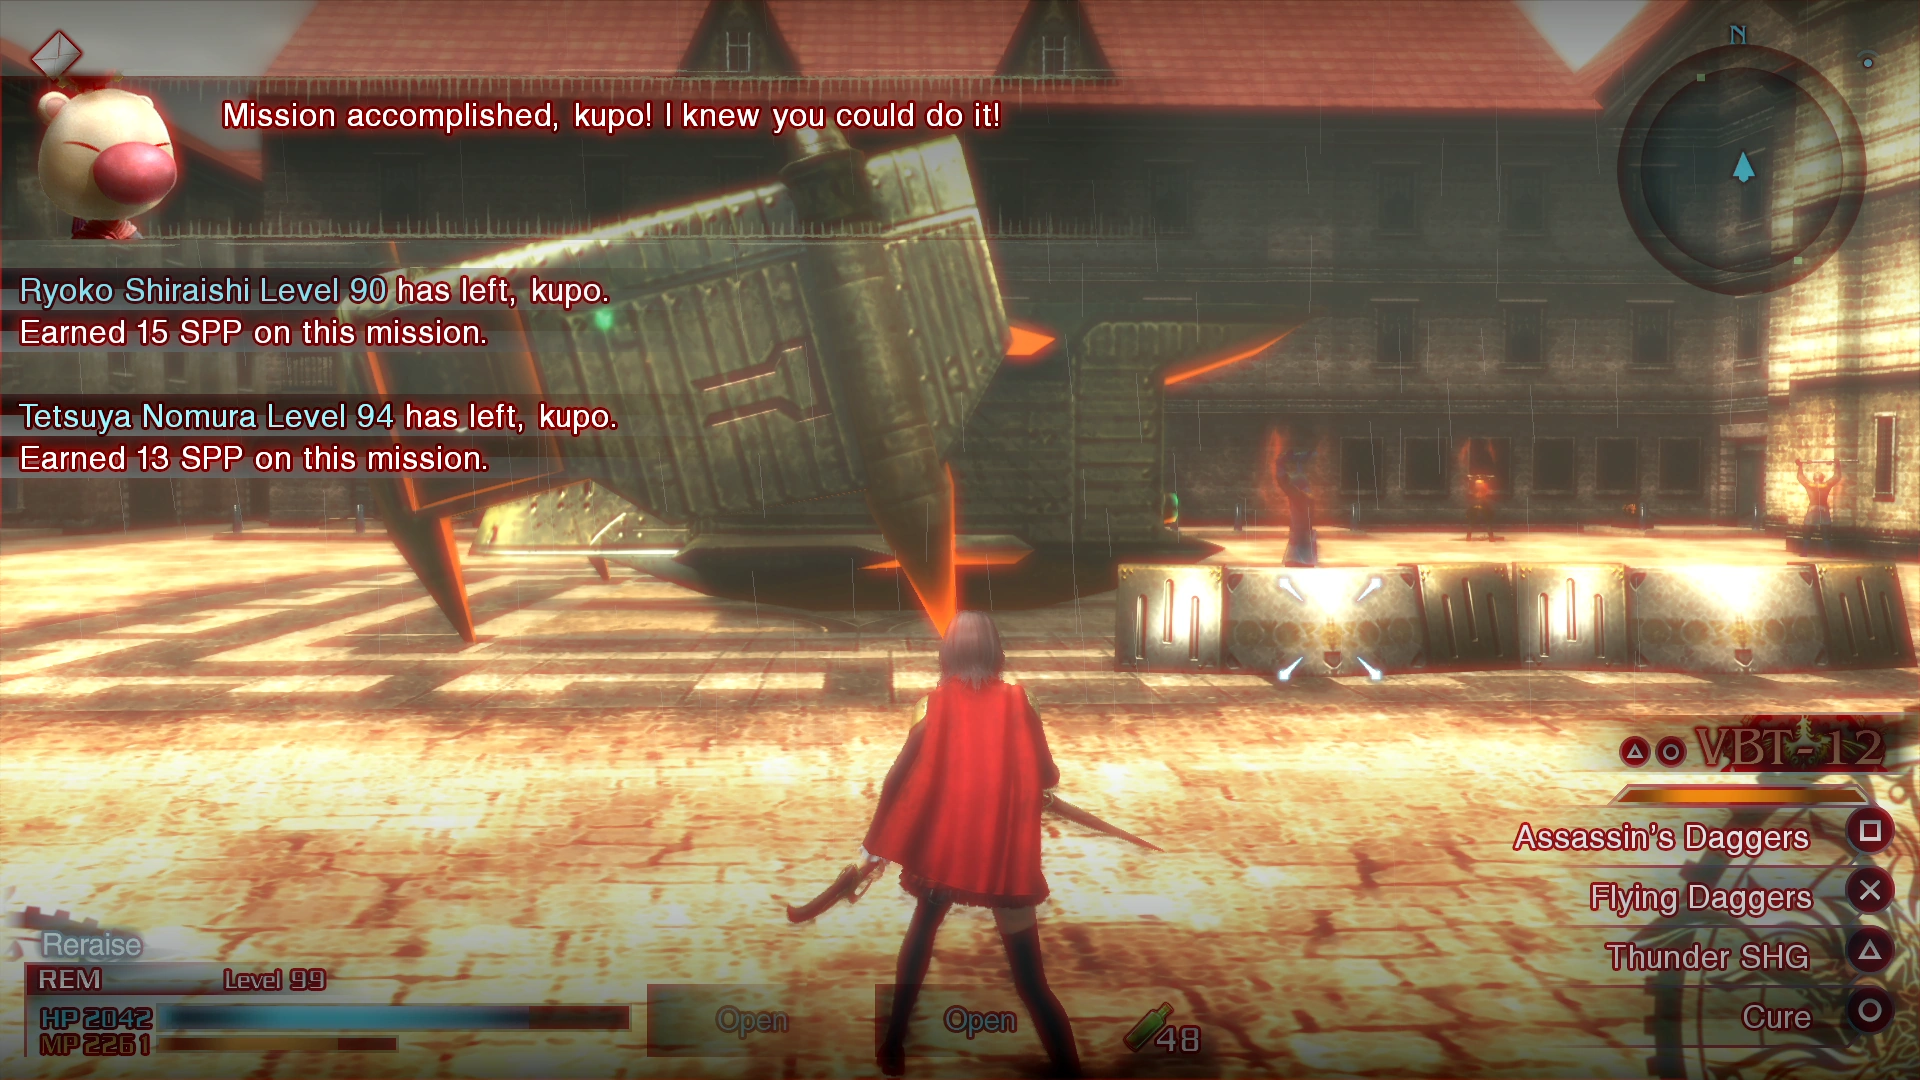
Capturing Colonel Buchanan before he can flee on aircraft.
Covering the Cadets (候補生を援護せよ, Kōhosei wo Engoseyo?) is the first Expert Trial of Chapter 5 in Final Fantasy Type-0. The mission takes place on Ter. XVII, its initial mission level is 38 and allows six participants.
Together with Class Second, Class Zero is ordered to liberate Meroë. There is a task available in Akademeia from Enra, which asks for Rem to get an S rank on this trial. She does not need to take the mission solo, but should be in the party to fulfill the requirements. S-ranking the mission in the Missions menu on the title screen still counts toward the task completion.
Briefing[]
Milites breaks the Fabula Pact and, in doing so, shatters the short-lived ceasefire. The battle lines are drawn once more, and Class Zero receives new orders. This time, however, it is not Class Zero, but Class Second who is leading the operation. Class Zero must send a squad of six to assist Class Second in returning Meroë in dominion control.
Briefing
The mission[]
S Rank Requirements[]
- Time: 24:00
- Phantoma: 140
- Casualties: 0
Even if not necessary, the player may want to consider taking on the trial solo with Rem to satisfy the requirements for the available task, as the requirements for S rank are lowered this way: the player will then need two As and a C, or two Bs and an A for S rank. It may be done the easiest by retaking the mission from the Missions menu in the title screen and going in and out of the cadet selection screen until Rem appears Primed.
Rewards[]
- Completing the mission on Officer difficulty unlocks the spell Fire RF-II.
- Completing the mission on Agito difficulty unlocks the Eidolon Petite Shiva.
- Completing the mission on Finis difficulty unlocks Lamia's Flute at the Armory shop.
- Earning an S-Rank in Officer difficulty rewards either Ignis Essentia, Glacies Essentia, Aegis Essentia or Megalixir.
- Earning an S-rank on Agito difficulty rewards either a Mythril Bracelet, Diamond Bangle or Circlet
Special Orders[]
Here is a list of the unique special orders available on this mission:
| Area | Objective | Time Limit | Effect | Reward |
|---|---|---|---|---|
| Town Square | Combat Trial: Cover the other cadets and have them defeat three imperial troopers | 5:00 | Haste 0:30 | Gold Bangle |
| Meroë Midtown | Combat Trial: Take out three imperial troopers on high ground | 1:00 | Freecast 0:30 | Auric Ring |
| City Center | Performance Evaluation: Use Datalink to defuse the bomb | 5:00 | Endure 0:30 | Megalixir |
Strategy[]
- Taking out the area leaders

Battling a leader.
The mission takes place in the streets of Meroë awash in magitek armor and footsoldiers. The first objective is to take out the leaders in the areas marked on the mission map. They can be done in any order.
Heading on from the starting location to Memorial Square, the party is faced with a commanding officer in a magitek armor (Lieutenant Banks) and endlessly respawning Imperial Troopers. Because the phantoma requirement for a good mission rank is so high, the player may want to stay here and kill the soldiers until the AI allies kill the leader, or, if playing solo, until they have harvested a substantial amount of phantoma, as it is fairly easy to do here. Sometimes Warriors spawn as well, but Rem with Thunder magic is a powerhouse against them.
After taking out the leader, the cadets can head to the "hot spots" on the map to take out the area leaders. Heading east from the Memorial Square to Midtown, the cadets face barricades with Imperial Troopers and a Striker. Like in all areas in Meroë, more enemies will spawn for a long time before a Victory screen comes up, so it may be easier to run through without trying to take them all out, however, the high phantoma requirement for this trial should be kept in mind.
Continuing east, the next area has more Warriors and Prometheuses. The southern exit leads to the Town Square and the first area leader: Lieutenant Talbot in a large magitek armor. The magitek armor is next to a petrol tank the player can destroy from afar to deal extra damage. All leaders are flanked by endlessly spawning Imperial Troopers, again allowing for a chance to kill them to harvest their phantoma allowing for the allies to deal with the leader. There are also some Class Second cadets here taking on the same leader with an SO to cover them. Having the other cadets kill three troopers under the SO yields a Gold Bangle.
After taking out the leader, the cadets can head north in the Midtown area. There will be Imperial Troopers on the balconies and more Strikers. The area's SO is to take out the troopers on the balconies for an Auric Ring.
The next area is Firebird Square with a commanding officer in a magitek armor (Lieutenant Schneider) flanked by endlessly spawning Imperial Troopers. Defeating the leader opens way north to Kayahara Square with Warriors and Imperial Troopers. The area north from Kayahara Square has a recovery portal, and more Class Second cadets taking on the Strikers and Prometheuses. Going back to Kayahara Square, the cadets can take the east exit to the Dominion Square for the next area leader. The battle is identical to the first leader's.
After taking out the leader the cadets can follow the yellow arrow on the minimap to the last area leader. First backtracking to Firebird Square, and then going through the Midtown Areas to Rubrum Square, where the area leader battle is identical the first two.
- Disabling the time bombs

A time bomb.
With the area leaders defeated the Militesi forces begin to withdraw, but they plan to torch the town to the ground. The cadets' next objective is to disable the bombs found in the "hot spot" areas of the map. They can be disabled in any order. More items have appeared on the map in the areas where the area leaders were during the first part of the mission. The items are on the elevated areas behind where the leaders used to be and are either X-Ether, X-Potion, or Support Serum.
The cadets start again from the beginning. The player should head north to Memorial Square, and then west to City Center for the first bomb. The aim is to interact with the bomb and then stay within its colored radius until it is neutralized. The player may want to change to a ranged cadet and then fire at the approaching soldiers from within the radius, however, the party must now fight against the shielded Shock Troopers. Neutralizing the bomb wins the area and the enemies stop spawning. When defusing the first bomb there is an SO for doing it that yields a Megalixir.
Heading east back to the Memorial Square and onwards to the City Center, the cadets face many Imperial Troopers allowing for harvesting of phantoma. Continuing east, the cadets can find the next time bomb. After neutralizing it the cadets can follow the yellow marker to the final bomb north of town, going through the City Center to Firebird Square and Kayahara Square to the northern City Center.
- Capturing the enemy airship

Battling the soldiers around the airship.
After neutralizing all the time bombs the imperials try to flee on their airship from the central plaza, and Class Zero is tasked with capturing it. The player can follow the yellow arrow to the final location, Lupinus Park, to finish the trial. This area has a recovery portal so the player can expend their MP when fighting the magitek armor on the way.
In Lupinus Park the cadets find the airship on the square. There will be Imperial Troopers on the balconies. The place will be inundated in Imperial Troopers and a 10-minute timer appears for the limit the cadets must dispatch the soldiers, although it shouldn't take nearly that long as after taking out enough Imperial Troopers and Supersoldiers, their commanding officer (Colonel Buchanan) appears. Taking out the commanding officer completes the trial. This area is tough, and the cadets can get overwhelmed with the imperial numbers. It may be best to always attack the nearest soldier even after the officer has appeared while using a fast-acting melee cadet.
Rubicus[]


Meroë liberated.
- Ter. XVII – Covering the Cadets
With the armistice no more than a fleeting dream, fighting immediately resumed on the front. Anticipating a joint offensive by Milites and Concordia, Rubrum decided to preemptively stabilize its borders, and began by marching on the Meroë Region.
As with previous operations, a cadet task force would secure a base of operations, and then the legions would step in to occupy the region. Central Command designated the eponymous capital of the Meroë Region as its target and set the operation in motion. The liberation campaign went off without a hitch, and the dominion military began deploying troops to its new base at Meroë.