Everyone in the dominion is depending on you, so don't even think about dying out there. Good luck.
Kurasame
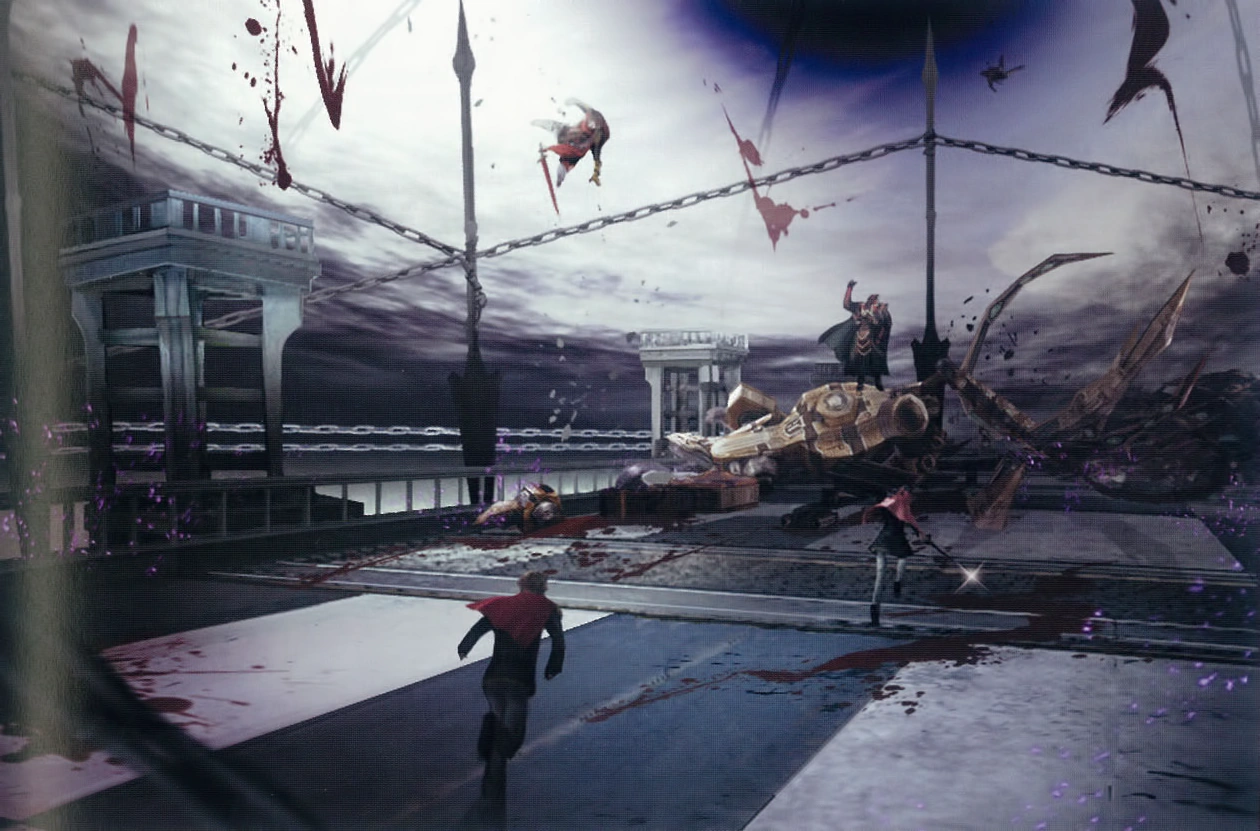
Artwork.
The Clash on Big Bridge (ビッグブリッジ突入作戦, Biggu Burijji Totsunyū Sakusen?) is a storyline mission in Chapter 6 in Final Fantasy Type-0 and can be undertaken from the Staging Point by talking to Kurasame. The mission takes place on Tem. XVII, its initial mission level is 32, the pool of participants built up of three members chosen before starting "The Battle of Judecca" and five backup cadets afterwards, however, Rem is unable to join the mission until the empire's crystal jammer is destroyed. Machina is absent from the party during this sequence of the game.
Briefing[]
Reeling from the empire's relentless onslaught, the dominion decides to dispatch a unit of cadets for a rear assault. By flanking the enemy and curbing their momentum, the cadets can buy time for Lady Caetuna to summon the Verboten Eidolon. Class Zero must advance to Big Bridge and eliminate all imperial forces in the area.
Briefing
The mission[]
S-rank requirements[]
- Time: 25:00
- Phantoma: 108
- Casualties: 0
Rewards[]
- Completing the mission on Officer difficulty unlocks the Eidolon Odin and Hi-Potion at the Orderly shop.
- Completing the mission on Agito difficulty unlocks the Eidolon Ignis.
- Completing the mission on Finis difficulty unlocks Elixir at the Orderly shop.
- Earning S-rank yields a Tempered Shield.
Strategy[]
- Advancing the Lines
The cadets start at the Last Line. There is a Hi-Potion/Mega-Potion by some crates, and a Hi-Potion/Ether by another set of crates further down the slope. The area special order is to avoid damage for one minute, but as there are no enemies here, the player can just wait it out until moving to the Second Line to earn an Elixir.
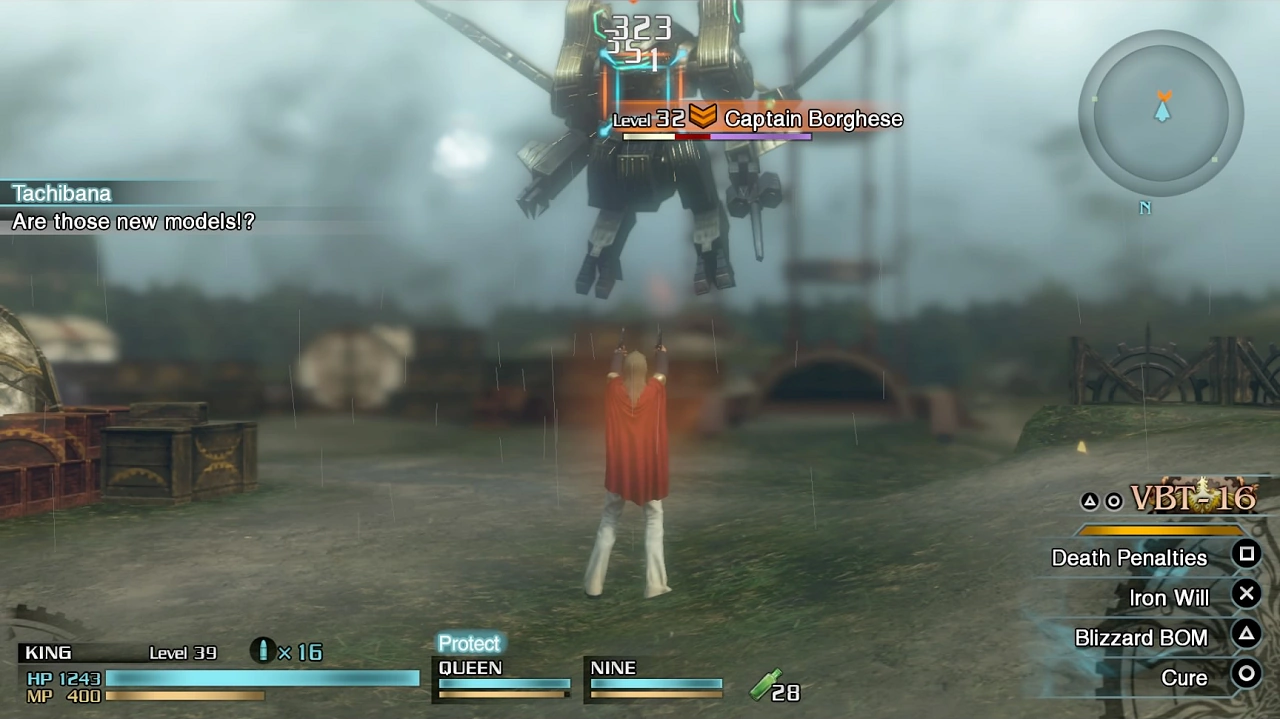
Captain Borghese.
In Second Line a ranged character can focus on taking out the Commanding Officer (Captain Borghese) in a flying magitek armor. There is a Hi-Potion/Ether near some boxes here. In the First Line the party must hold off the Colossi until the timer runs out. There is a recovery portal the cadets can use here, and a Hi-Potion/Mega-Potion lying nearby. The area SO is to avoid casualties for two minutes, and completing it earns Fire MIS-II.
The next area, Border Plains, is a safe zone that has two Knowing Tags lying on the floor near fallen dominion forces, as well as a relic terminal and a recovery portal.
Cadets heading for Big Bridge.
After the safe zone the cadets must down the Warrior Commanding Officer (Major Narses) in the Former Encampment. He is flanked by Imperial Troopers. There is a First Aid Kit in the area. Afterward the cadets should move into the East Bank where they are met by Imperial Troopers and a Nymurod. There is another First Aid Kit in the area behind some crates. The player can wait for the SO that requires taking down three Warriors to appear before accepting any other special offer. After finishing off the enemies marked on the map to open the bridge, the cadets must take out the Commanding Officer (Lieutenant Colonel Clodius) in a Warrior. There is a storehouse here and the cadets can get a keycard for it if they defeat Colonel Clodius and then talk to a surrendered Warrior mech.
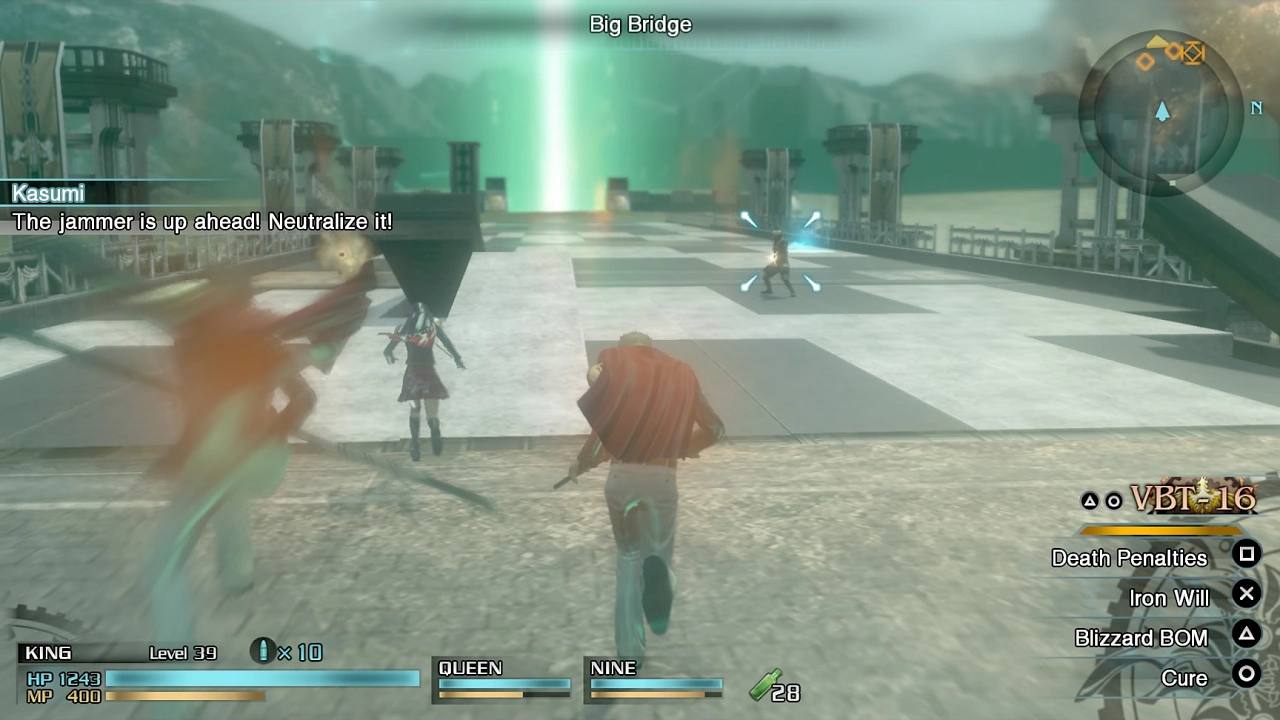
- Big Bridge
On the Big Bridge the cadets are met with Supersoldiers and RPG-155 Gunners. The empire halts the cadets' advance by raising barriers on the bridge. There is a recovery portal on the bridge. After take out the enemies marked on the map, two Colossi and the Imperial Trooper Commanding Officer (Officer Krueger) appear. There is an SO to take out the Colossi with the leader that yields Thunder MIS-II.
After taking them out the player returns to the East Bank to find a relic terminal and a recovery portal and the cadets discover that enemies are approaching from the rear. One cadet is chosen to stay behind to take them out. The chosen cadet will be unavailable for a short time after the battle. The cadet must down Colossi, Militesi Coeurls and Imperial Troopers until a flying MA and its Commanding Officer (Lieutenant Anthony) appear. He will use flame throwers. After taking him out the player can alter the party configuration before heading on to the West Bank.
- West Bank
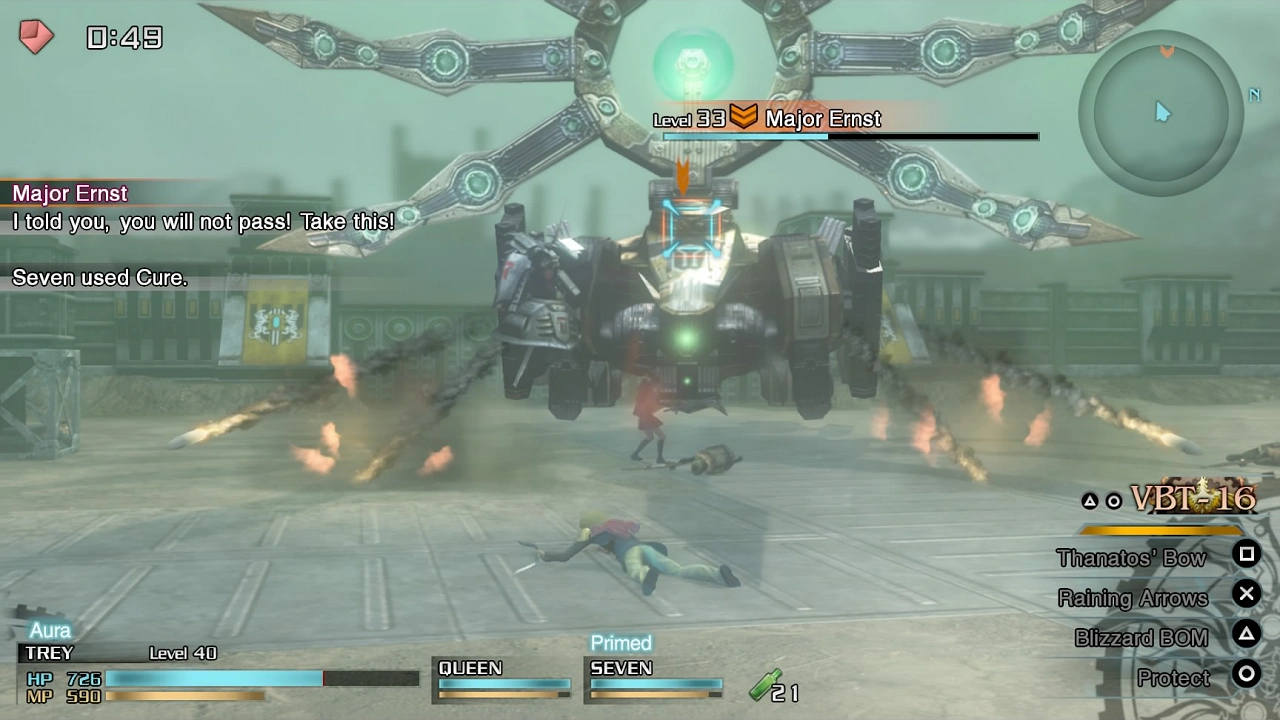

Major Ernst.
The cadets find Major Ernst and his crystal jammer magitek armor flanked by Imperial Troopers. It is best to move around to attack him from the side to avoid his frontal attacks. The SO to take him out with the leader earns an Elixir. Afterward the player can save and adjust the party accordingly before moving on to the Fortified Area. With the jammer disabled, the rest of the dominion forces gain power and join in on the fray. A relic terminal and a recovery portal appear.
- Fortified Area
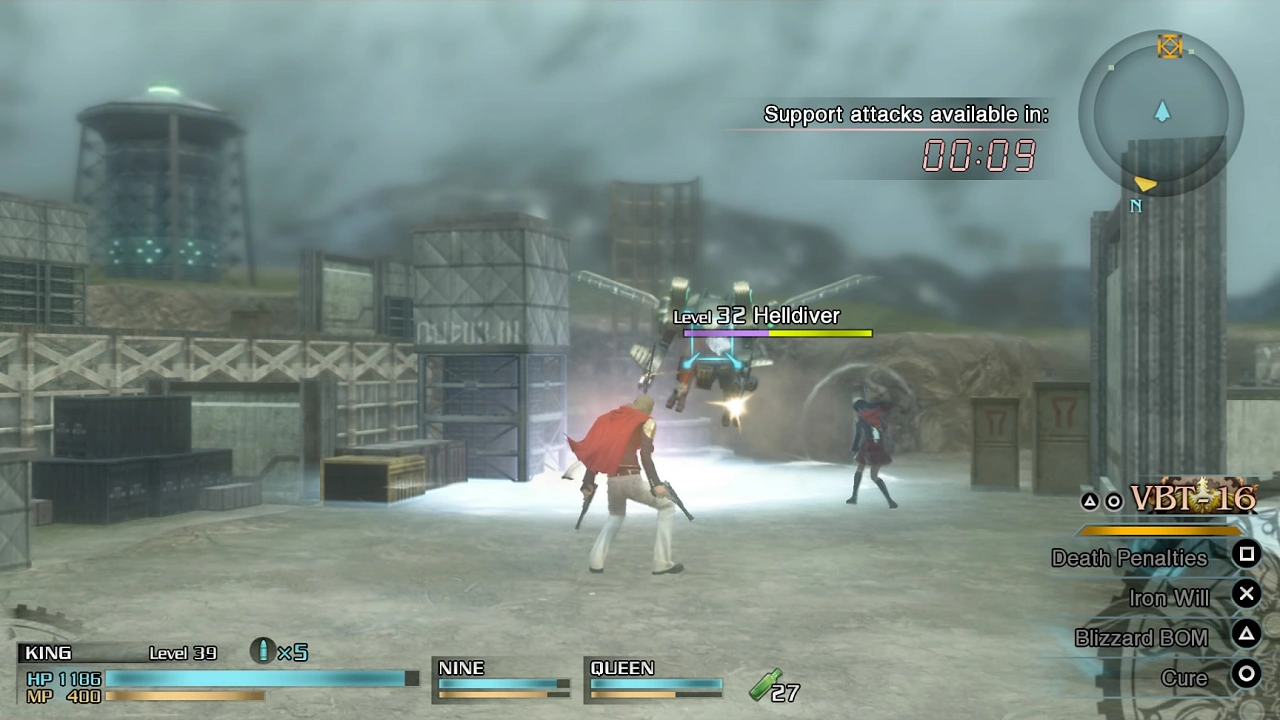
A ranged cadet can handle the enemies in this area a little better as the cadets are faced with a Heavy Gunner in a tower, a flying Helldiver and a Militesi Coeurl. If the player completes the SO for downing the Helldiver they will earn a Blaze Armlet. The cadets must defeat every enemy marked on the map before moving to the next Fortified Area, where a ranged cadet can take down the enemies blocked off by the rubble, including Imperial Troopers, Shock Troopers, and a Nymurod. The cadets can then head to Airbase M-680.
- Airbase M-680

The cadets battle Helldivers.
The cadets are met with more Imperial Troopers and Helldivers. The goal is to kill the Helldivers but more troopers will keep spawning in the area. A ranged cadet is good for this area. After the area is clear, the cadets should head down the southern path instead of following the map marker where the cadets must fell the RPG-155 Gunners and Helldivers to spawn the Commanding Officer (Lieutenant Colonel Erich). If trying to complete the SO, the player must not kill the Officer until the SO appears. Completing the SO for killing the Officer earns a Knight's Lance for Nine. After clearing the area the cadets should return to the previous area and continue through the northern passage to the Field Artillery Station safe zone that has a relic terminal and a recovery portal.
- Heavy Artillery Depot
Upon leaving the safe zone the cadets must take down Colossi. Downing three Colossi as per the area's SO earns a Phoenix Pinion. After downing four Colossi the Imperial Officer (Colonel Everett) appears. He is flanked by a Supersoldier. A ranged cadet making use of the cover in the area can defeat the Commanding Officer and shut down the turret.
- Evacuation
With the Officer down the cadets have eight minutes to evacuate. The cadets can ignore the enemies they meet along the way unless the player wants to complete an SO, and continue on to the next area. The cadets can pick up Keycards from the floor on their way.
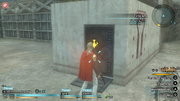
Using a keycard on a storehouse.
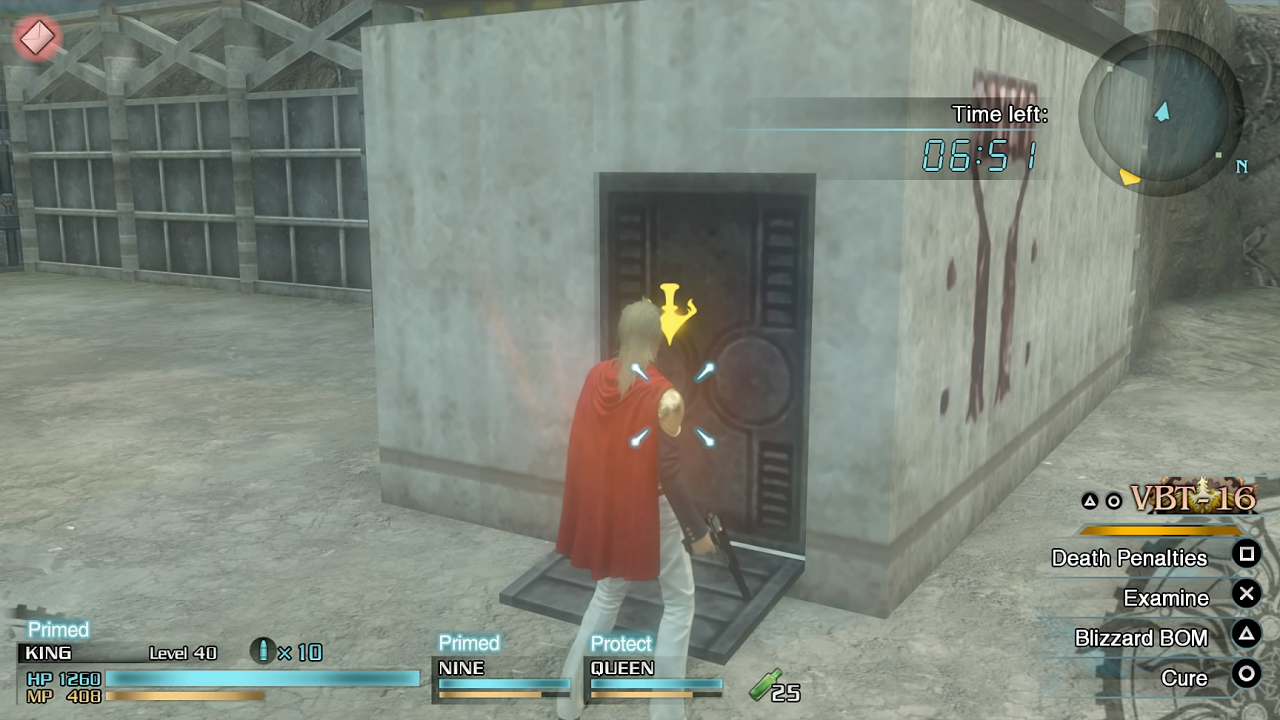
Back in Airbase M-680 the cadets can use the Keycard on the storehouse to the west to get a First Aid Kit. Depending on how much time there is remaining, the cadets can head back to the other airbase using the southern path to access another storehouse with a Fortified Ration. Warriors and Imperial Troopers and Airborne Troopers will spawn so the player should ensure there is time left.
When done, the cadets must head through the east path to reach the Fortified Area with more Keycards and a storehouse with Support Serum/First Aid Kit. There is an SO to pick up a Keycard that yields a Megalixir. Striker and Imperial Troopers spawn here.
In the next Fortified Area there are three fallen dominion legionaries with Knowing Tags to recover. If the player completes the SO for recovering a Knowing Tag they earn a Glacies Tertia, Vol. II. Colossi spawn to hinder the cadets. There is a storehouse with a Fortified Ration. When the timer stops upon reaching the safe zone, the next area has the boss battle.
- Gilgamesh

Gilgamesh appears.
The cadets may not be able to defeat Gilgamesh during the first playthrough. The best bet is to use a ranged cadet and keep distance. Gilgamesh uses a spinning attack that's followed by a sword slam. He may use this combo many times in rapid succession, but it comes with Breaksight strike opportunities. Hitting Breaksight strike stops Gilgamesh on his tracks for a moment. When nearby Gilgamesh can grab a cadet by their neck and deal a heavy blow. Win or lose, the battle completes the mission.
Rubicus[]
- Tem. XVII – The Clash on Big Bridge
As Milites prepared to invade Rubrum in consort with its new Concordian allies, the dominion legions initiated their plan to summon their Verboten Eidolon to intercept the imperial assault. In order to secure enough time to complete the summoning, Central Command deployed nearly 300,000 legionaries to the imperial border—approximately 80% of the entire dominion army.
However, with the inclusion of their newly formed 106th and 107th Companies, the imperial forces nearly doubled the dominion legions in size. They easily breached several sections of the dominion's front line, and before long, the entire front was on the verge of collapse.
In a show of military mastery, the commandant devised a new strategy: covertly deploy troops behind the empire's forces to disrupt their rear guard and slow the imperial advance. He assigned a cadet task force to the job and sent it on its way. The cadets arrived to face the enemy's rear guard, destroying the empire's jammer-mounted MAs along the way.
The cadet task force incurred grave losses of its own, but its mission was a success. Lady Caetuna summoned the Verboten Eidolon Alexander, whose devastating power completely obliterated the imperial stronghold and all personnel contained therein, including the 106th and 107th companies. Militesi casualties were staggering, mounting as high as 180,000. Their MAs utterly hopeless against the dominion's Eidolons, the empire was devastated, and morale plummeted throughout the imperial ranks.