Feel my pain! Come, Anima!
Seymour
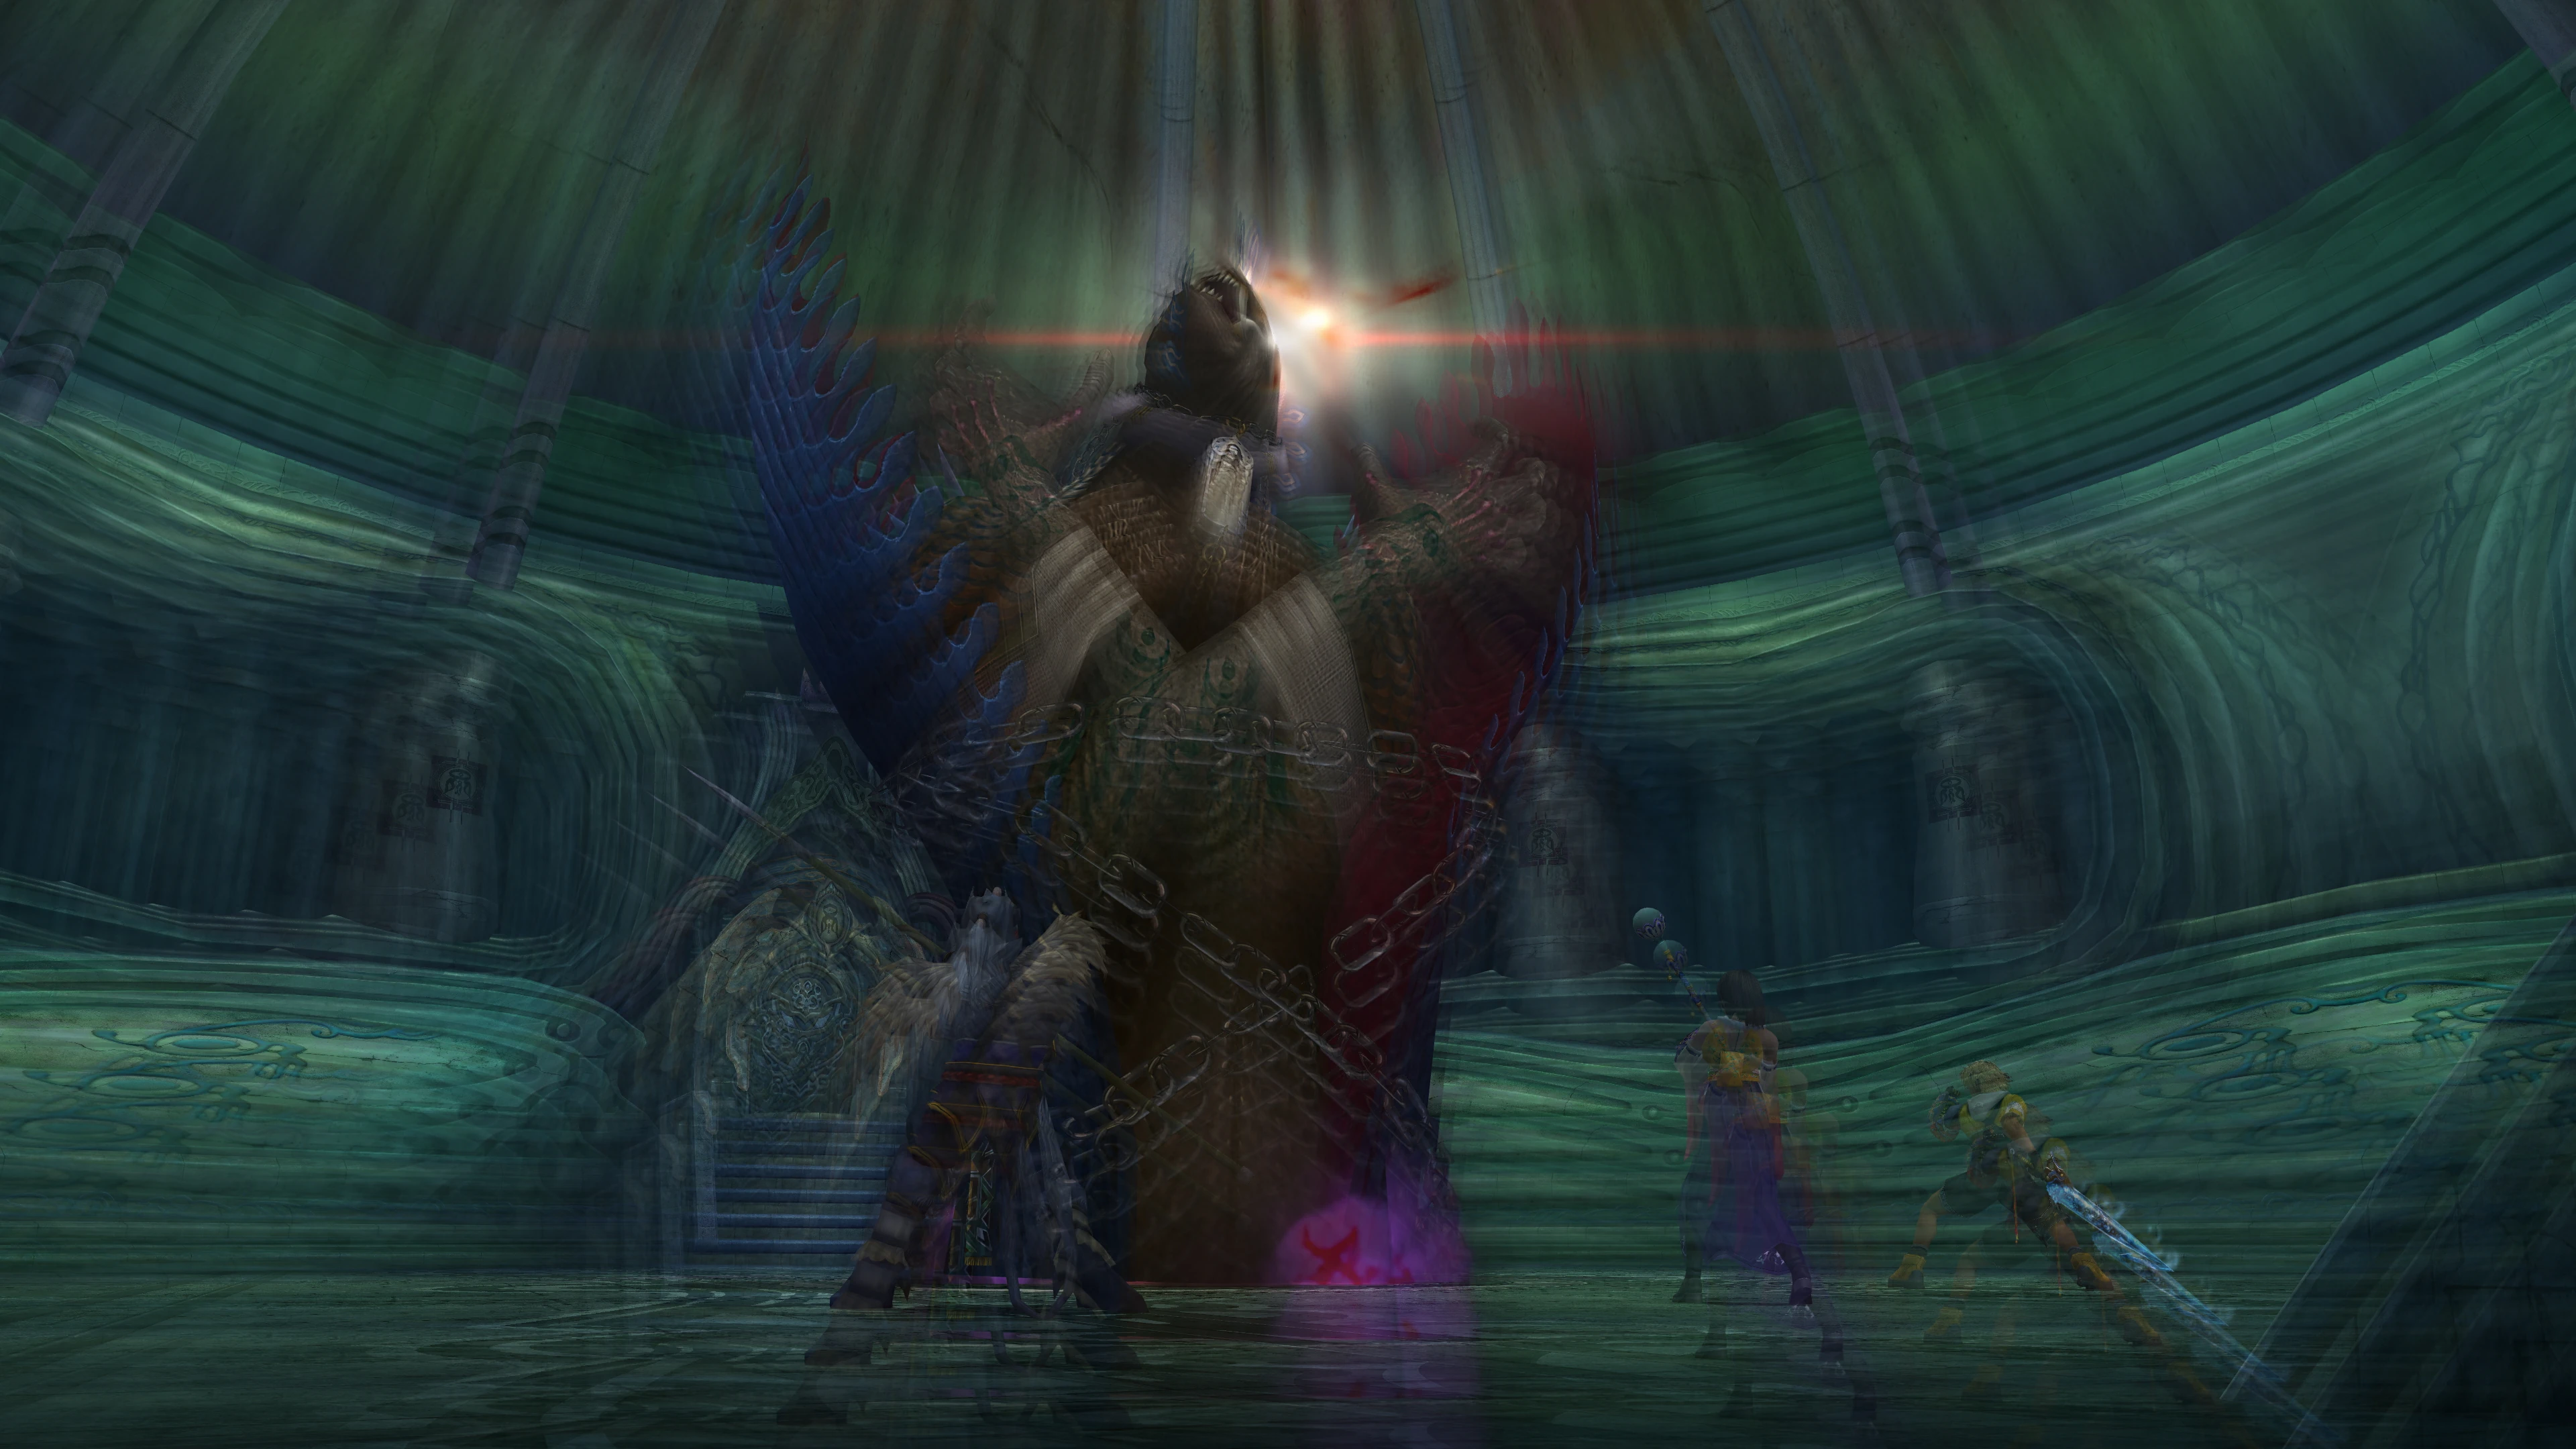
Anima is a boss summoned by Seymour Guado during the first battle against him. After she is defeated, the battle against Seymour will continue. If the player acquires her as a summon for Yuna, Anima is also fought in Remiem Temple in a contest of aeons, and during the final battles.
Stats[]
Macalania
Remiem Temple
Sin
Battle[]

Pain.
Anima's Pain attack causes Instant Death. She alternates between using Pain and Boost. Boost does not increase the rate her Overdrive charges (which is a fixed amount every time she gets a turn or is attacked), but she does still take 50% extra damage until her next turn.
The damage inflicted by Pain is magical, but is unaffected by Magic Defense. It will always be between 459 and 518, before taking into account protections such as Shell. Damage from Anima's Overdrive, Oblivion, is mitigated by the party's Defense stat.
Belgemine's Anima in Remiem Temple doesn't use Boost, but does use physical attacks, as well as Demi and Dispel, and her Oblivion inflicts Delay (weak). Anima's Overdrive gauge increases by 5% every time she is targeted.
When fought inside Sin, Anima will only use Pain. Her Overdrive gauge increases by 15~30% when targeted by Power Wave from a Yu Pagoda, and 0~10% when targeted by an attack or using Pain.
Hellfire and Thor's Hammer, as well as Delta Attack when used inside Sin, have alternate animations when used against Anima.
Strategy[]
In the battle against Seymour, it is best to take Tidus's advice and summon Shiva (presented as "????" at this stage), as aeons are immune to Instant Death and only suffer damage. Shiva should shield against Anima's Pain and heal using Ice spells until she has a full Overdrive gauge.
Diamond Dust will potentially do near max damage to Anima. The player should aim to keep Shiva alive until Anima unleashes Oblivion; just before Oblivion is launched, Shiva should use Shield. After that, one needs simply attack until Anima is dismissed. If Yuna can use Grand Summon and call Shiva with a full Overdrive gauge at the start, this part of the battle will go quicker.
Behind the scenes[]
Seymour and Anima are the first two enemies that can drop four-slotted equipment.
Like with Yuna's Anima, in the PAL, International and HD versions, Anima's Oblivion deals 16 hits instead of one single hit, but the total damage is reduced to approximately 85.3% of the original amount.
Seymour's Anima has three dummied attacks, which are variants of a plain physical attack, but with perfect accuracy and no capability of scoring a critical hit. Each one inflicts either Sleep, Silence, or Darkness for two turns with a 100% infliction chance.
In the first battle against Seymour, if the player defeats him with the first spell of a Doublecast and the second deals 6,000 or more damage, Seymour will not summon Anima and the game will softlock.
Yuna's Anima in the final battle has an overkill requirement of 168. This value coincides with her internal enemy number within the game data. The same happens for Yuna's Yojimbo, with an overkill requirement of 169. This suggests that these values were placeholders used by Squaresoft's developers, not meant for the final game, but have been kept unchanged as an oversight.
Gallery[]
")
")
")